Friday, May 16, 2008
Treat Bag Class
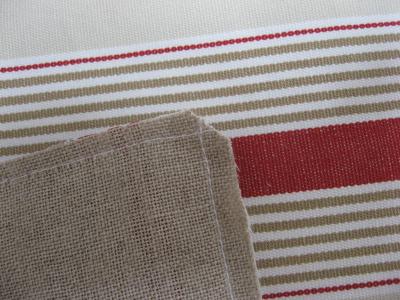
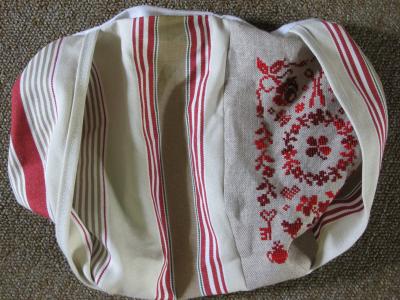
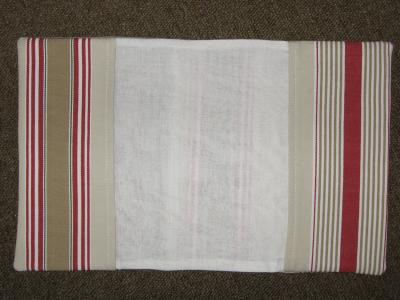
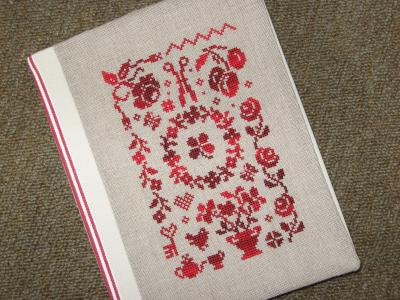
Due to the difficulties of learning to use the Wordpress platform, and to allow us to get this published on time, this tutorial has been prepared in a .pdf format. Hopefully I can work out myself how to get this file attached here so you can download it! ;)
As always, please feel free to leave any questions and/or feedback in the comments section of this post.
Enjoy! :)
Tutor = Celeste
Saturday, May 3, 2008
Tuck Pillow - Class
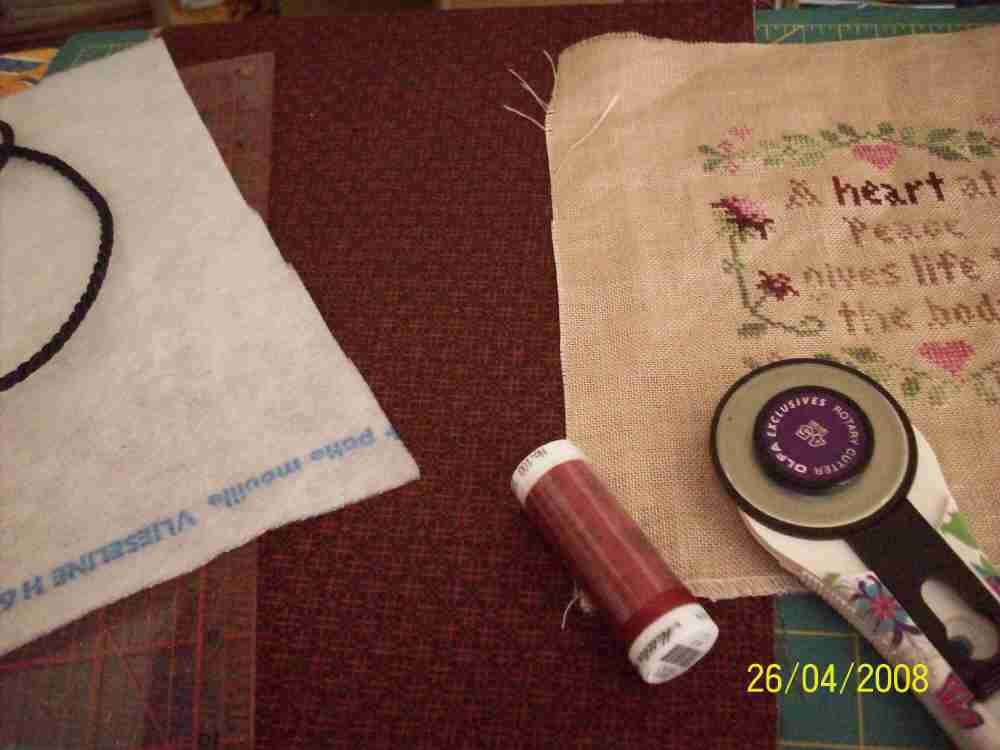
This tutorial will be for a 7" flat door hanger tuck pillow but you can make yours any size you like. Smaller tuck pillows are good for Christmas ornaments. To recap, following is a list of what you need to make the pillow.
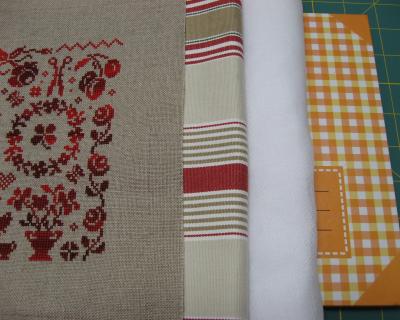
- your stitched piece
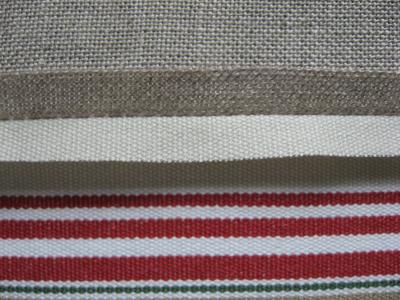
- main fabric for pillow - a fat quarter will be plenty
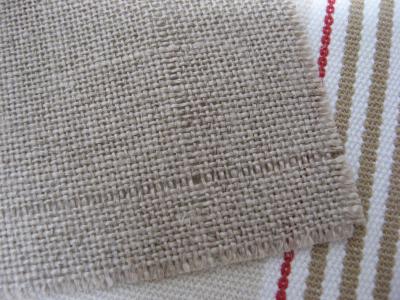
- neutral fabric for back of opening - a scrap piece the size of your pillow. I use calico/quilters muslin/homespun or whatever it’s called in your country.
- fusible fleece wadding - the width of your pillow. I use fusible fleece on my pillows as I prefer the finish it gives to the back of the pillow. You can, of course, use any batting you prefer. Something not too thick is best.
- cord for hanging
- sewing machine
- thread
Cut 1 piece of main fabric 7½” by 7½" for the back
Cut 1 piece of neutral fabric the same size
Cut 1 piece of fusible fleece the same sizeCut 4 strips of main fabric 7½” by 2½"
Fuse the fleece onto the wrong side of the main fabric piece - this piece will form the back of the pillow. I always use a pressing cloth for this step. If you are using a non-fusible batting, pin the batting to the wrong side of the main fabric piece & sew using a ¼” seam. Now treat this piece as one.
Fold the 4 strips of main fabric lengthwise, wrong sides together. Press.
Place 2 of the strips onto the top and bottom of the right side of the back pillow piece, raw edges together (the folded edge will be in the middle) & pin.
Place the other 2 strips on the sides of the right side of the main piece & pin. Do not sew yet!
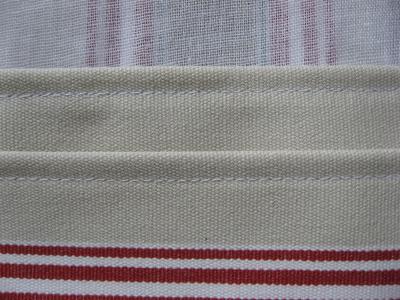
At this time, you will add your hanger. First of all you need to ascertain which edge is the top of your pillow (this is only crucial if your pillow is rectangular or the fabric strips/main fabric have a one way design). Pin your cording piece between the strips and the main fabric piece making sure the cording loop is in the middle of the pillow, NOT poking out through the seam - the ends WILL be poking out of the seam and will be trimmed later (see pic for clarification).
Now sew all these pieces together using a ¼” seam. To ensure the cording stays put, you can backstitch over this part or sew that part of the seam again to reinforce it.
Place the neutral fabric and main pillow piece right sides together with the strips sandwiched in the middle and pin.
Now sew these seams using a ¼” seam, leaving an opening for turning. Trim the seams, corners & cording.
Now turn the pillow right side out and VOILA, your very own tuck pillow!
You may, if you wish, whip stitch the opening (which will now be situated inside the pillow) closed. However, I usually just leave it as no one can see it. Give the pillow a good press to make it nice and flat.
Now you can add your finished cross-stitch piece which, hopefully, will fit into the opening. You can secure it with buttons at the corners or just leave it. I find that the stitched piece doesn’t move much unless the cat gets at it & gives it a bat!
Calculating other sizes of pillows
To calculate a different pillow size, all you need to do is measure your finished cross stitch piece and add 1½” to all sides. That measurement will be your main fabric and batting size and strip length. The width of the strips will be 2½”.
Keep in mind that the larger you make your pillow, the wider the strips should be. This, in turn, will also affect the size of the opening so double check that your stitched piece will fit!
Tutor = AlisonC
Saturday, April 26, 2008
Tuck Pillow - Class - Materials List
You will need:
- Your stitched piece (duh!)
- Fabric for your pillow - a fat quarter should be plenty unless you're making something bigger than 9"
- Scrap of neutral fabric for the back of the opening - calico, muslin, homespun
- Fusible fleece wadding - same size as your pillow. You can use a non-fusible batting if you prefer. Something not too thick is best.
- Cord for hanging
- Sewing Machine
- Thread/scissors etc
Tutor = AlisonC
Friday, March 21, 2008
Book Cover - Class

You will need the following items:
- A stitched piece, size ½” to 1” allowance around the front of your book or a part of it if you prefer.
- Some coordinating fabric for the side, back and inside flap of the book.
- Muslin or calico for the backing
- Book to cover ;)
- Matching sewing threads
- Ribbons to tie (optional)
Step 1

Determine the size of your stitched piece that will cover the book and pull one thread from each side of the stitched piece. This will help to ensure the lines that you machine sew are straight. The stitched piece can cover the front of the book or partially or cover the front and back of the book. It’s up to you. In my example the stitched piece covers the front of the book partially.
Step 2

Measure and cut the length and width that you will need to cut from the co-coordinating fabric. Wrap from the left edge (where one thread was pulled) to the back of the book. Add necessary seam allowances on all sides. Machine sew the coordinating fabric and the stitched piece. Iron open the seam.
Step 3

Cut 2 additional pieces of the coordinating fabric about ½ the width of your book, add necessary seam allowances. Machine sew one edge of both the flaps after measuring and ironing a double seam.
Step 4
Cut the backing fabric the same size as the cover piece.
Step 5

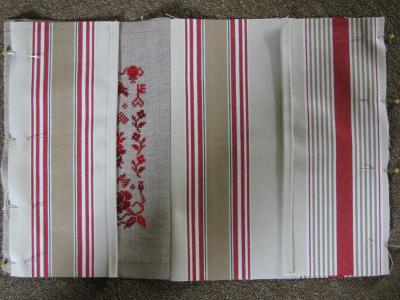
Sewing them all together. Lay the cover piece right sides up. Place the flaps, wrong side up on the both sides of the cover piece with the stitched edge towards the middle. Pin accordingly.
Step 6

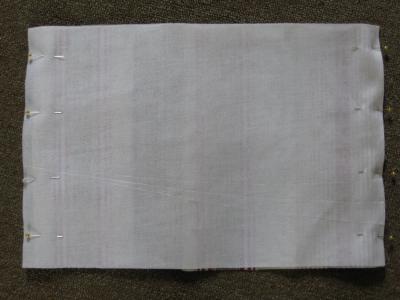
Place the backing fabric wrong side up and again pin accordingly.
Step 7

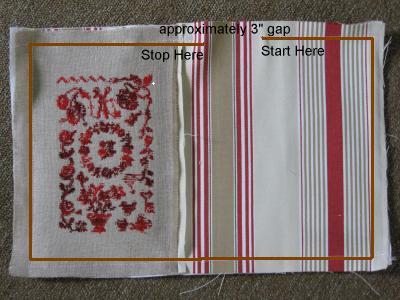
Machine sew from the top of the back portion of covered piece, about and inch before the flap starts. Backstitch a couple of stitches to fasten the beginning. Proceed to sew up all 4 sides but leave about a 3” opening for turning. Again backstitch when you end.
Step 8

Trim all sides to 1/4" and cut the corners to reduce bulk.
Step 9

Turn the cover inside out. It’ll be a mess but nothing that cannot be ironed out :)
Step 10

Stitch by hand to close the opening with matching thread.
Step 11

Give it a good ironing. Insert the book covers into the flap and there you have it your very own book cover! :)


Optional embellishments:
- Add a piece each of rick-rack, lace or ribbon on the sewn edge of the book flaps
- Add two long strips each of ribbon at mid point of the right and left edge of the book for a ribbon tie closure
- Add a small loop of ribbon/cord on the front side edge of the book and a larger loop at the back. Slip the larger loop into the smaller loop creating a closure that you can wrap around your wrist
- Add a ribbon/cord for bookmark where the opening was and stitch by hand or securely by machine.
- And anything else you can think of!
If you have any questions please feel free to comment here and I will answer them in the comment section itself so as to centralise the Q&A for everyone's benefit.
Thank you all for joining our tutorial this weekend. Pictures are always welcomed :)
Tutor = Barbara J
Wednesday, March 12, 2008
Needlebook Class
Materials Needed:
• Whatever you'll be using for your stitched piece. You choose the design, fabric, embellishments, etc. Stitched pieces should be approximately 3-4" square. If you want the back cover stitched, you'll have to take that into consideration also. Size is approximate. You can make it larger, smaller, rectangle, square, etc. It's up to you!
• Coordinating cotton fabric of your choice. I've found that the quilt fats (18x22" fabric) are perfect. Or look in the odds and ends bin at the fabric stores to see if there's anything that might work. If you want pockets on the inside of your needlebook, you'll need two pieces of fabric. This is the fabric that will go on the inside of your needlebook, so the size depends on the size of your stitched piece, and whether or not you stitched a back cover.
• Matching 1/4" ribbon. Shouldn't need much more than 14".
• Flat quilt batting - again, the amount depends on size of needlebook. 1/4 yd. should do it.
• Piece of coordinating felt. 5x8" piece should work.
• Coordinating thread to sew it all together.
• Scissors to cut fabric, batting, and felt.
• Sewing Machine. You can sew it together by hand, but a machine makes it go faster and easier.
• Iron
Step One:
Decide on what to stitch for your needlebook cover.

Step Two:
Choose coordinating fabrics for the back cover and inside cover. Cut the back cover the same size as the front cover. Cut the inside cover the same height as the front/back cover, and twice as wide minus 1/2". Cut the quilt batting the same size as the inside cover (Quilt batting not shown in pic). Press all the pieces with an iron, except for batting.

Step Three:
Take front cover and back cover and place right sides together. Stitch right hand side with 1/4" seam allowance.


Step 4:
Press seam open.


Step Five:
Here's where the fun part starts! Assemble your pieces. Front/Back Cover, Inside Cover, Batting, Ribbon.Note: If you want to put pockets inside your needlebook, you will have to cut a piece of fabric the same width as the Inside Cover, and 2/3 the height PLUS 1/2". Fold 1/2" to the wrong side of the fabric, along the LONG edge. Press flat with iron. On the same long side of fabric, stitch a seam 1/4" from folded over edge. Place Pocket with right side down on table. Place Inside Cover on top with right side down, matching bottom edges. Make 1/4" seam on each short edge. The drawing shows what it should look like with the right side facing you. (There are no pics because I didn't put pockets in this one).
Take your Inside Cover and place it right side down on table. Place batting on top. Set aside.


Place your Front/Back Cover right side up (stitching facing you). Cut two pieces of ribbon 6-8" each. Place ribbon on right and left side of cover. You may want to (temporarily) pin the ribbon in place. There are no pics of this part because I forgot (!!!) to put my ribbon on and had to improvise. However, I have relied on my artistic talents to draw a diagram.

Place the Inside Cover/Batting on top of the Front/Back Cover and Ribbon. You may want to pin all three layers together to make sewing it together easier.


You will want to leave a 3" opening at the bottom of your needlebook so that you can turn it inside out. Notice where I started my seam?

Stitch 1/4" seam all the way around the edge of the needlebook, stopping about 3" from where you started. Notice where I stopped?

Once the sewing is done, you can remove the pins. This is what your needlebook should look like once you've sewed the outside seams.

Trim the batting close to the seam. Be careful not to cut the fabric. Once you've trimmed the batting, cut the corners at an angle. This is what it should look like.

Step Six:
Carefully turn your project inside out. Your Front/Back Cover, Inside Cover, and Ribbons should be on the outside. The batting should be on the inside. To help get your corners "pointy", use a slim object to push them out. I used a wood skewer. You can also use a knitting needle, crochet hook, pen with a cap on. Be careful not to poke the object through the fabric.


Using the iron, press the front and back of your needlebook. You will have to tuck in the fabric where the opening is at the bottom of your needlebook.

Step Seven:
Take needle and thread to sew the opening closed. Press both sides of your needlebook again.


Step Eight:
Cut felt 1/4" smaller than the inside of your needlebook. One piece of felt will make 2 pages. If you wish to have 4 pages, cut 2 pieces of felt. I personally wouldn't do more than 4 pages as it would make the needlebook pretty bulky. Optional: I used pinking shears to cut the edges of the felt.

Place felt in the center of the needlebook. Use pins to hold it in place.


Place needlebook on sewing machine with felt side down and Front/Back Cover facing up. Stitch a line where the front and back covers are seamed together.
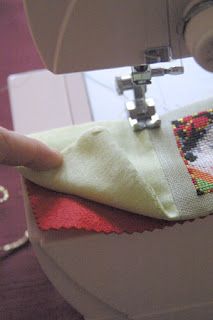
This is what it should look like when the felt page(s) are stitched in.

I hand-sewed on the gold cording to match the closure. Tie the ribbon and viola, you have a finished needlebook!


Here are other needlebooks I've made:
Je Brode/I Embroider
Friendship Grows
Here are needlebooks created from my tutorial: More Needlebooks
If you have any questions, feel free to email me at mearitaira@yahoo.com.
Tutor = Meari