Saturday, October 20, 2007

Gallery - Lavender Pillow

lavandared.jpg

Linen "Shell" Permin of Copenhagen 28 ct
Mouline' DMC, two threads on 2x2
scheme from "Petits Cadeaux Brodès" by Sylvie Castellano
stitched by Teresa

Friday, October 19, 2007

Embellished Bag - Class

mosaic88157871.jpg

Welcome Everyone to the Embellished bag class weekend. All the pictures are clickable and shall lead you to a larger view.

You can see the list of materials needed

dsc00900.jpg

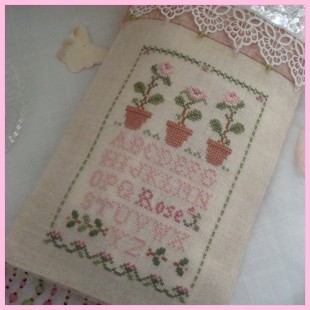
Step 1: Cut backing fabric slightly larger than stitched piece, For this particular design I have allowed 5cm from the edge of the design to the seam and 1cm for my seam. For the top allow the depth of your lace plus a further 5cm for turning over to make the top neat. - As you can see ffrom my picture I didn't remember to allow extra at the top and so had to make a cuff.

Step 2: Either hand sew or machine stitch the 2 sides and the bottom together

dsc00903.jpg

Step 3: Trim the corner so that when you turn it to the right sides and gently push the corners out they won't be bulky

dsc00904.jpg

Step 4: Turn the bag right sides out.

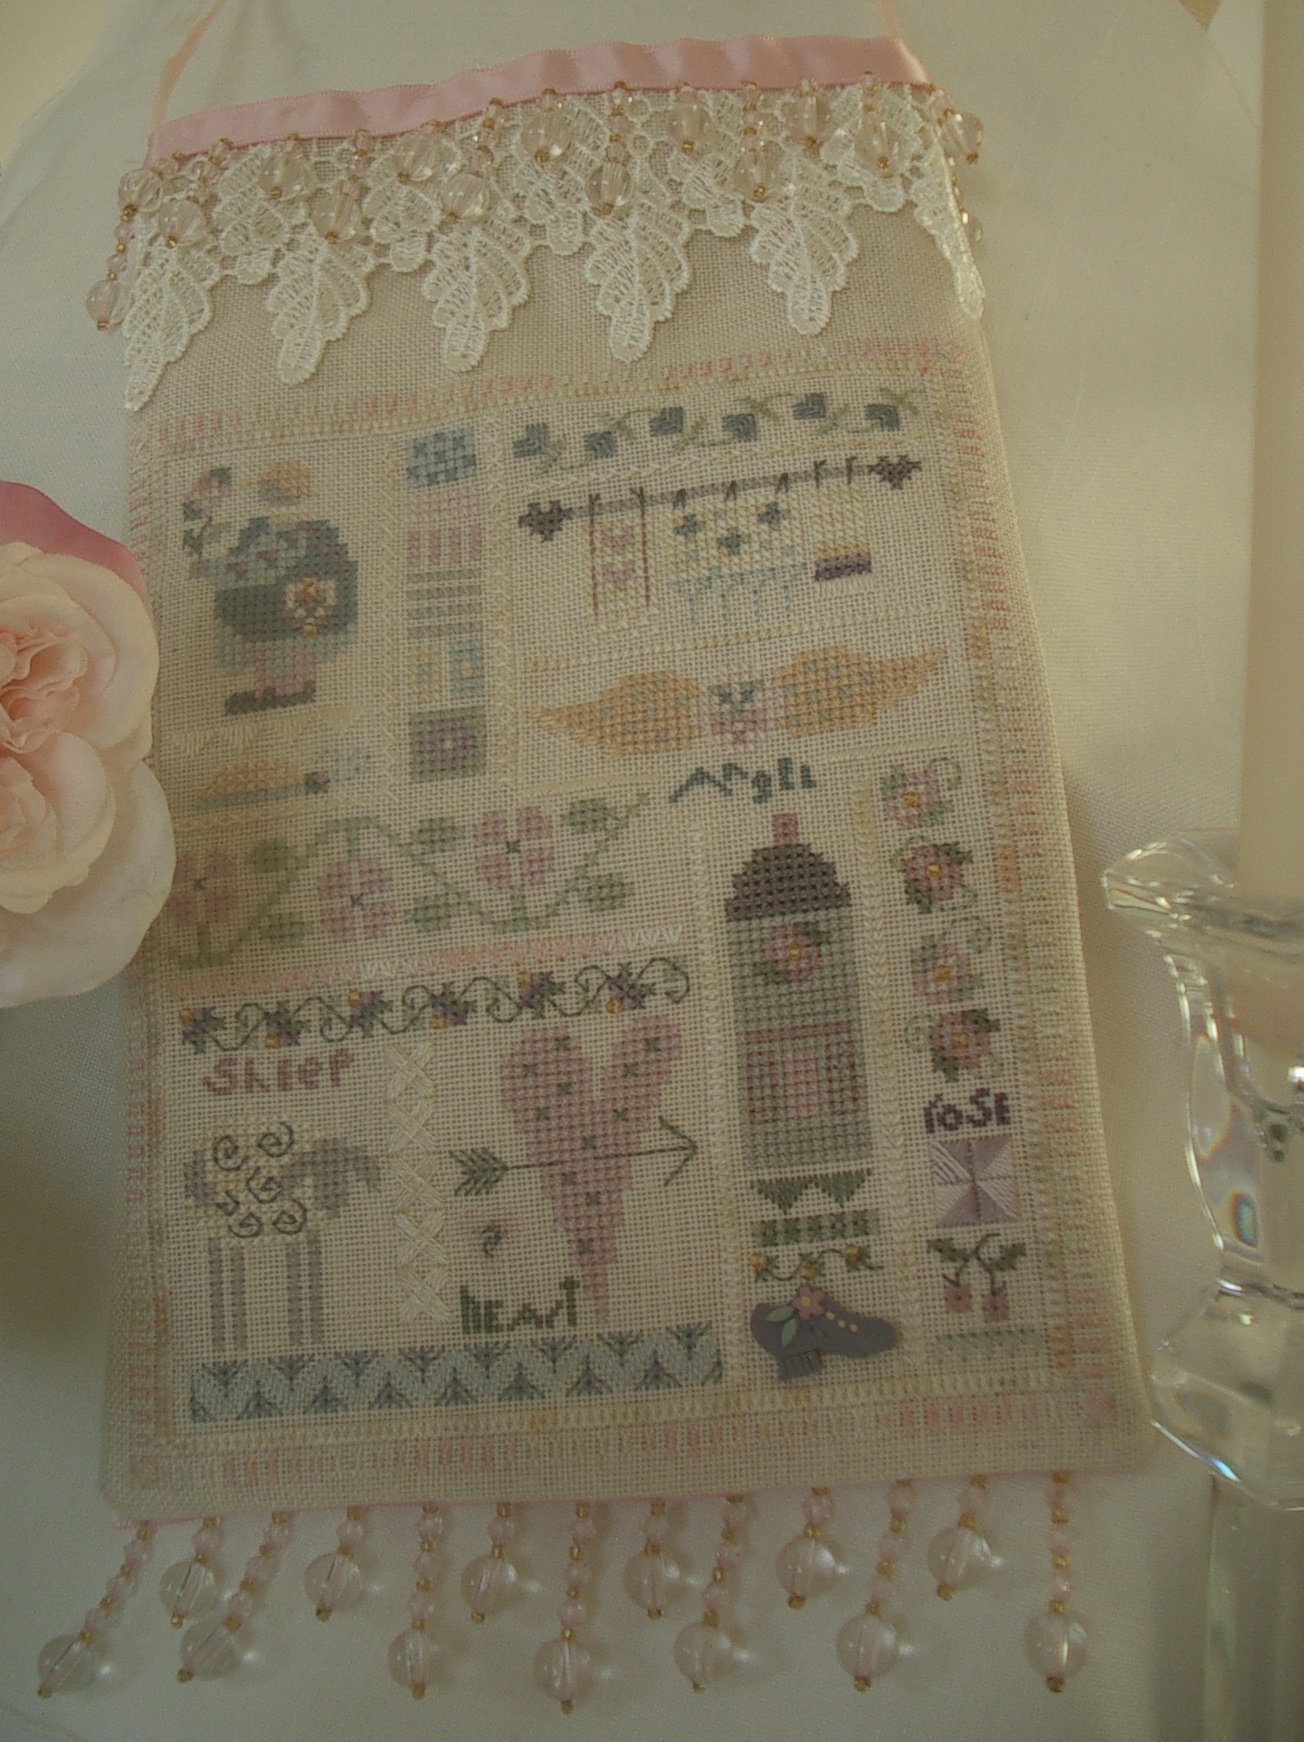
APOLOGIES EVERYONE - I cannot seem to get pictures to upload; Wordpress and I don't seem to get along so I will have to continue without pictures.

Step 5: Measure the top of your bag (mine was 15cm) and cut your lace that size. Pin or tack your chosen lace to the top of the front of your back, then handsew into place only going through the lace and the front of the bag.

Step 6: Pin or tack your ribbon or cord for the handle (this should be cut to your chosen size), either to the inside of the bag where you can't see the tails or to the outside of the bag where you will see the tails, then handstitch into place securely.

Step 7: Measure the size of the bottom of your bag and cut the beaded ribbon to size. Pin or tack into place on the back of your bag at the bottom so you can see the beads hanging down. Hand sew into place.

Step 8: I added some tiny glass beads to the ends of my lace for extra adornment. You could do the same.

This type of bag lends itself to all sorts of designs and sizes and trims. Let you imagination run riot instead of beads and lace you could add tassels and pom poms, ribbon and cording etc etc.
I really hope this was clear. If not, please feel free to ask any question by posting in the comments.

Remember too that this is my way of making these bags I'm sure there are other easier ways than this, but this is how I do them.

If you do make a bag please share it with us all so we can see.

Tutor = Su

Wednesday, October 10, 2007

Gallery - Biscornu

Here is a small biscornu for a nice exchange!


biscornu.jpg

Aida 55 fabric
freebie from Aurelle blog
stitched by Teresa

Saturday, October 6, 2007

Embellished Bag - Class - Materials List

Hi everyone!

We shall be having an embellished bag class weekend on 20 -21 October. Hope that you'll join us.

imgp2334.JPG

Here’s a list of what you’ll need to make an embellished bag

dsc00871.JPG

Materials:

  • stitched piece, leaving a generous margin around the design. My design was 9 cm x 16cm (3 1/2" x 6") and I added a 1-cm seam allowances for this project

  • fabric of the same size - I tend to cut mine slightly larger

  • ribbon for the hanger

  • Beaded trim

  • lace

  • sewing thread that matches.

Tools:

  • ruler or measurer’s tape

  • scissors

  • (optional) pinking shears

  • pins

  • seam ripper or small pointed scissors

  • chopstick or whatnot to turn your work inside out and make crisp corners

  • hand-sewing needle

  • Sewing machine (optional)

This is a very easy project, and while a sewing machine will make your work go quicker, you can do this by hand. Anyone can do this project - it's really easy peasy!

Please feel free to ask if you have any question. We all know there is no such thing as a dumb question ;)

Tutor = Su

Tuesday, October 2, 2007

Next Year's Classes

Just a quick post to touch base regarding the planning of next year's classes. Karen and I have been looking at potential tutors for the list of classes we have on request from the survey you completed at the creation of this blog.

What I'd also love to know is whether, since that survey was taken, there are any other topics you'd like to see covered. If there is a specific technique you've seen on someone's blog or website, and you'd love to know how to do it yourself, please leave a comment with the blog details and the project, and I'm more than happy to contact the blog owner to see if they would be willing to run a class for us all.

Likewise, if you are familiar with any of the techniques from our previous survey, and you'd like to offer your services to write up a tutorial, we'd be thrilled to hear from you ... as the time will be arriving very very soon to start coordinating class times for next year (I know, I can't believe it myself!).

Thanks again for your continued support of the blog - we look forward to another great year of learning and sharing :D

Hugs,


* * * * * * * * * * * * * * * * * * *

PS: Here are the results of the previous survey for your information (since then the bourse and flanged pillow tutorials have already taken place - and I have a needleroll tutorial sitting in the wings ready for next year).

  • Lining a tin - 51 votes
  • Mattress-style pincushion - 41 votes
  • Stitcher's bourse - 39 votes
  • Needlebook (with needle pages) - 38 votes
  • Pillows - flanged - 38 votes
  • Emery strawberry - 35 votes
  • Sewing pouch/purse - 34 votes
  • Lining a basket - 33 votes
  • Needlecase (for needle packets) - 33 votes
  • Covered book - 31 votes
  • Flat-fold - 31 votes
  • Scissor case - 31 votes
  • Tassels - 31 votes
  • Ornaments - pendibulle - 27 votes
  • Pillows - tuck - 26 votes
  • Tin topper - 26 votes
  • Tote bag - 26 votes
  • Ornaments - humbug - 25 votes
  • Cording - 24 votes
  • Tape measure cover - 24 votes
  • Treat bag/sachet - 23 votes
  • Bellpull - 20 votes
  • Scissor fob - stitched - 19 votes
  • Biscornu - 18 votes
  • Scissor fob - beaded - 18 votes
  • Quilted wallhanging - 17 votes
  • Needleroll - 15 votes
  • Bookmarks - 9 votes
  • Other - 1 vote
 

Made by Lena