Looking for inspiration for this month's theme?Try
The World's Largest Collection of Smalls blog as a starting point for loads of pictures of stitching accessories, which are all grouped by category. Check out everyone's gorgeous
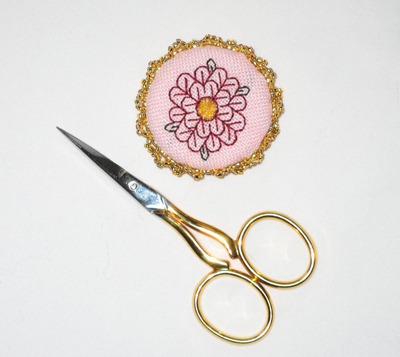
scissor fobs,
needlecases,
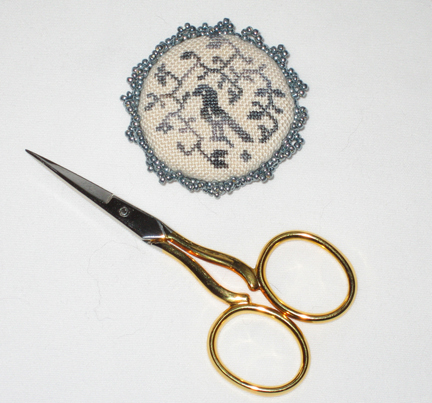
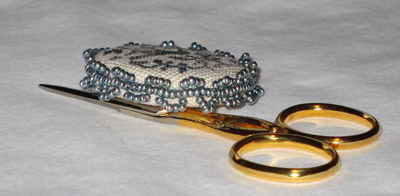
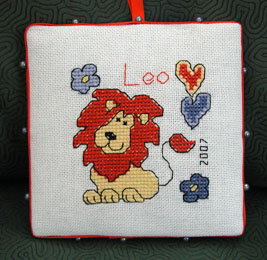
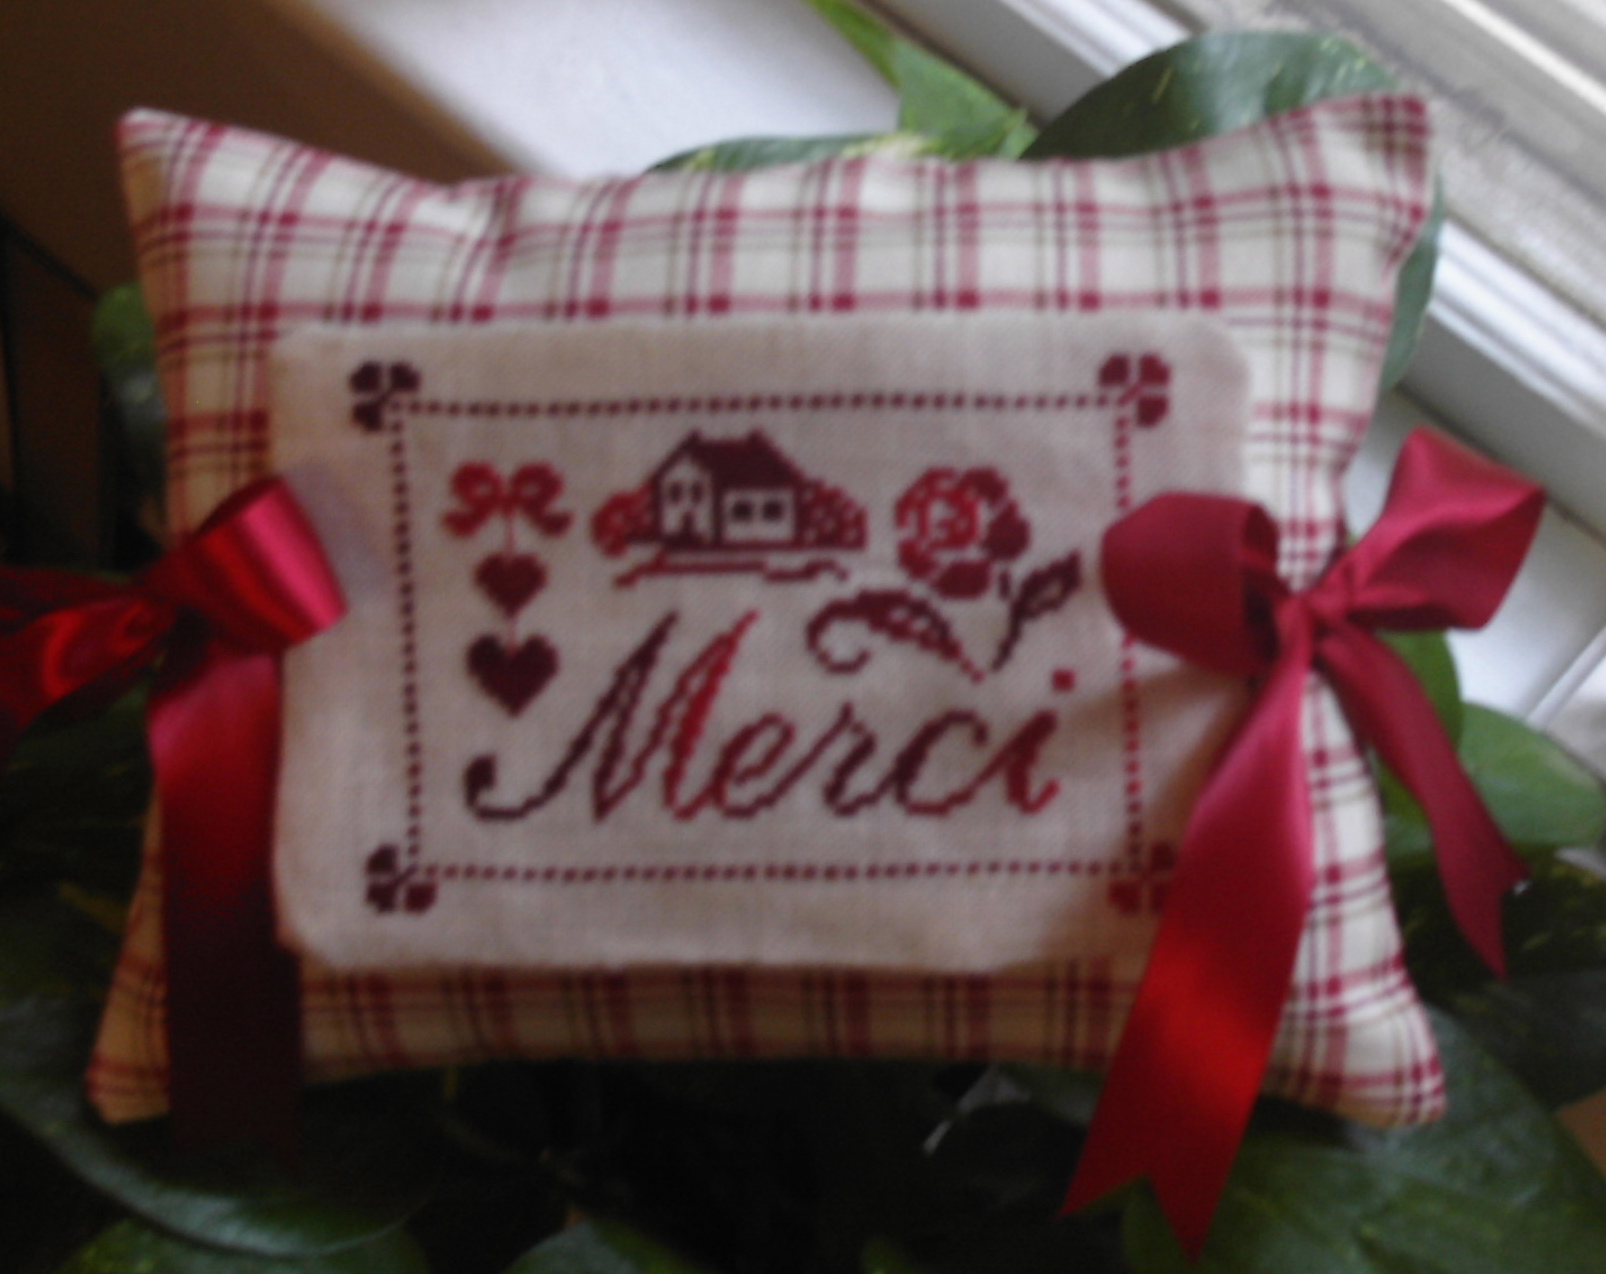
pincushions,
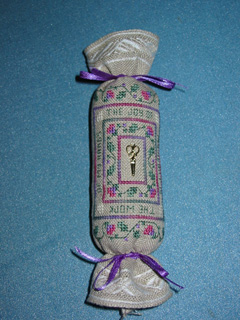
needlerolls,
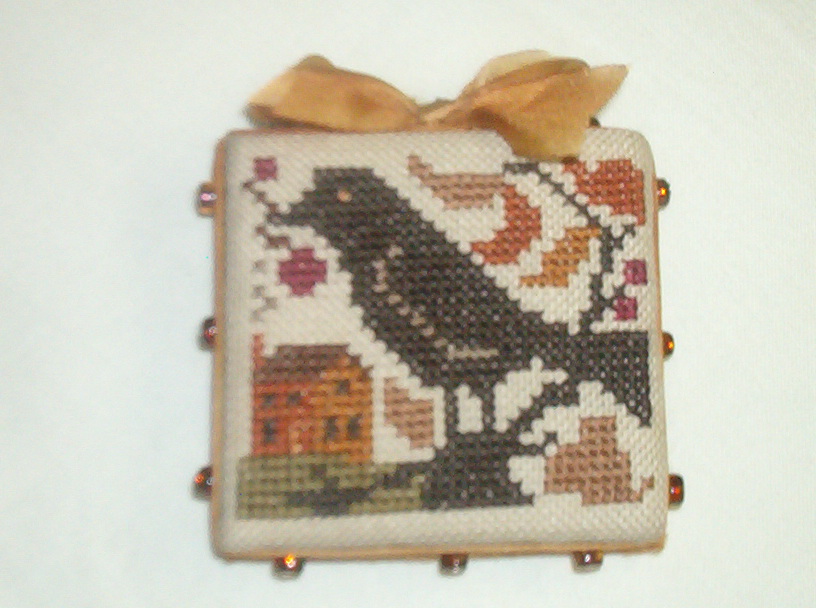
pinkeeps,
biscornu,
scissor pockets, and
tape measure covers, along with all the other beautiful finishes
Think outside the box: for example,
mini biscornu make wonderful scissor fobs, like this cute patriotic fob by
Linda in Iceland: 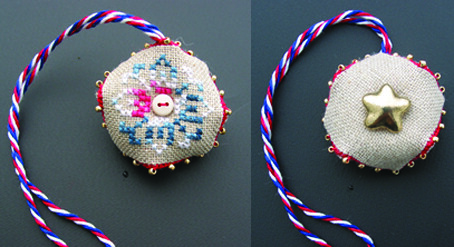
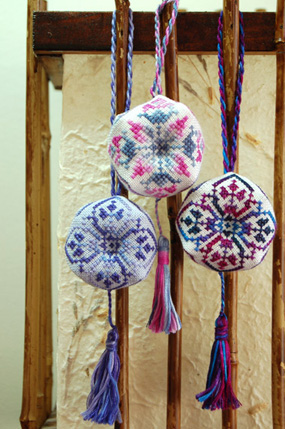
and these 3 colourful fobs by
Melanie in Australia:
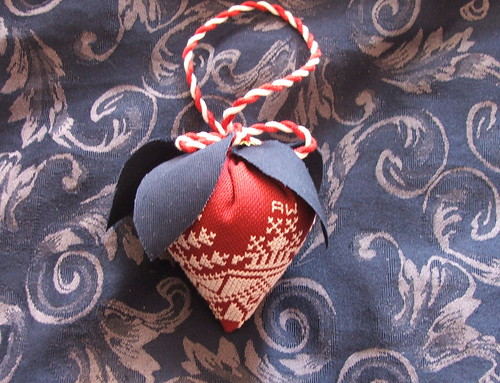
Or why not try out a strawberry fob, like this one by Blackbird Designs in last year's JCS ornament issue, beautifully stitched and finished by Cathymk:
More thinking outside the box; needlerolls don't necessarily have to be vertical designs - here's one I made using a horizontal design, which I adapted slightly (Homeward at Last by JBW Designs):
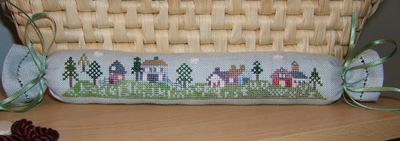
and if you don't fancy the idea of hemstitching the ends, just use banding, like this one stitched by
AnneS:
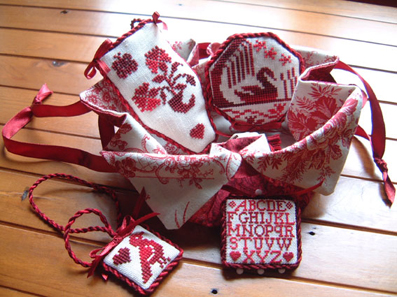
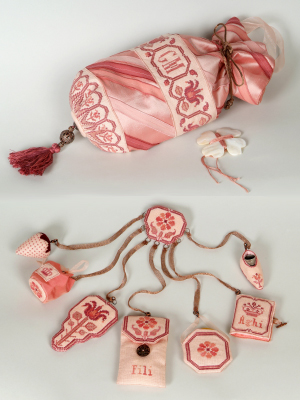
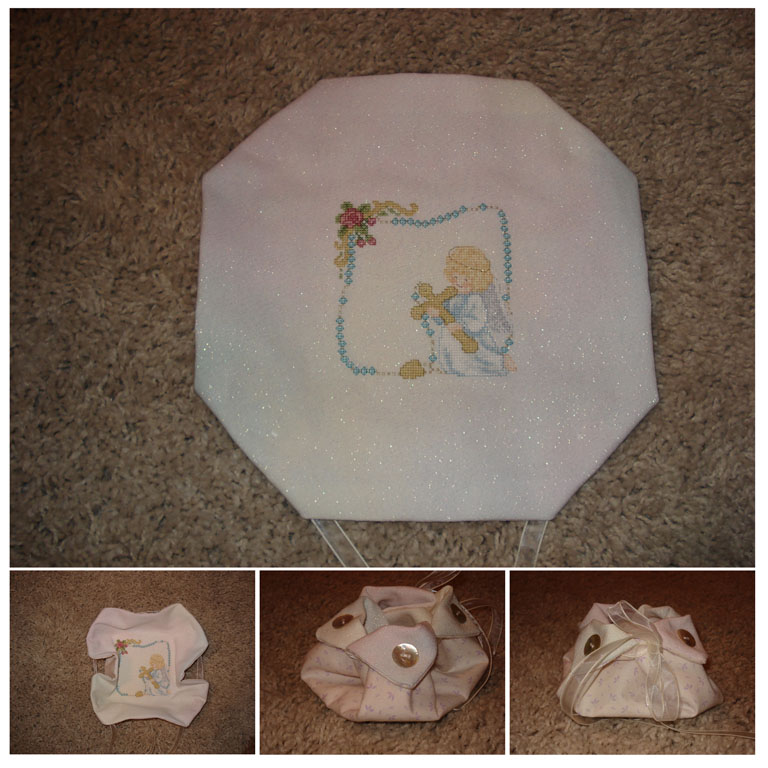
If you've got plenty of time on your hands, why not create a
matching set of accessories, like this beautiful set of LHN designs stitched by
Becky:

or these fabulous Quaker accessories stitched by
Nicki?
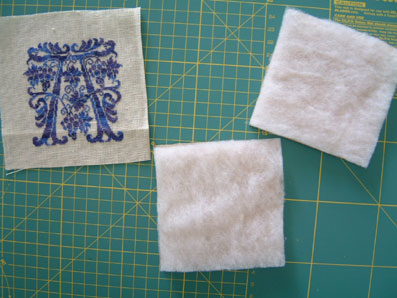
I couldn't find a tutorial for a
needleminder, but the basic idea is quite straightforward.
Michelle has made a couple of beautiful needleminders recently (I'm totally drooling over the Quaker one):
Sarah Moon (top) and Flower of Courage needleminders, stitched by Michelle (Cozyegg)
The instructions she used came with a kit but think metal ornament finishing forms, magnets (inside and out) and any kind of trim for the edging and it's not too hard to work out how to create your own. Or you could try a basic pincushion or fob with magnets inside to hold your needles or pick up dropped pins, like these great examples by
Barbara: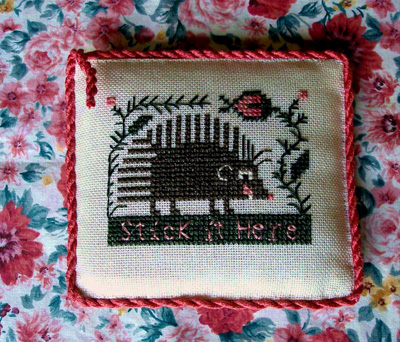
and
Lelia:

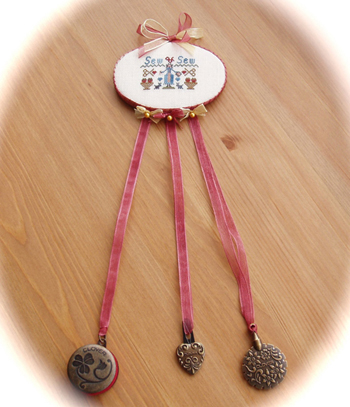
And finally, if you're up for a challenge and want to try something completely different, what about a chatelaine to hold stitching tools? Here's an example of one designed by Guilia Punti Antichi:
and a gorgeous one created to her own design by Helen:
So what are you waiting for? Drag out your stitched pieces and your finishing supplies and get finishing! And don't forget to post your finishes to the blog so we can all admire them. If you've not already signed up to post on here you'll need a
WordPress account (free, no need to create a blog) and then you'll need to
email me to add you as an author so you can post. It's quick and painless (honest!)
Have fun!


