Hello all,
I'm running a bit late this month but have finally cobbled together some photos and text for Strawberry fob finishing.
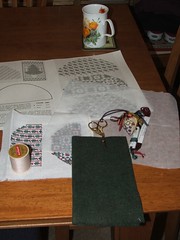
First gather your equipment...
For this project you will need:
- Stitched project - some suggestions: Prairie Schooler chart 100 - American Strawberries & chart 101- Prairie Strawberries (used for this tutorial), Anita's little Stitches designs, Blackbird Designs - there is a strawberry fob in the Secret Garden pattern (OOP) from the Loose Feathers series of 2006 and a Blackbird Designs also designed a fabulous quaker strawberry for the 2006 Annual Just Cross Stitch Christmas Ornaments issue (I'm sure this one is still available).
- Interfacing
- Ribbon, felt
- Stuffing
- Scissors, needle, thread, pins.
- Iron
And you can see in this photo, I also made sure I had a cup of tea to work with.
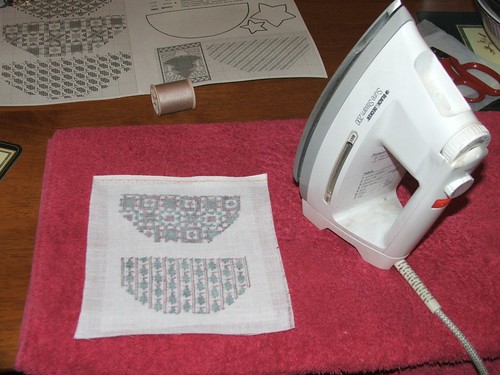
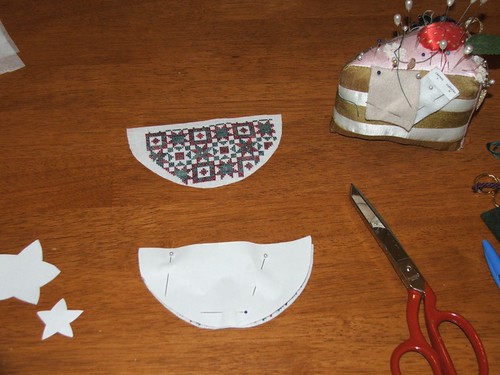
Take your stitched piece and iron a piece of interfacing to the reverse of the stitching.
Make a semi-circle template, pin to the stitching and cut around. You can see I have mucked up centering this up with the "quiltish" strawberry above - this is not really a problem for this finishing technique.
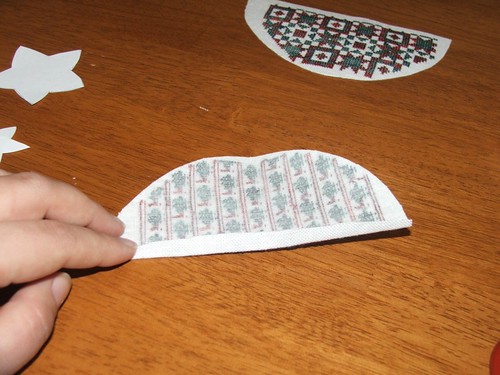
Next, finger-press a small seam along the straight edge. Make this seam as close to the stitching as possible.
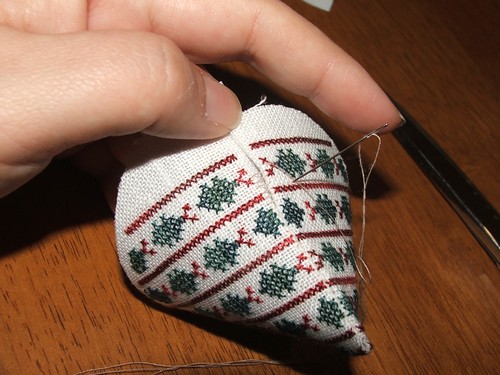
Fold the semi-circle to form a cone (see above). Stitch the straight seams together. I like to use a
ladder stitch to do this, but you can use a sewing machine if you wish (I find it is easier to do this by hand).
I kinda hoped you'd be able to see the ladder stitch in this photo. If you pull it nice and tight it disappears into the seam. I'm pretty pleased with the join for this strawberry.
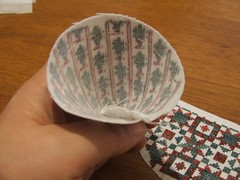
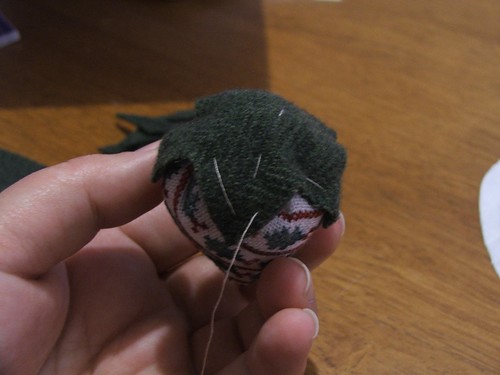
If you used the ladder stitch to join the seam, secure the thread and then run a gathering stitch around the top of the cone around 1/2 an inch from the top.
Draw the gathers together a little and stuff your strawberry - I've used hobbyfill.
Draw the gathers tighter and run a few stitches across the "opening" and pull these tight to secure your thread. You can insert a hanger at this point if you wish, stitch through it as you secure your thread.
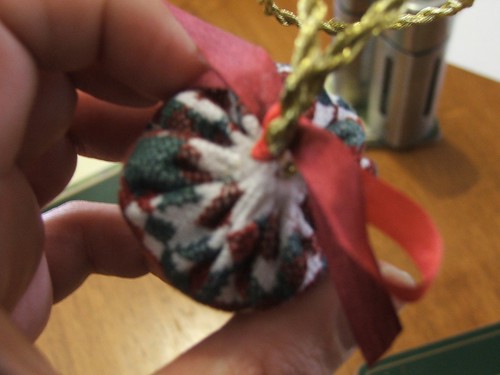
For my first strawberry, I've attached a felt cap. I cut the felt out using the template in the pattern (Prairie Schooler pattern 101: Prairie Strawberries) and tacked it to the strawberry.
Next, I stitched around the felt using a buttonhole stitch - making sure I caught the linen beneath. Then I attached the second felt star (template from the prairie schooler pattern) using buttonhole stitch.
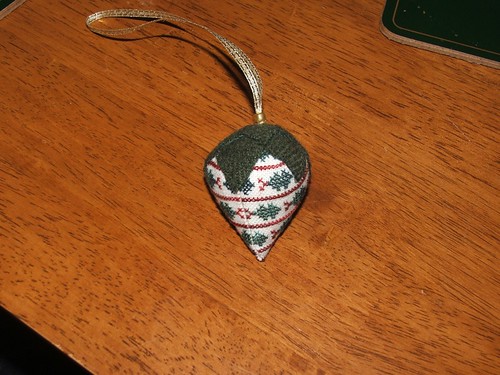
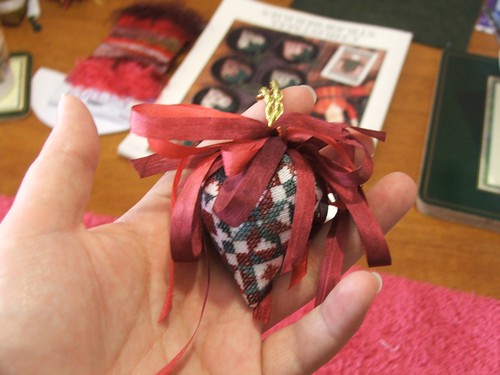
Attach a hanger to the top. I made a loop of ribbon and secured with tiny tacking stitches and slipped a bead over the ribbon to hide the stitches.
Another pretty way to finish the strawberry is to tie ribbons around the hanger - I learned this technique from Janie Hubble from The Cat's Whiskers Design Studio at a class last year.
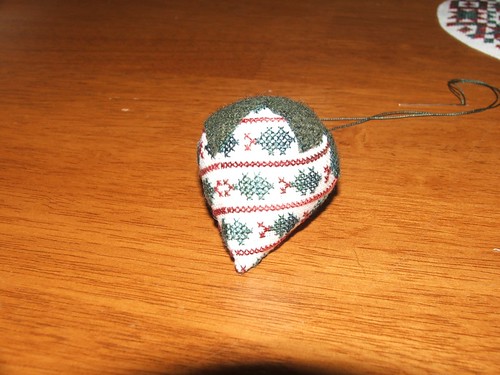
Here's the other design I stitched from Prairie Strawberries by Prairie Schooler. You can see in the photo I have gathered the top and inserted the hanger. I've cut a length of ribbon and tied it in a bow around the hanger. Just keep tying bows around the hanger - pushing them down towards the strawberry. Have them facing in different directions.
When you are satisfied with the ribbons, trim the ends and you are done.
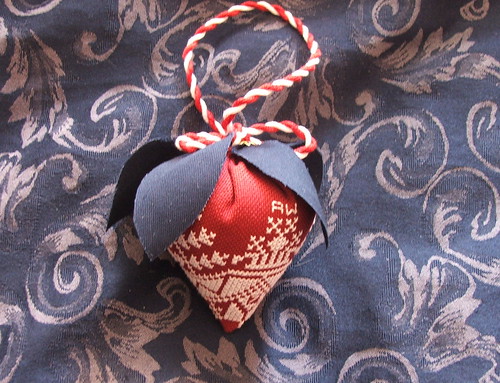
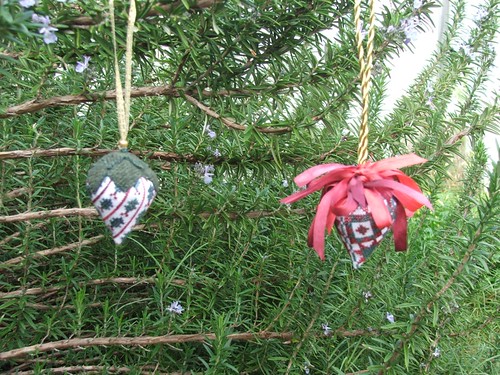
Here are the two finished strawberries. I love them! - So cute!
I hope you will enjoy making your own strawberries too and will find this tutorial useful.
Cathy.
Tutor = CathyMK