Welcome to our tuck pillow tutorial.
This tutorial will be for a 7" flat door hanger tuck pillow but you can make yours any size you like. Smaller tuck pillows are good for Christmas ornaments. To recap, following is a list of what you need to make the pillow.
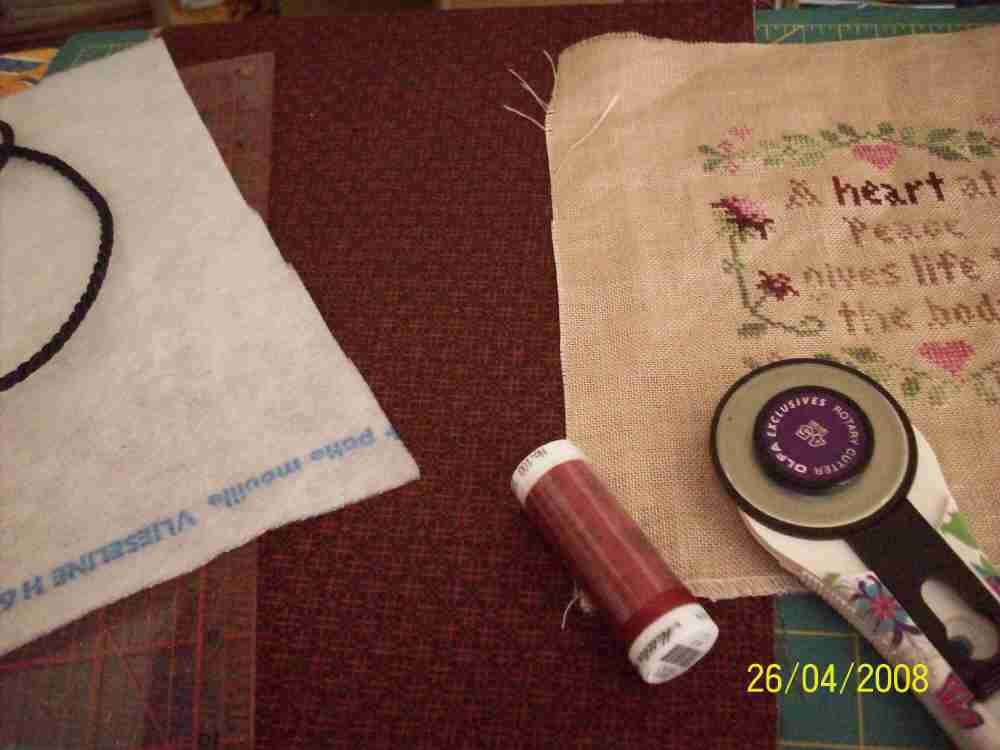
- your stitched piece
- main fabric for pillow - a fat quarter will be plenty
- neutral fabric for back of opening - a scrap piece the size of your pillow. I use calico/quilters muslin/homespun or whatever it’s called in your country.
- fusible fleece wadding - the width of your pillow. I use fusible fleece on my pillows as I prefer the finish it gives to the back of the pillow. You can, of course, use any batting you prefer. Something not too thick is best.
- cord for hanging
- sewing machine
- thread
Cut 1 piece of main fabric 7½” by 7½" for the back
Cut 1 piece of neutral fabric the same size
Cut 1 piece of fusible fleece the same size
Cut 4 strips of main fabric 7½” by 2½"

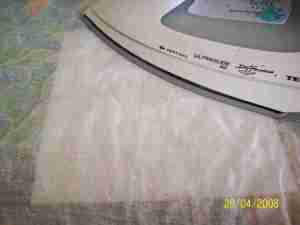
Fuse the fleece onto the wrong side of the main fabric piece - this piece will form the back of the pillow. I always use a pressing cloth for this step. If you are using a non-fusible batting, pin the batting to the wrong side of the main fabric piece & sew using a ¼” seam. Now treat this piece as one.
Fold the 4 strips of main fabric lengthwise, wrong sides together. Press.

Place 2 of the strips onto the top and bottom of the right side of the back pillow piece, raw edges together (the folded edge will be in the middle) & pin.

Place the other 2 strips on the sides of the right side of the main piece & pin. Do not sew yet!

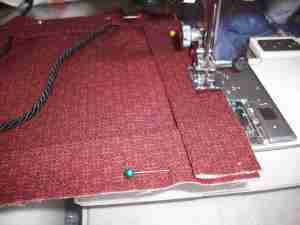
At this time, you will add your hanger. First of all you need to ascertain which edge is the top of your pillow (this is only crucial if your pillow is rectangular or the fabric strips/main fabric have a one way design). Pin your cording piece between the strips and the main fabric piece making sure the cording loop is in the middle of the pillow, NOT poking out through the seam - the ends WILL be poking out of the seam and will be trimmed later (see pic for clarification).

Now sew all these pieces together using a ¼” seam. To ensure the cording stays put, you can backstitch over this part or sew that part of the seam again to reinforce it.
Place the neutral fabric and main pillow piece right sides together with the strips sandwiched in the middle and pin.
Now sew these seams using a ¼” seam, leaving an opening for turning. Trim the seams, corners & cording.

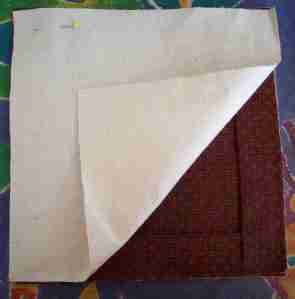
Now turn the pillow right side out and VOILA, your very own tuck pillow!

You may, if you wish, whip stitch the opening (which will now be situated inside the pillow) closed. However, I usually just leave it as no one can see it. Give the pillow a good press to make it nice and flat.
Now you can add your finished cross-stitch piece which, hopefully, will fit into the opening. You can secure it with buttons at the corners or just leave it. I find that the stitched piece doesn’t move much unless the cat gets at it & gives it a bat!

Calculating other sizes of pillows
To calculate a different pillow size, all you need to do is measure your finished cross stitch piece and add 1½” to all sides. That measurement will be your main fabric and batting size and strip length. The width of the strips will be 2½”.
Keep in mind that the larger you make your pillow, the wider the strips should be. This, in turn, will also affect the size of the opening so double check that your stitched piece will fit!
Tutor = AlisonC