Supplies needed:
- Stitched project
- Backing fabric
- Approx 6" (15-16cm) of ribbon to coordinate with your stitching for the hanger (I normally use 7mm double-sided satin ribbon)
- Stuffing
- Sewing machine with coordinating thread to match your fabrics
- Complimentary sewing thread and needle
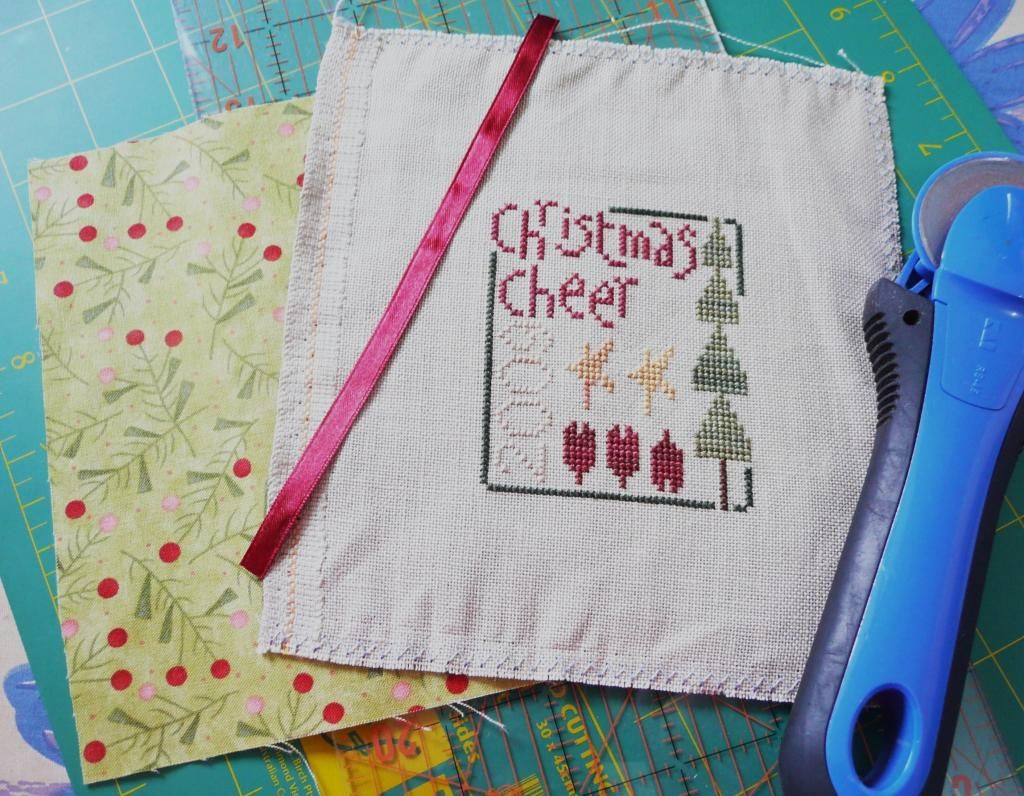
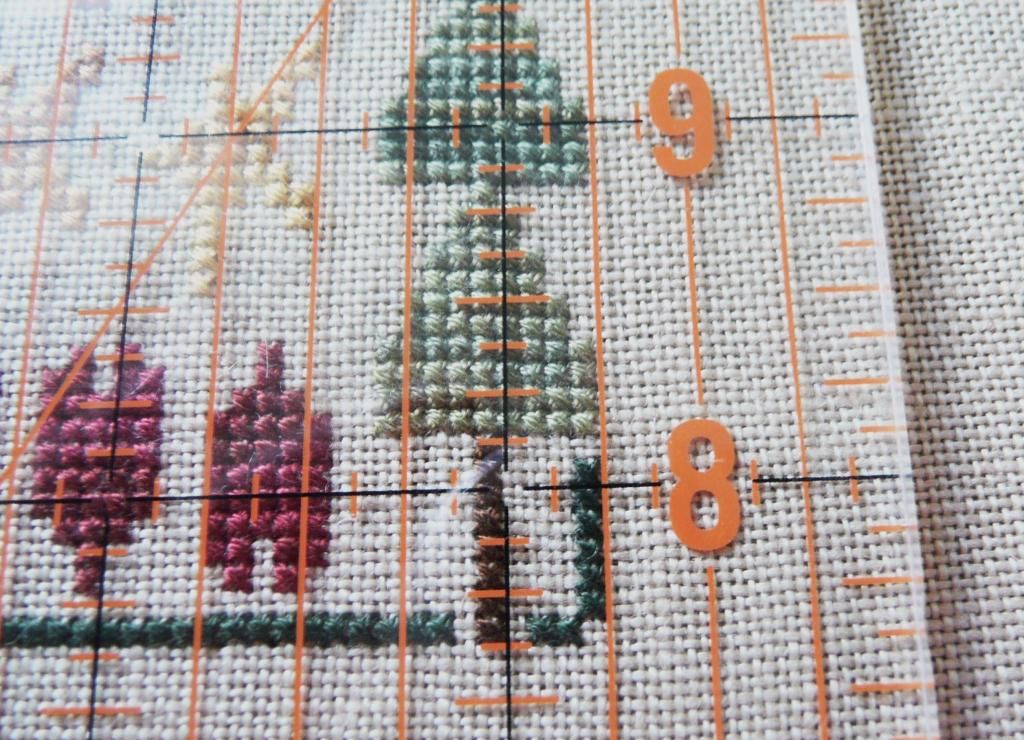
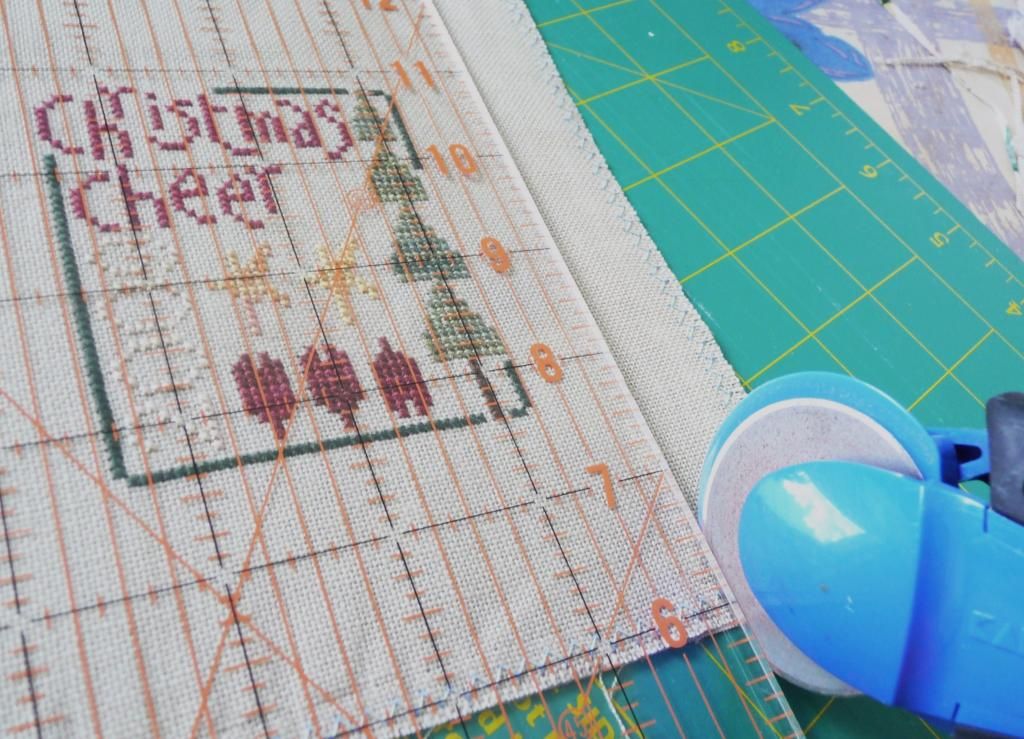
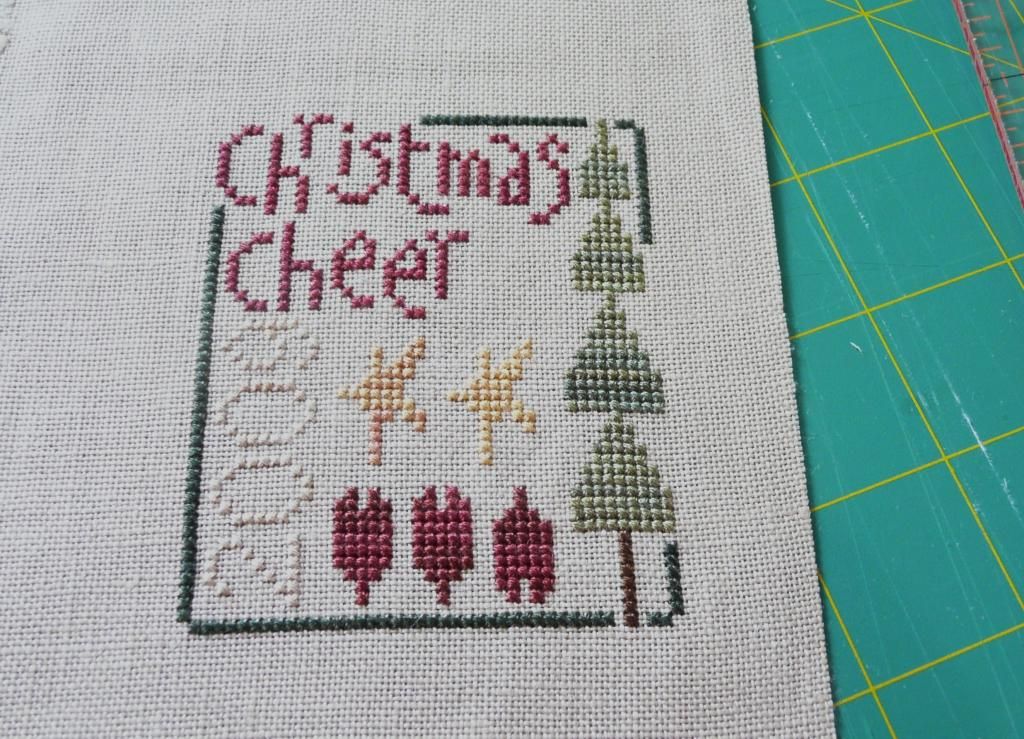
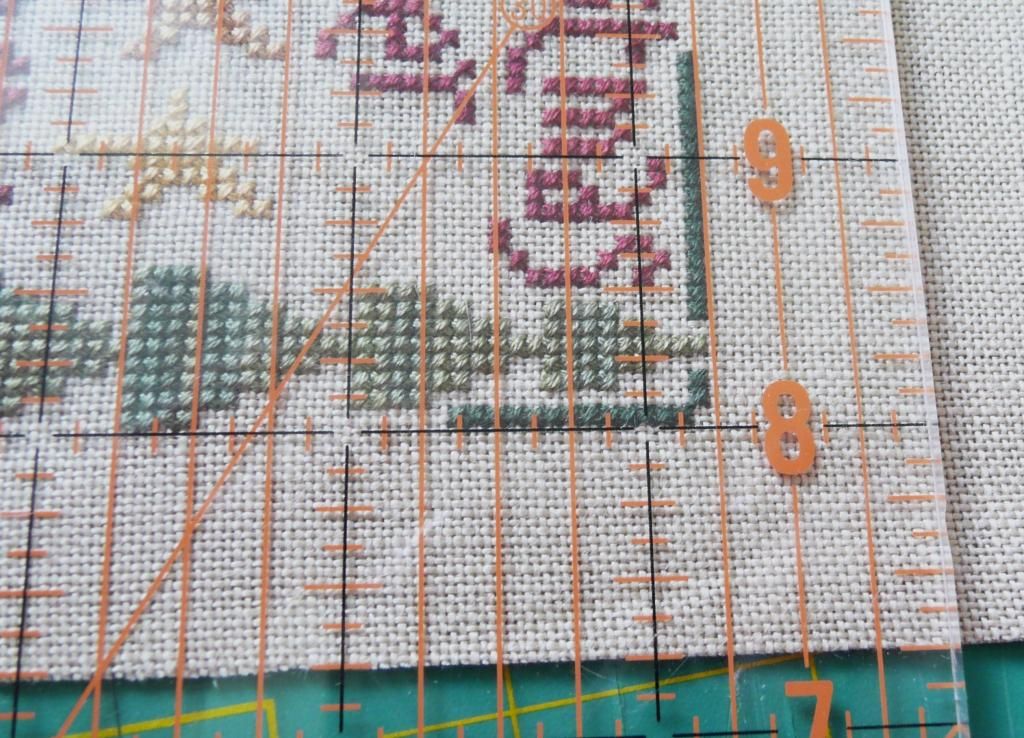
2. Now we need to cut the fabric so that all sides are equal. The amount of margin that you leave is up to you, here you can see that I've allowed 3/4" margin on each side. I line up my ruler along the edge of my stitching, and cut the fabric with my rotary cutter (both my stitched piece and backing fabric at the same time).
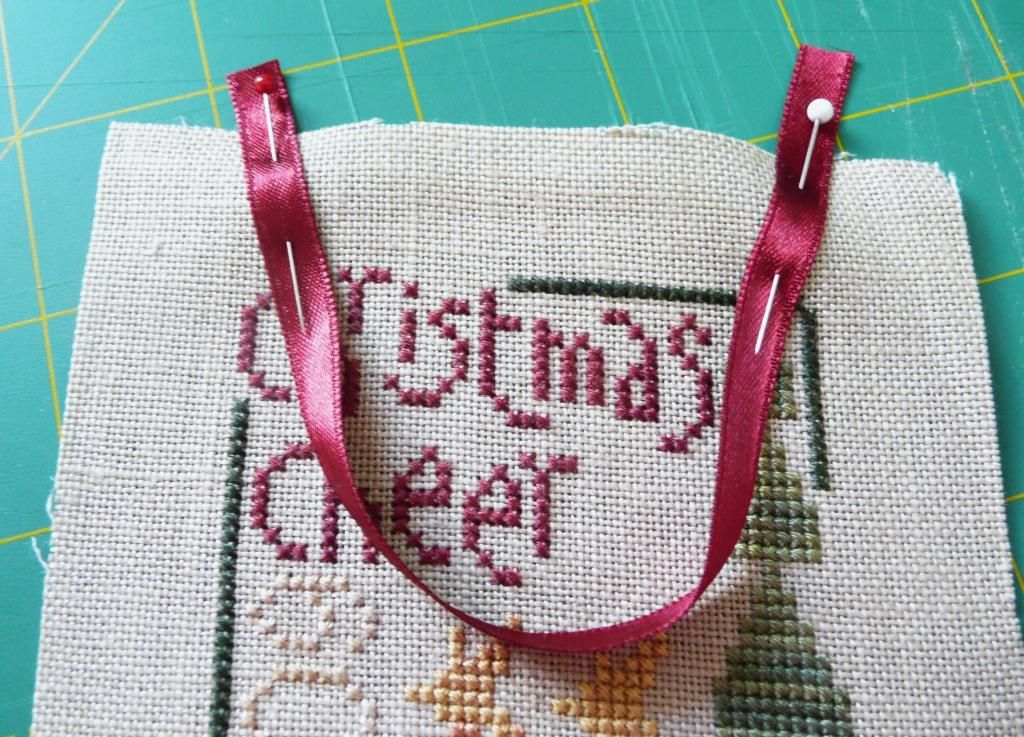
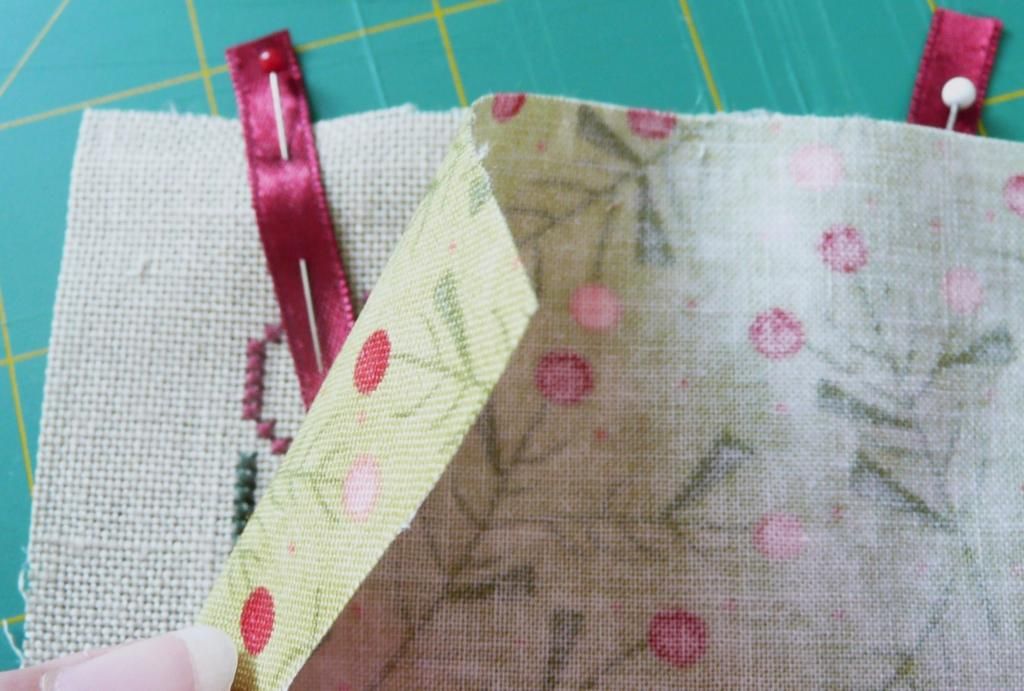
4. Next I attach the piece of ribbon to my stitching - the ribbon must be attached to the right side of your stitching. Adjust the size of the loop to match your own preferences, then pin in place. I like to have a slight angle to the top of the ribbon where it is pinned in place, so that it hangs nicer when it's finished.
5. Next place your backing fabric on top of your stitching/ribbon, with right sides facing, as shown below. Pin the pieces together around the edges.
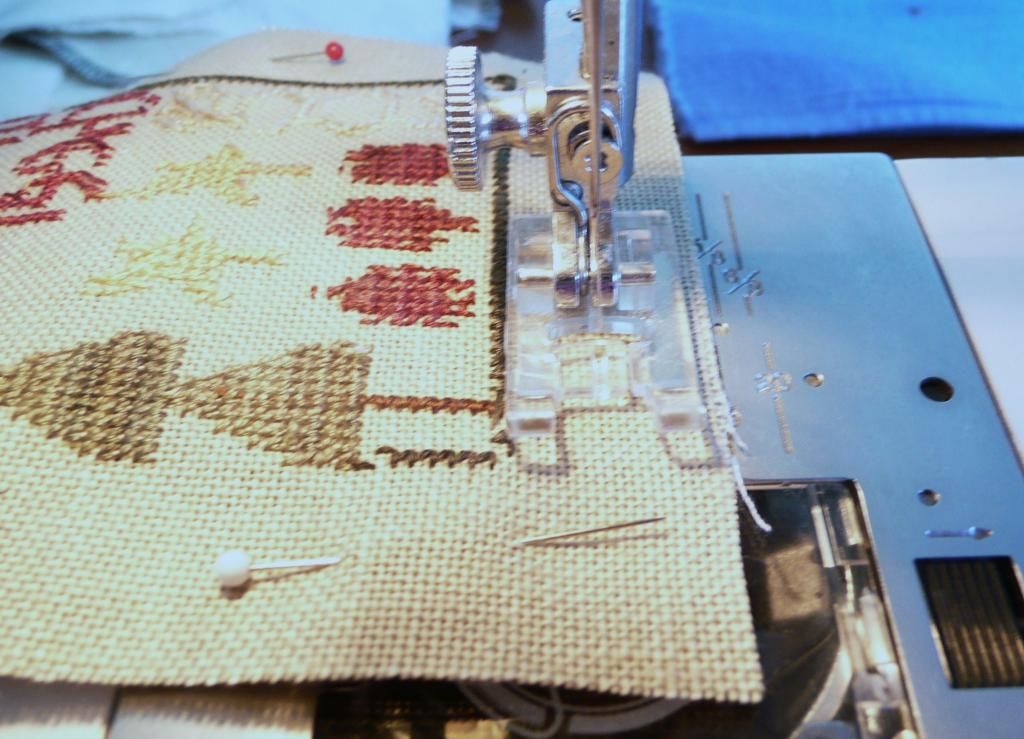
6. Now we need the sewing machine - once again, it is up to you to choose how much fabric margin you'd like to leave around the stitched piece.
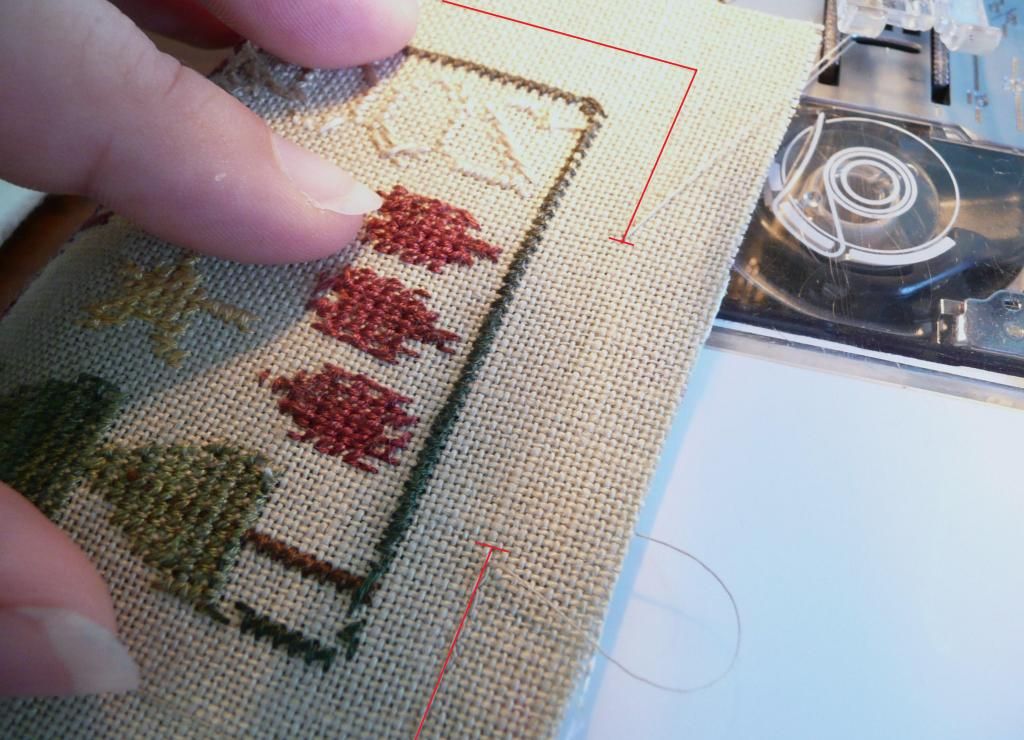
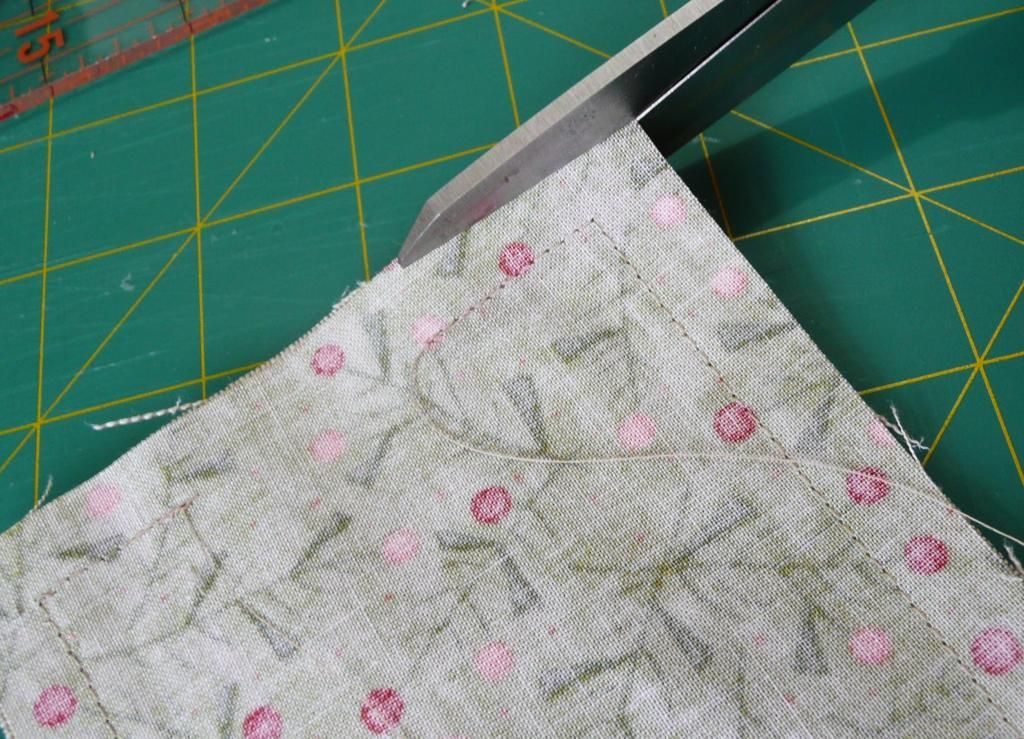
It's quite hard to see the stitching threads because they match the fabric so well, so I've doctored the photo and drawn a line to show you the stitching line of where I started and finished - hopefully you can see clearly now that I have left an opening of about 1 1/2". I like to leave a long tail of the sewing thread at one end, which I don't trim off, so that I can use it for stitching up the final seam opening.
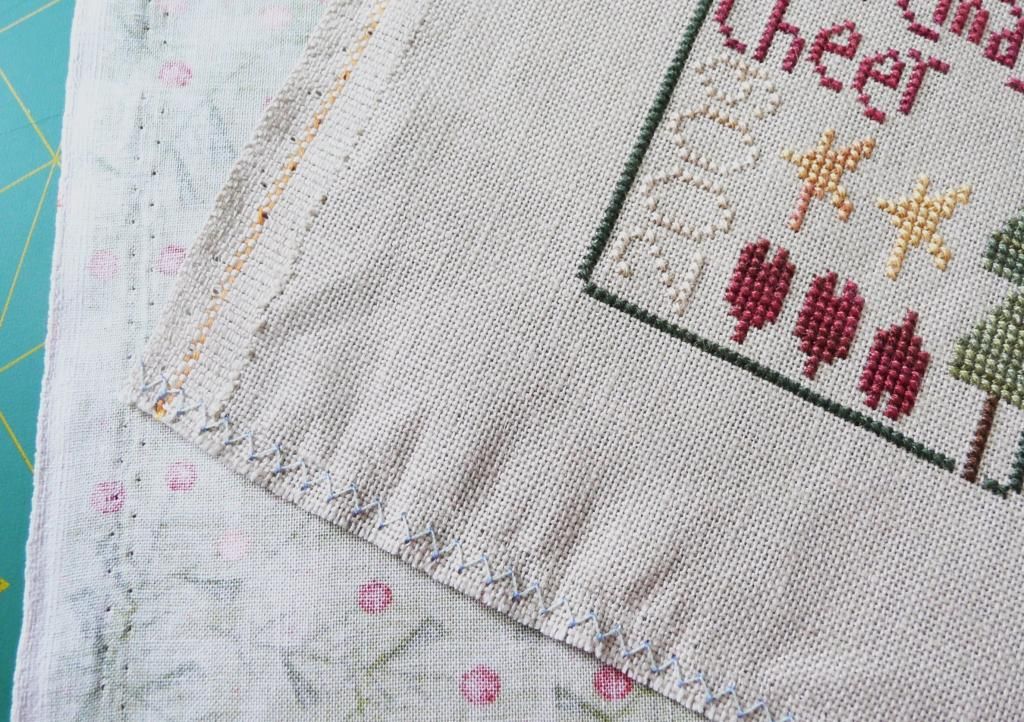
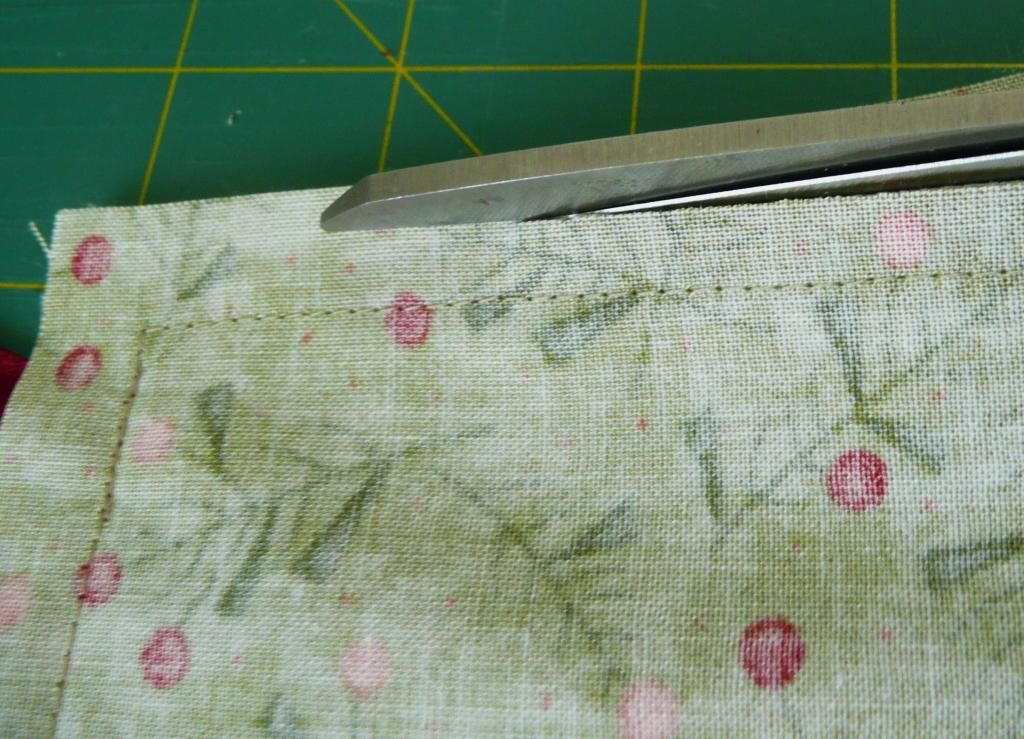
7. The next step is to trim the fabric at the seams, so they aren't as bulky when you turn the ornament inside-out. The photo on the below left is my bottom seam - some fabrics tend to fray a lot when you are trying to pull the fabric through the opening, so I've learnt to leave the bottom seam a tiny bit wider than the other three seams. The photo on the right is the usual amount that I trim back the main seams.
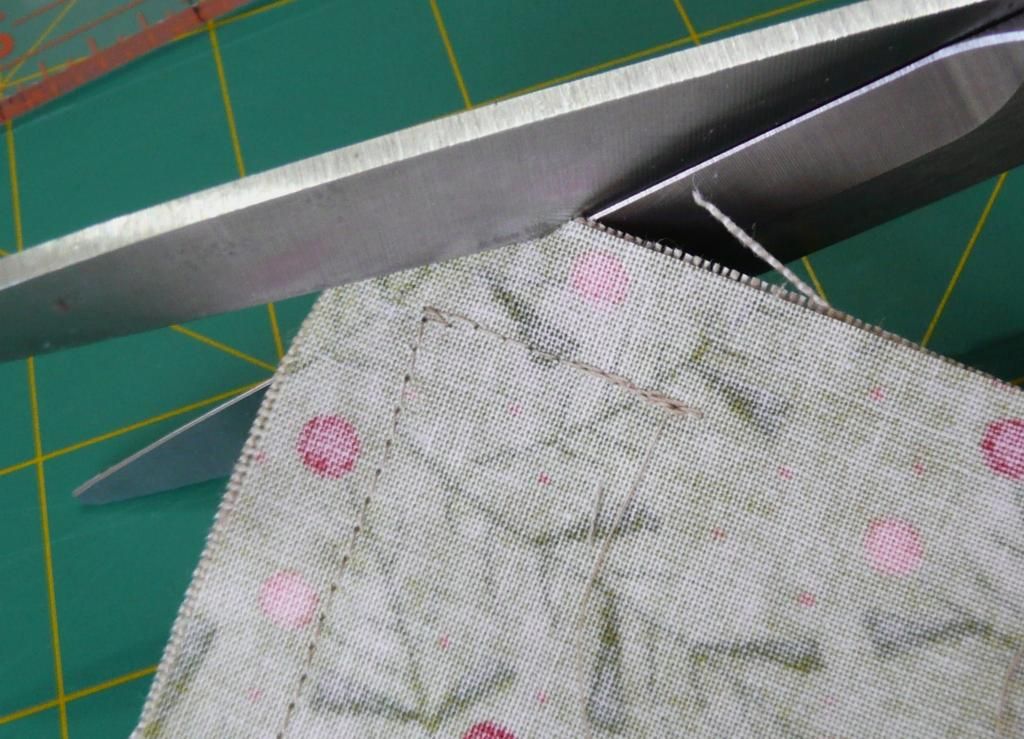
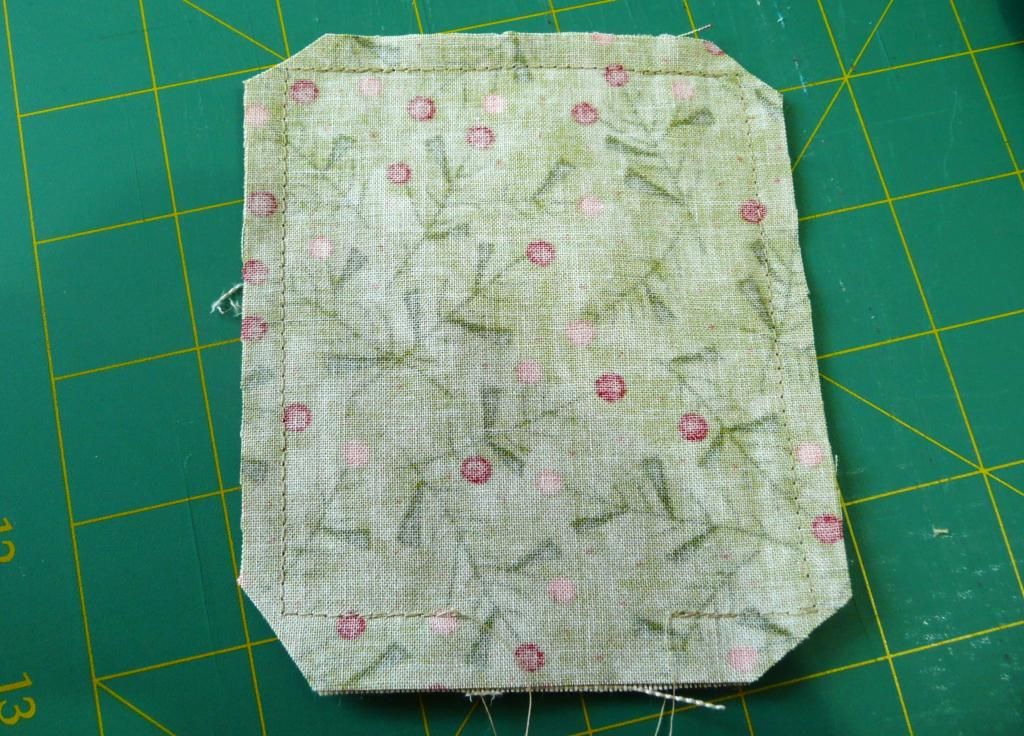
8. Then you should trim off each of the corners - once again, this allows you to get a crisper point on the ornament corners once you've turned it inside-out and improves the look of the ornament. Just be careful not to snip the stitching!
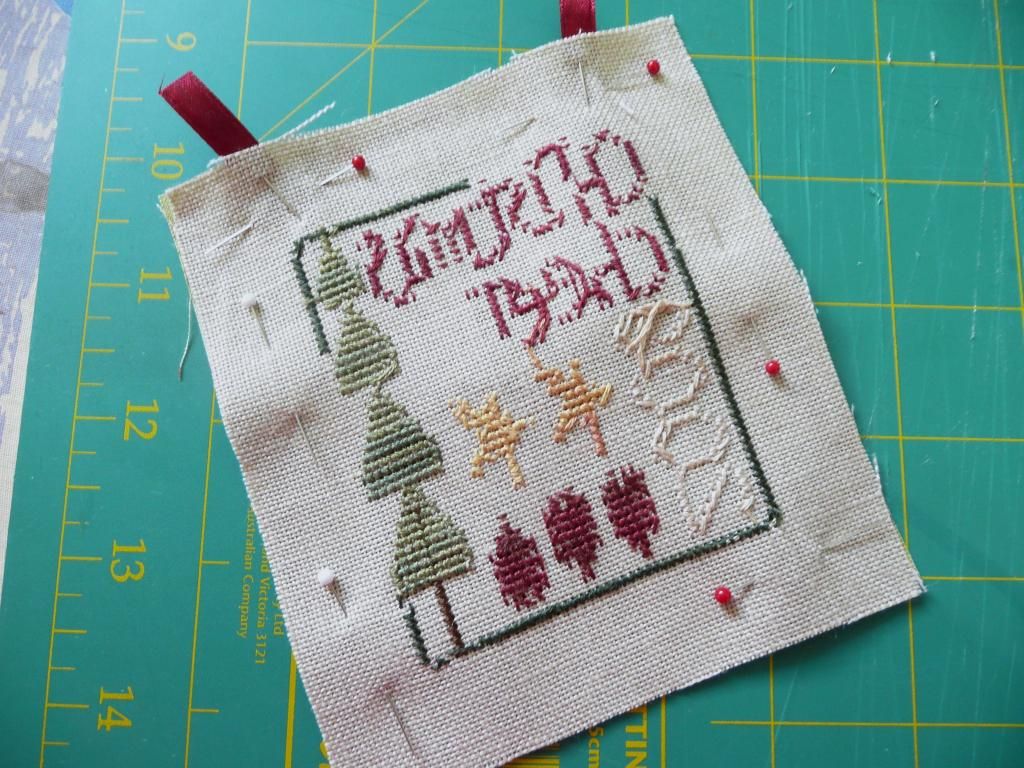
Your ornament should now look something like this:
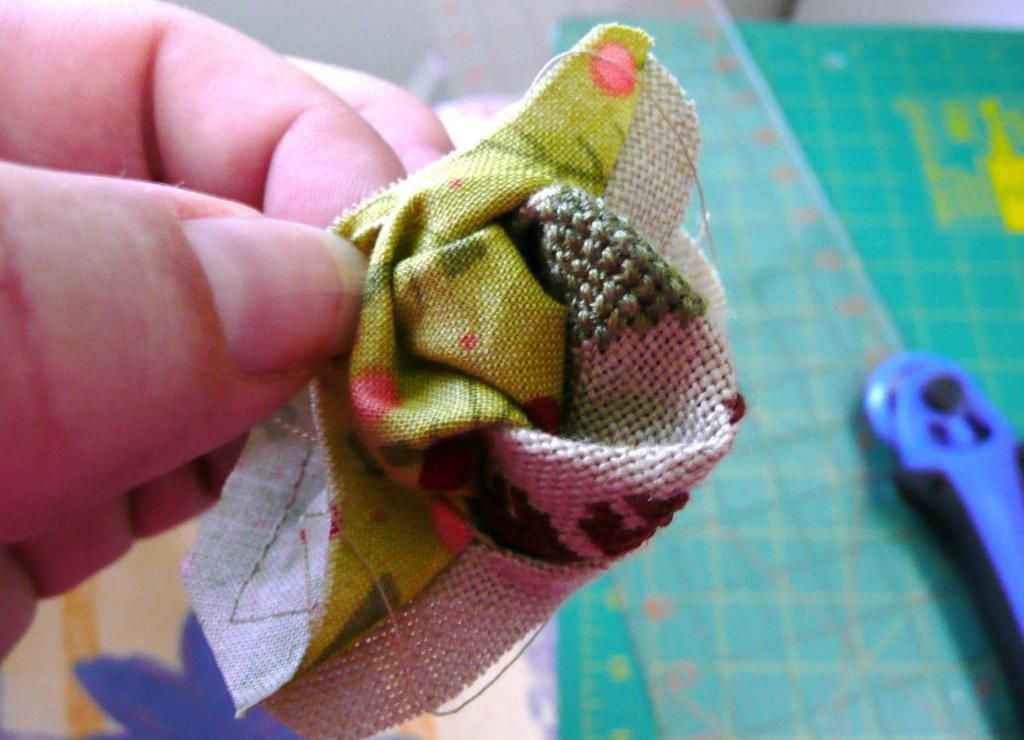
9. The next bit can be a little bit nervewracking if you haven't done it before! You need to reach in and pinch a little bit of the backing fabric between your thumb and forefinger, and then slowly and gently pull the stitching and the backing fabric through the opening so it's facing the right-side out. Take your time when doing this, and just pull your fabric through little by little - it seems like it will never come through, but then all of sudden a miracle seems to happen and you have it all turned inside-out. I often enlist the aid of a chopstick to help me get the corners nice and pointy once I've finished turning my ornament inside out.
Your ornament should now look a little something like this. Of course it was at this point that I realised I'd forgotten to attach my little gold charm to this particular ornament so I had to add that quickly before finishing the next stages ... doh!
10. The final stage is to stuff your ornament with stuffing of your choice. I tend to just use polyester fibrefill from my local craft store. Once you it stuffed to your satisfaction (my preference is to fill it to a medium level - if I fill it too much it doesn't sit quite as well on my little tree), you need to thread your sewing needle with sewing thread (if you didn't leave a long tail from the seam stitching). You should use a sharp needle here, not a tapestry needle, so that you can pierce the backing fabric easily.
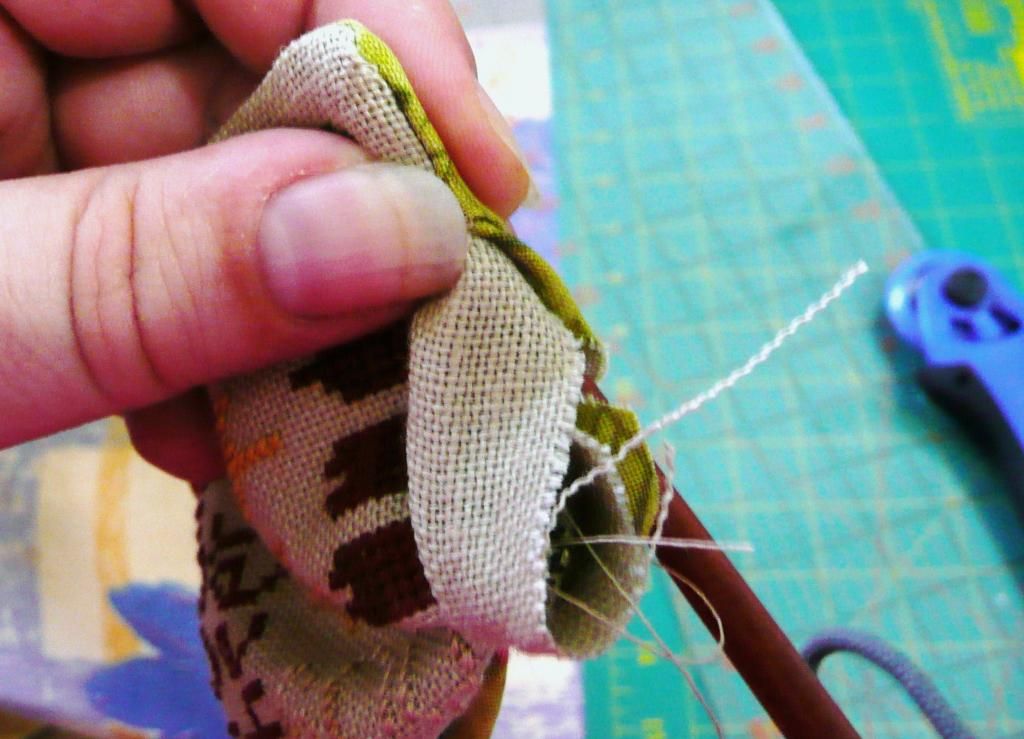
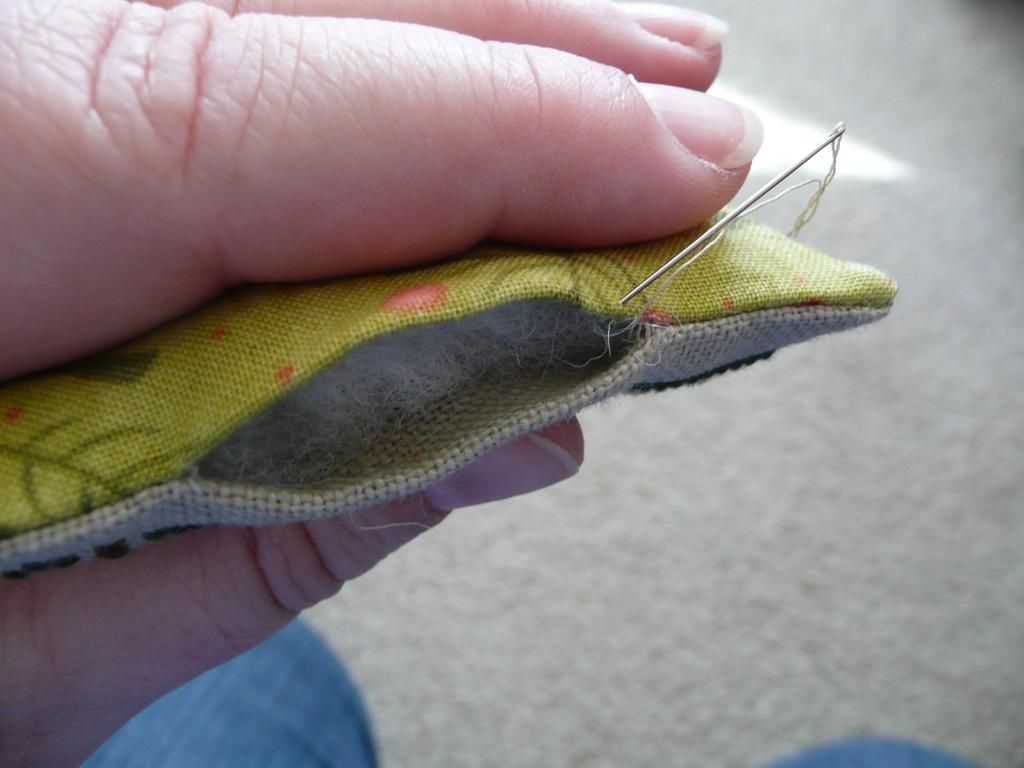
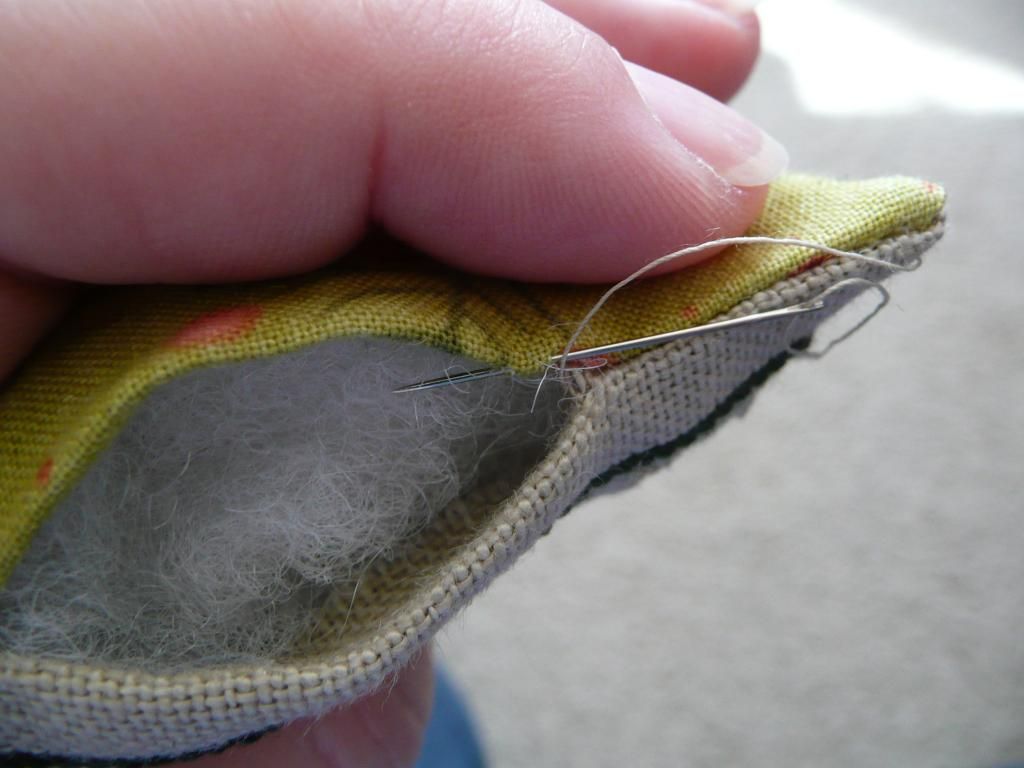
I use a ladder stitch to sew up the opening. As you can see from the left-hand photo below, I start off by slipping my needle into the seam of the backing fabric, then coming back out about 1/4" along the seam (about 3mm) and bring my needle out.
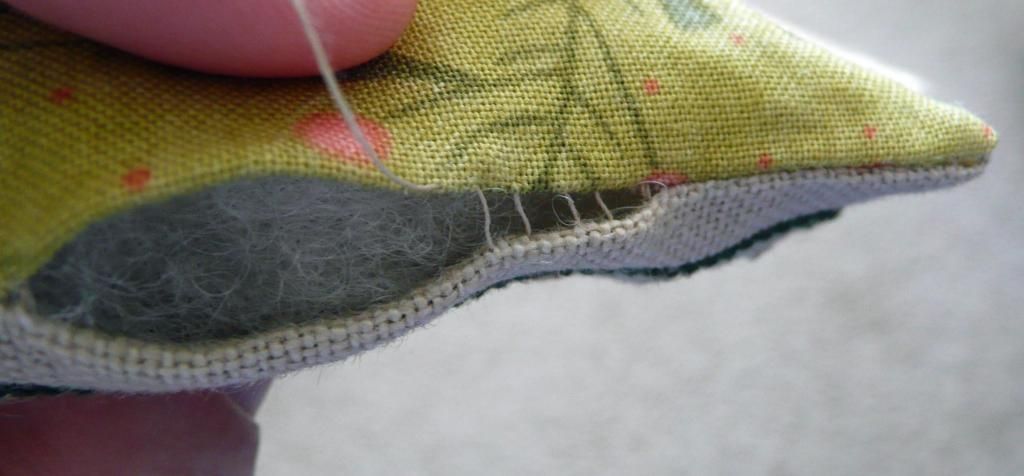
I then take my needle directly opposite where I just came out of the backing fabric and slip my needle into the linen and follow the seam along for about 1/4" (3mm) and bring the needle back out again.
I've left the stitches nice and loose in the photo below to help illustrate how the stitches follow along opposite each other, like rungs of a ladder.
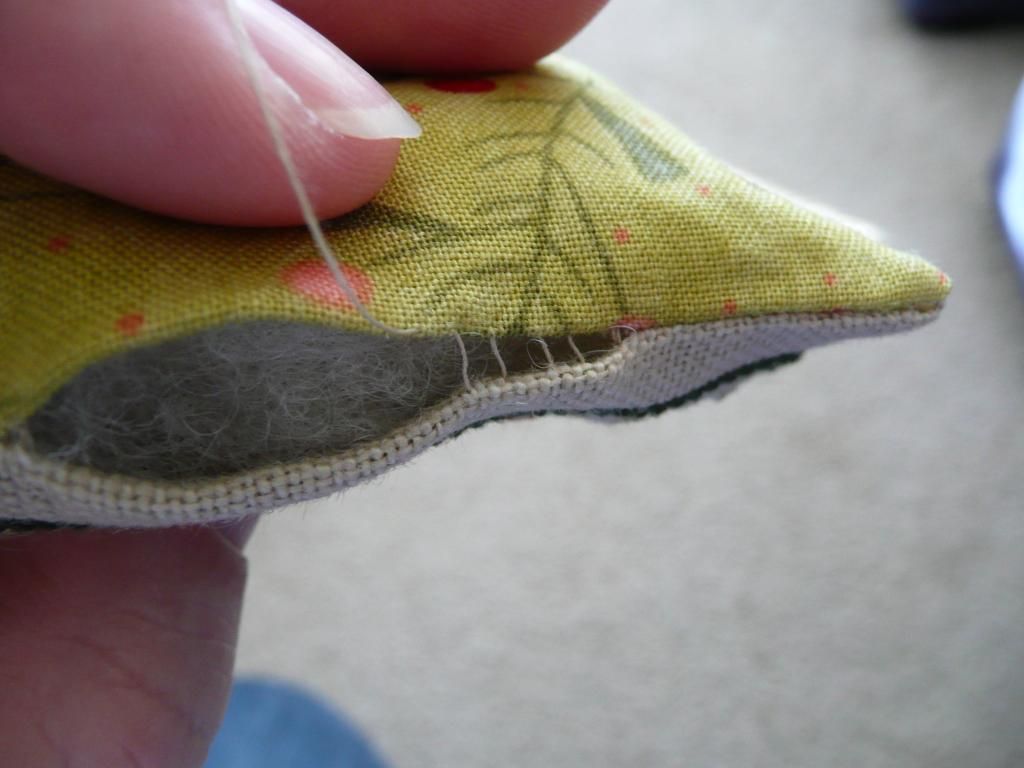
When you pull the thread tighter, the stitches almost disappear into the fabric, giving a really nice clean finish - this is definitely my favourite stitch for closing up openings for that reason!
Once you reach the end of the seam opening, you need to finish off your thread with a couple of teeny stitches - I then bury the needle into the seam and come out somewhere about an inch way and bring the needle back out again - then clip the thread close to the fabric so that my thread tail does't appear easily.
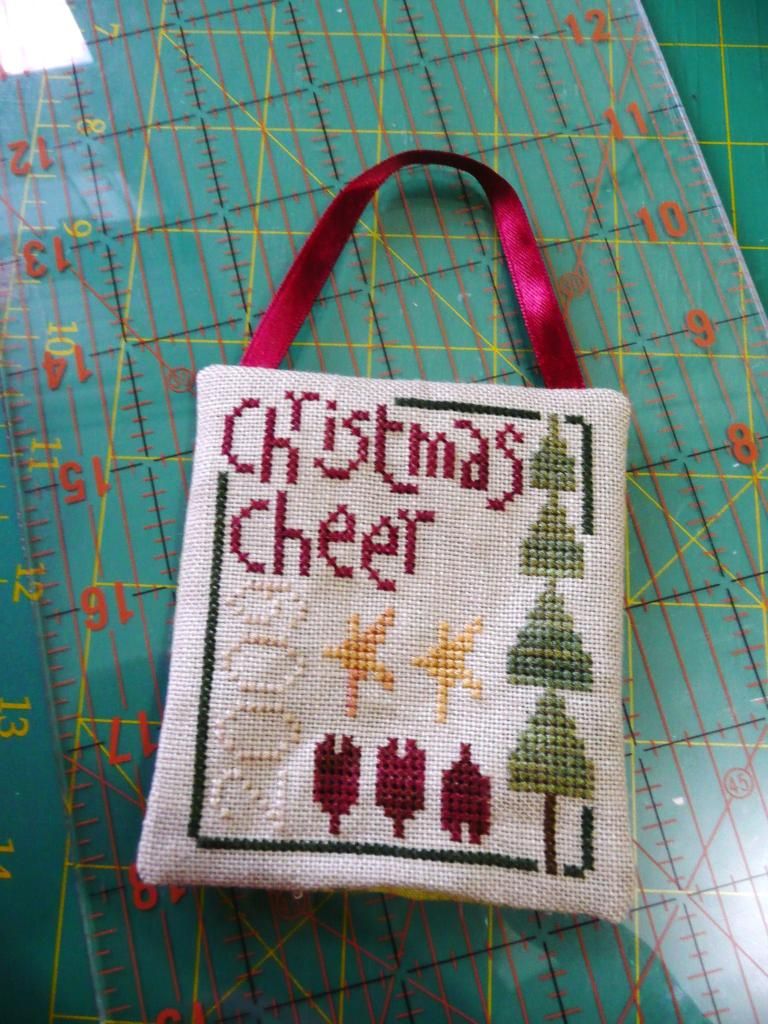
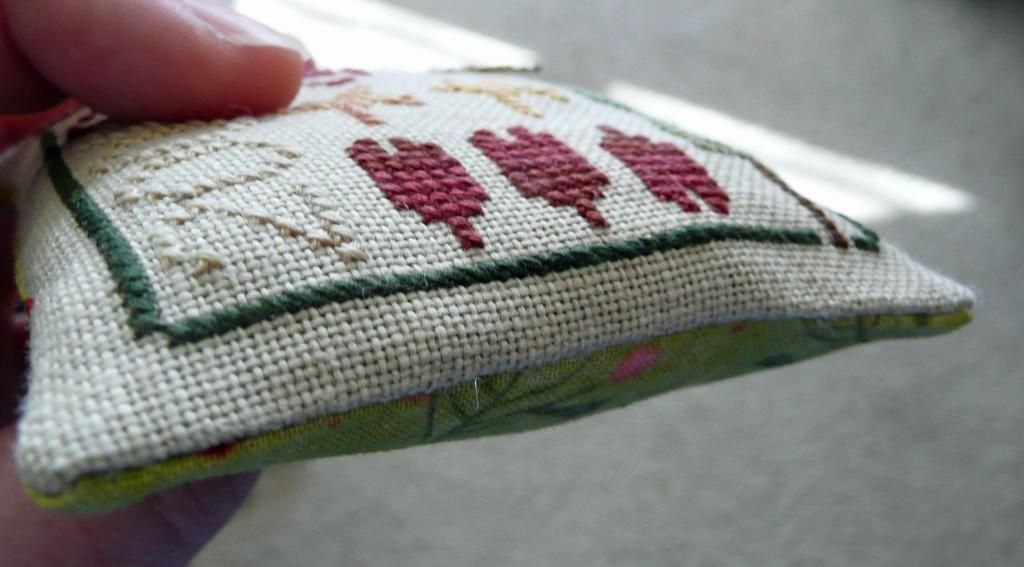
And here's the final seam all finished off - see now nice and tidy that ladder stitch is in the opening? :D
Your ornament is now finished, and ready to hang on the tree :D
I hope you've enjoyed this tutorial, and found it useful. I would love to see any photos of ornaments you've completed using this tutorial so please do drop me a line or leave a comment with a link to your pictures :)




4 comments:
thanks for the tutorial. i will definately have a go now. can you tell me the name and designer of the chart its lovely.
Hi Stitching Kath - the design is called Christmas Cheer by Heart in Hand Designs. It is in the 2001 JCS Christmas Ornament issue. Hope that helps :)
thanks. i have that issue. off to find it lol
lov ekath
Anne, I really enjoyed reading your tutorials! Altho I have done some finishing, it's usually only once a yr for my stitch group ornie exchange. Nice to have some clear directions to refer to. Thanks for sharing!
Sharyn :-)
www.skeinbyskein.blogspot.com
Post a Comment