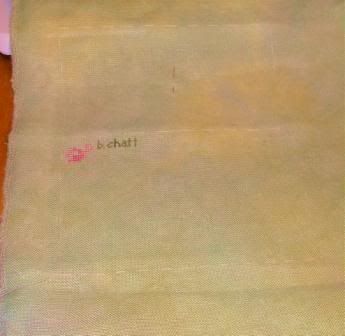
 Here's a little heads-up for those who are interested in following the MA tutorial I'll be offering in two weeks' time.
For a larger MA with a finished size of approximately 22x11 cm (8.6x4.3 inches), you'll need:
- linen measuring 26 cm by 32 cm (9 by 12.6 inches)
This corresponds to approximately 100 stitches wide by 185 stitches long on 28 count linen.
How you place your design is obviously up to you. Some people prefer to leave the address side of the envelope nearly empty, other than the address, and to concentrate the design on the flap-side. The envelope that I'm making for this tutorial will have small designs on the address side and a larger design on the flap-side. Choose a design that won't be cramped in the stitching area.
A few important points to bear in mind if you decide to start your stitching now:
- Measure twice, and then measure again. I've put basting lines along the three "sides" of the envelope (the adress side, the flap, and the side under the flap).
- Your MA will be folded ... like an envelope. LOL. That sounds simple, but it means part of your stitching will be 'upside down' in comparison to the other parts. Play with your linen a bit and make sure you're aware of which part of the cloth corresponds to which part of the envelope to avoid frustrating mistakes later.
- There are countless possible variations on an MA - which is a great part of their charm - so don't hesitate to get creative. The only rules apply to the address-side of your envelope - you must follow the postal regulations for placement of 'to' and 'from' addresses and where the stamp goes. You may want to check with your local post office to see if there are other restrictions - I've been told that in some Far Eastern countries, the MA can only be done on white or ivory.
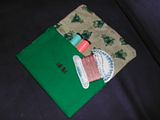
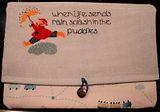
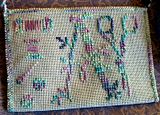
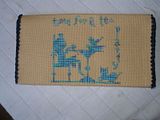
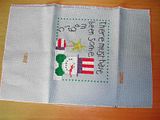
To give you a few ideas, here are some of the MAs I've done in the past (click for a larger image). Search around online and you'll find lots of others! There is also an excellent article with charts in this month's issue of The Gift of Stitching.
*** Edited to add: This is assuming approximately 2 cm seams on all sides. ****
Tutor = BarbaraCL




No comments:
Post a Comment