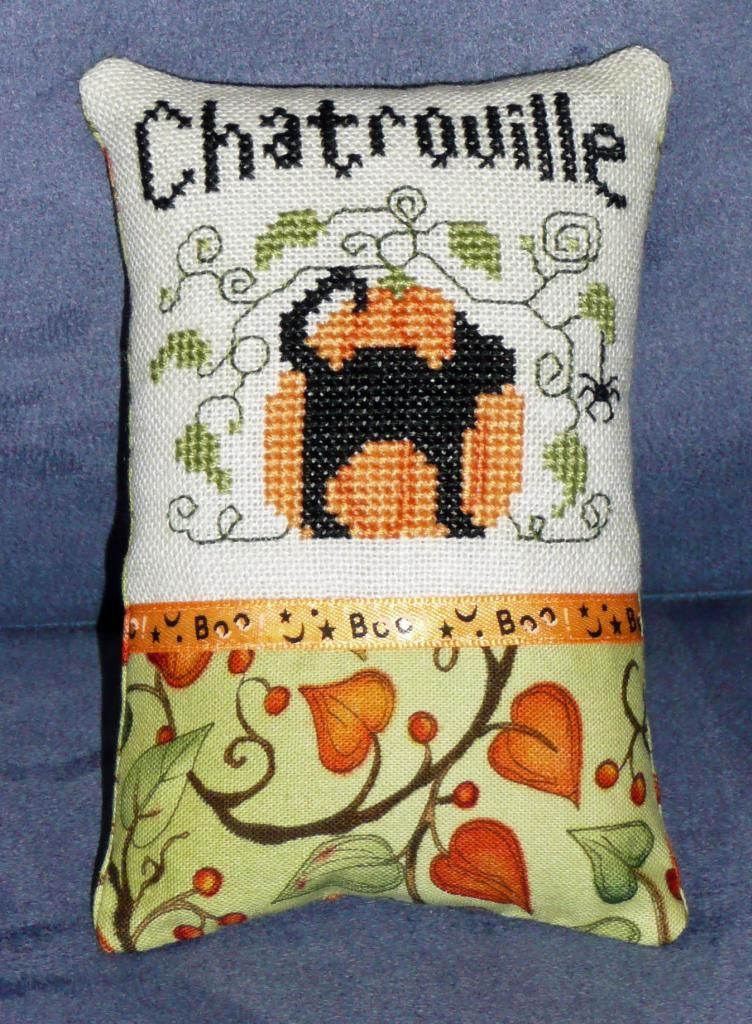
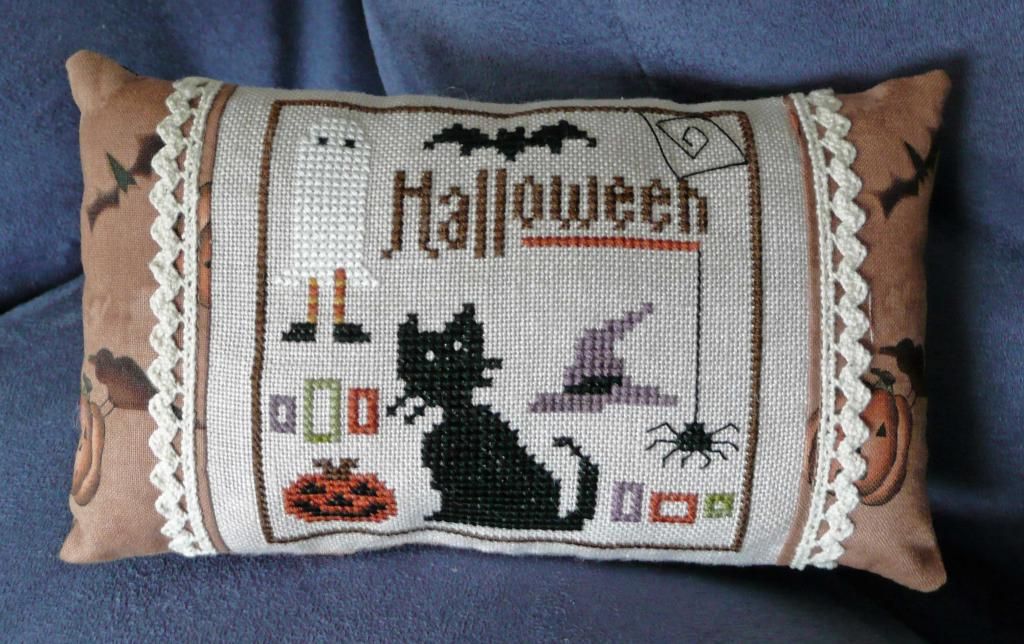
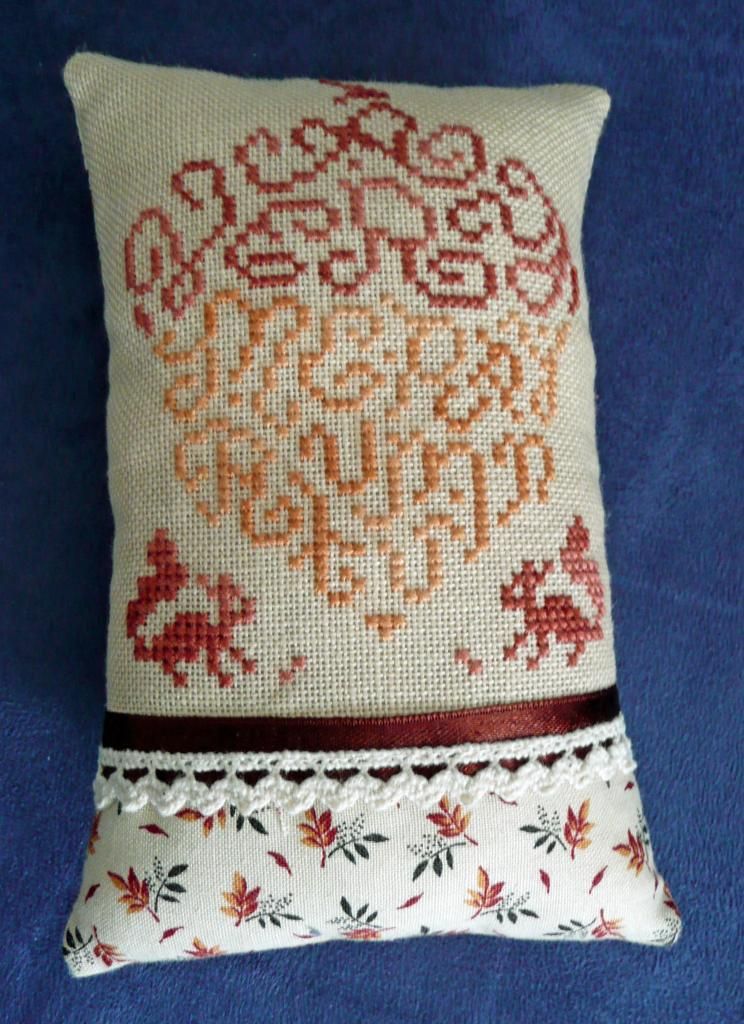
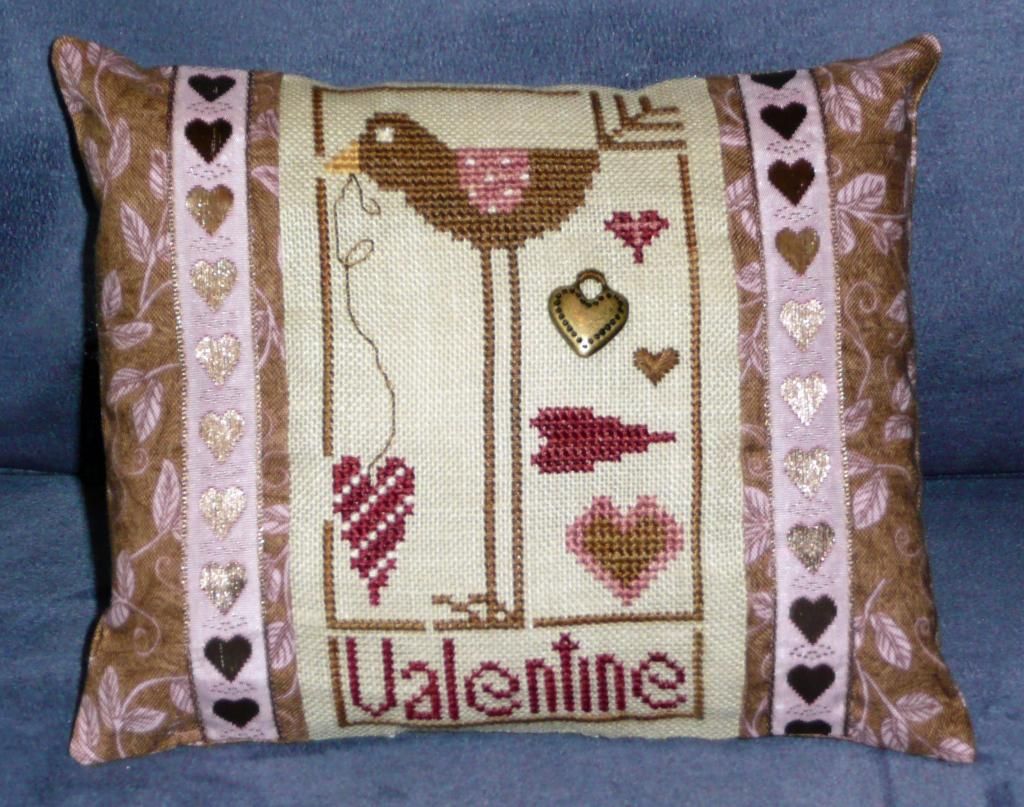
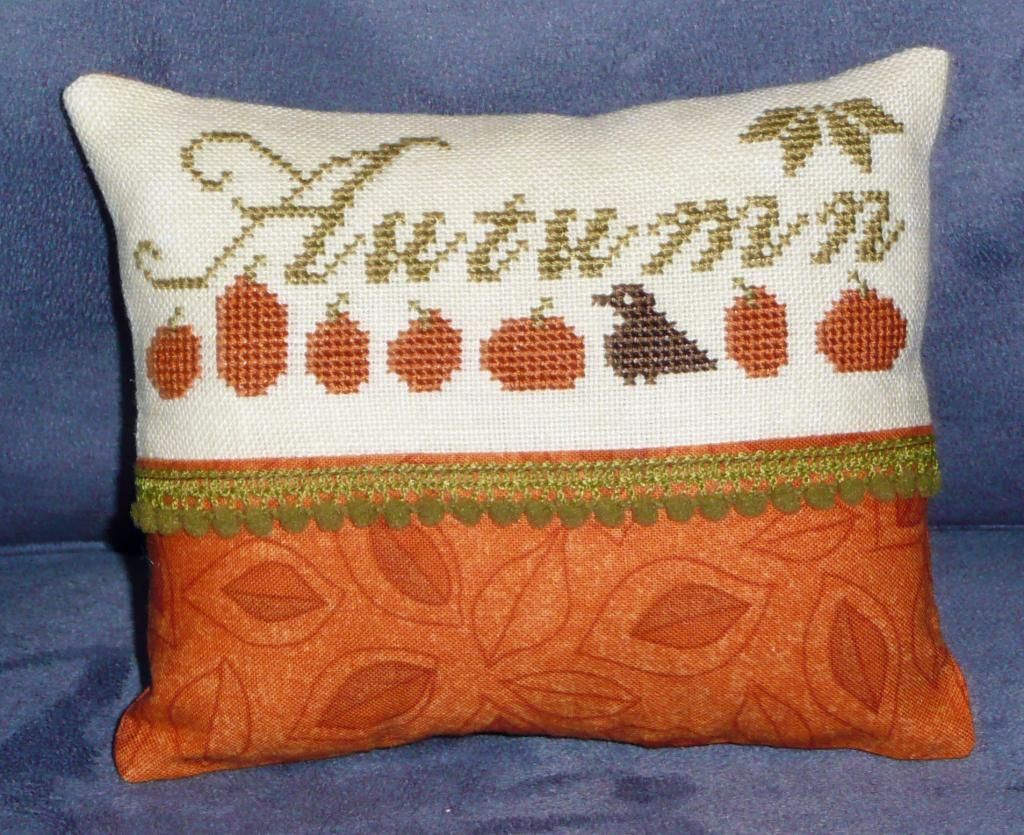
You will need:
- Stitching for the centre of the cushion
- Coordinating fabric(s) for side strips and backing
- Sewing machine with coordinating sewing machine thread to match your fabric(s)
- Scissors/rotary cutter and mat
- Pins
- Embellishments (optional)
- Polyfil stuffing (or something similar)
- Sewing needle and thread to close up the seam opening
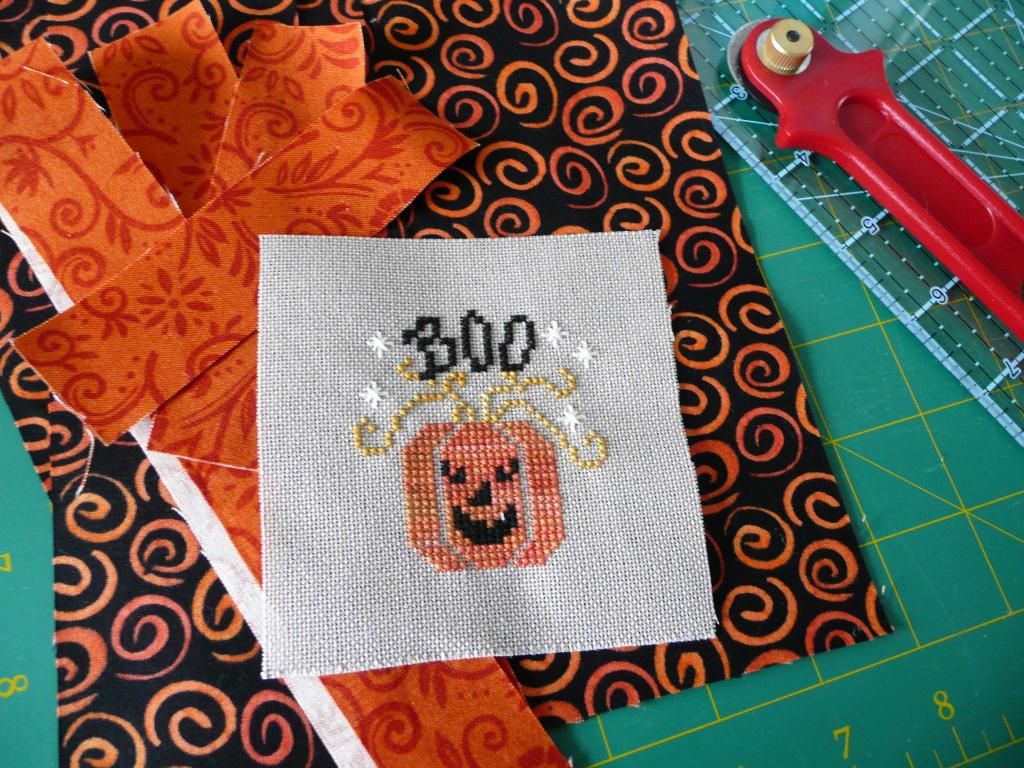
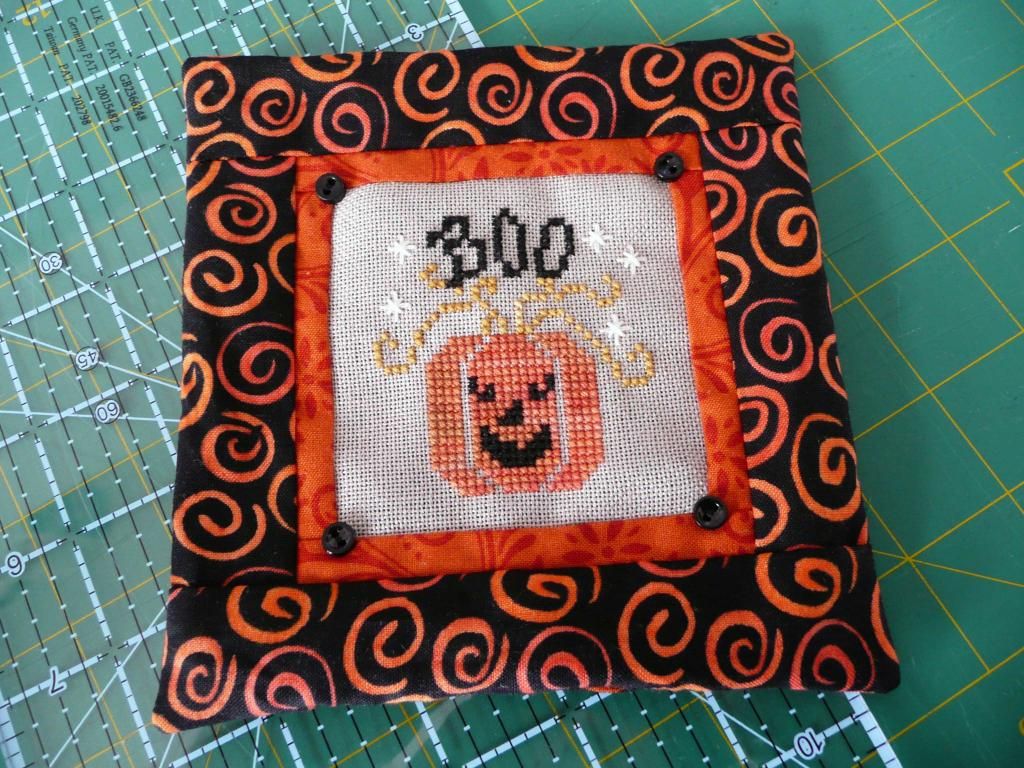
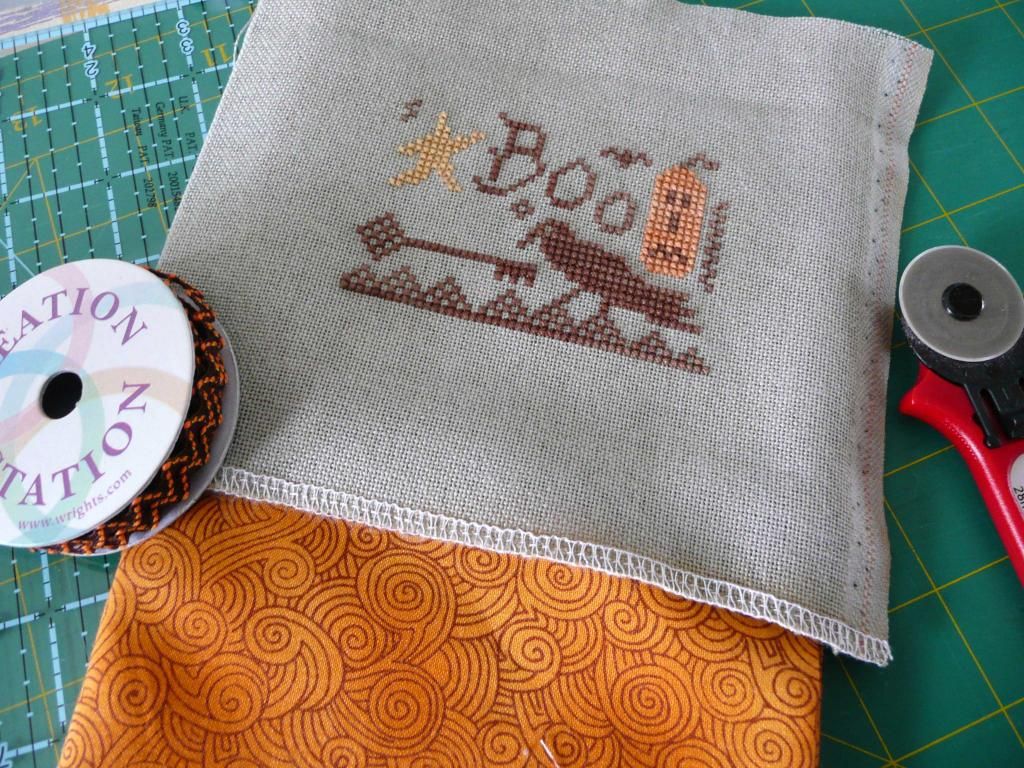
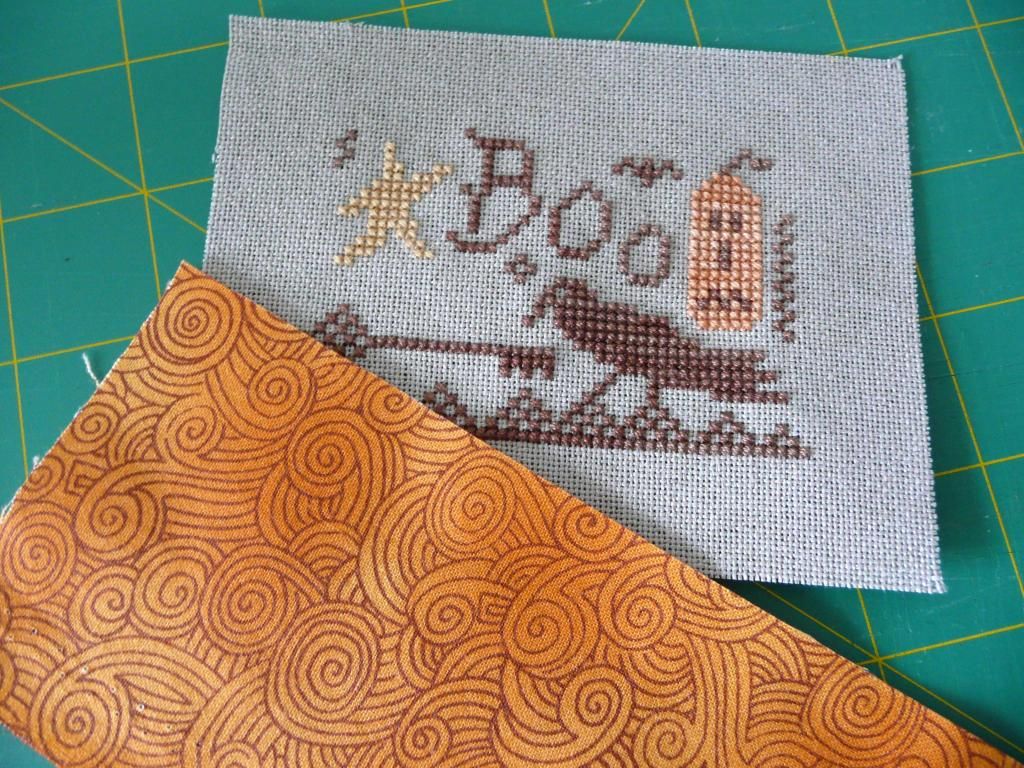
1. First of all cut your coordinating fabric into equal width strips, and approximate width of your sewing project. In my case I have chosen to have two different fabrics on the front of my pillow, and have started with a narrow strip of bright rust fabric for the inner border.
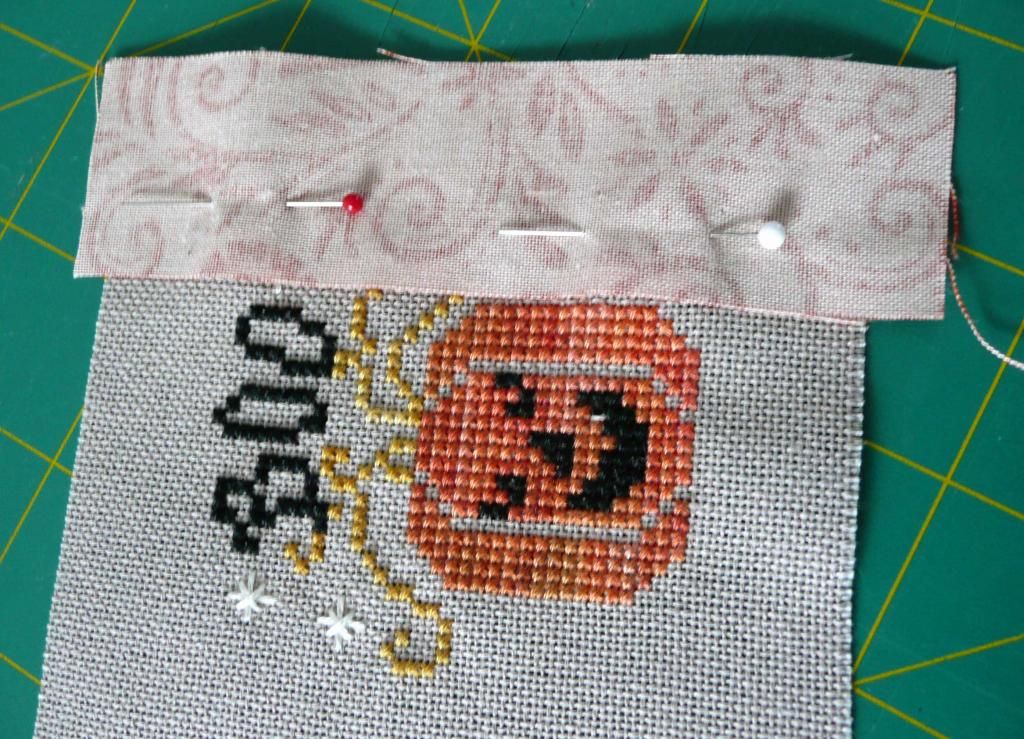
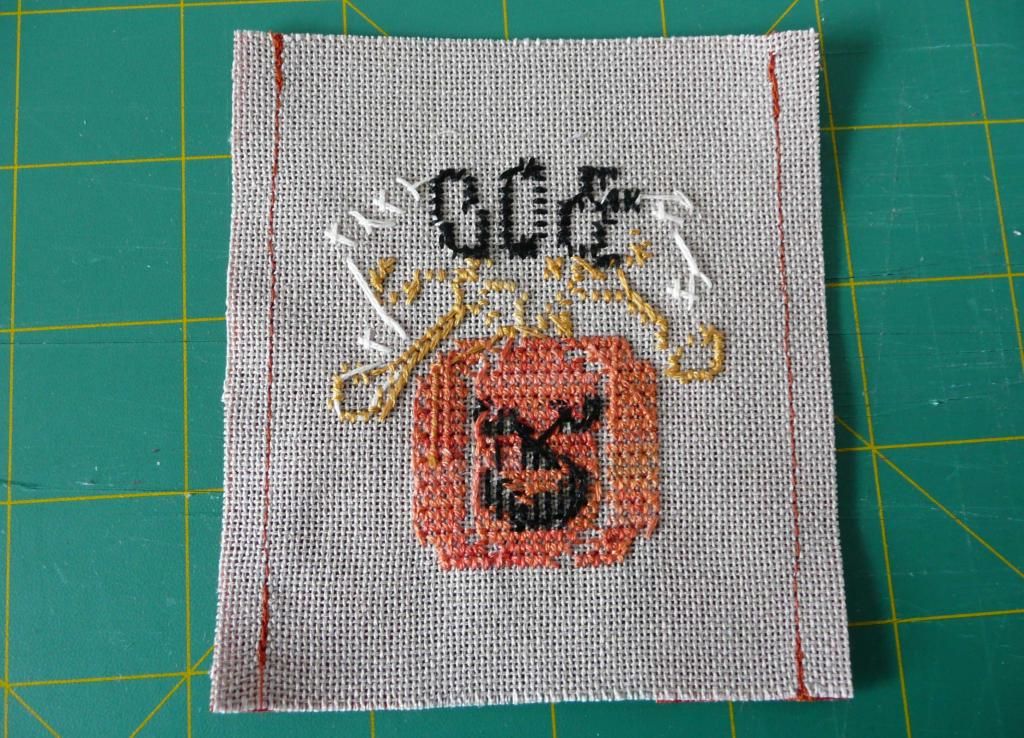
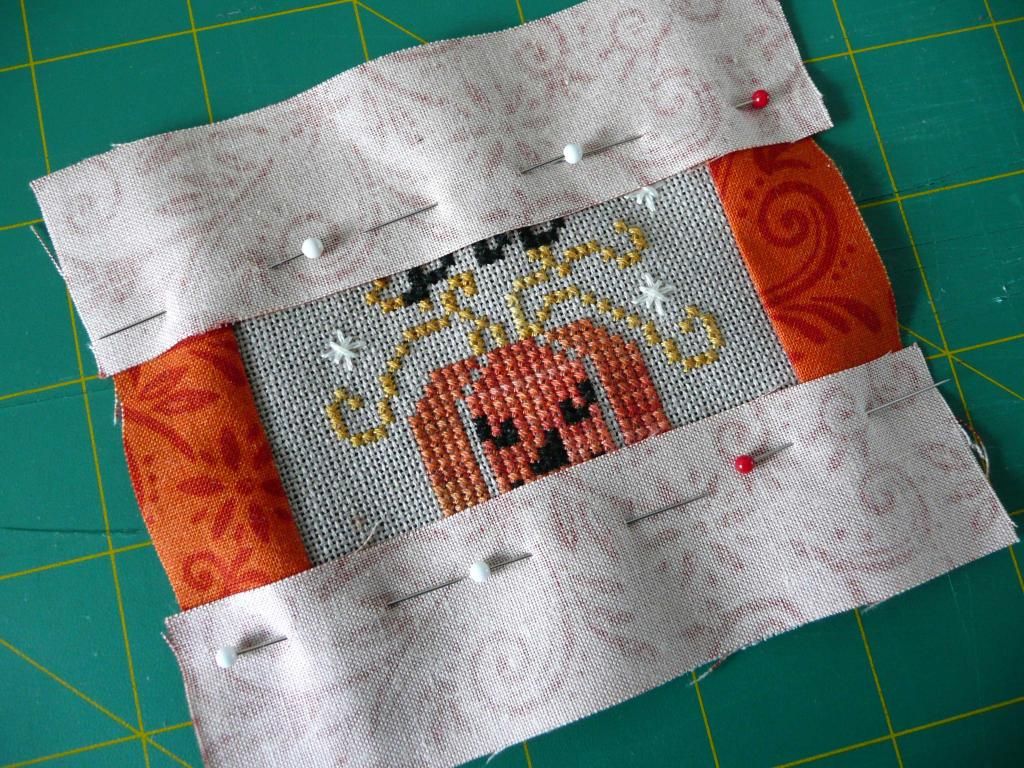
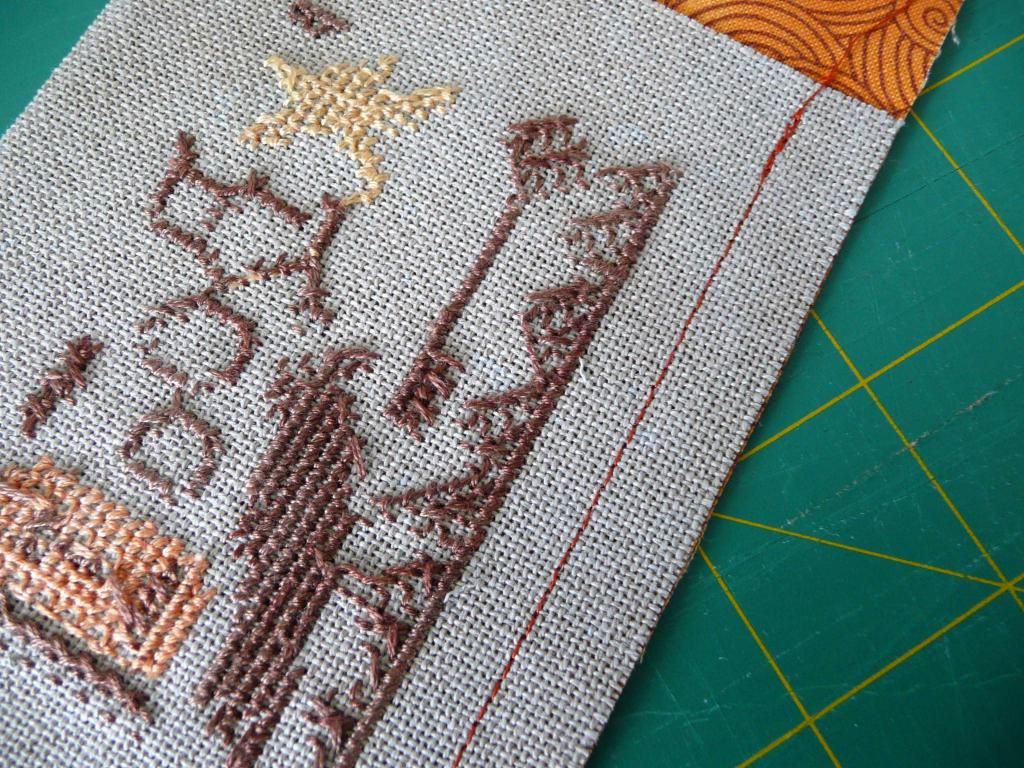
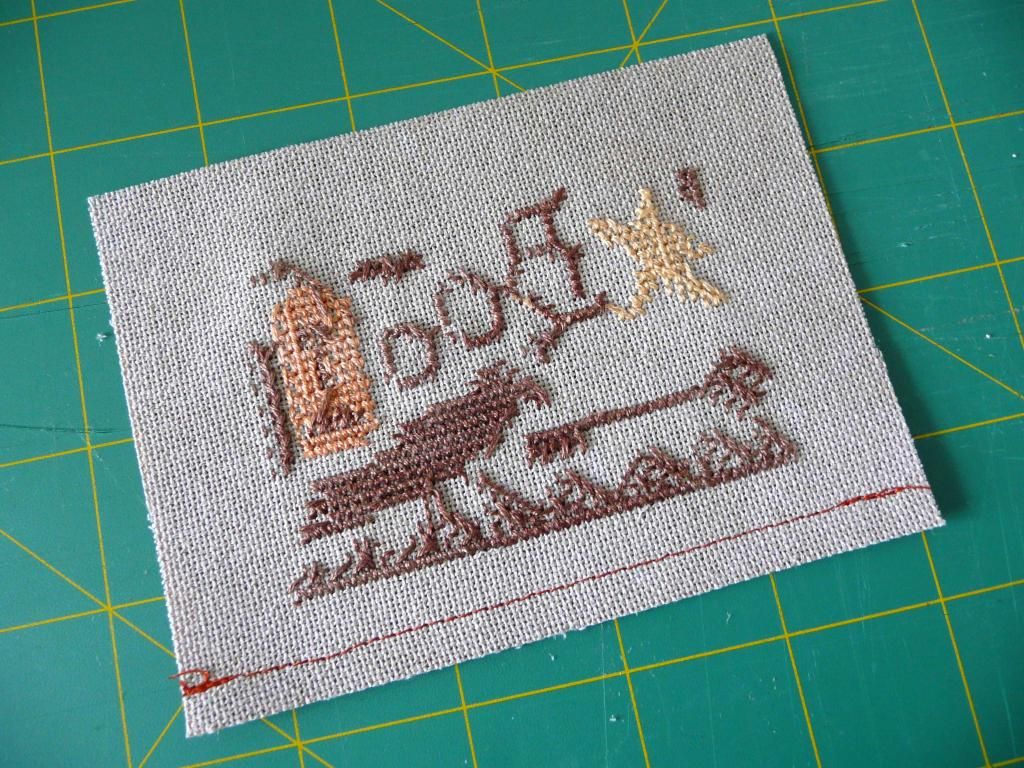
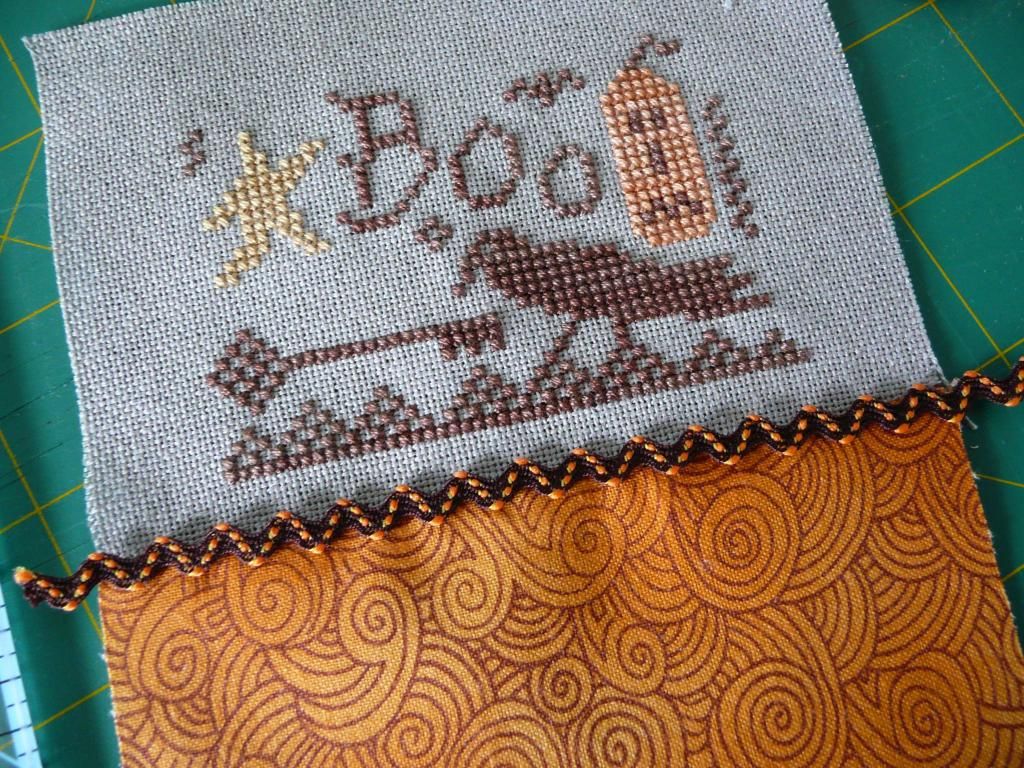
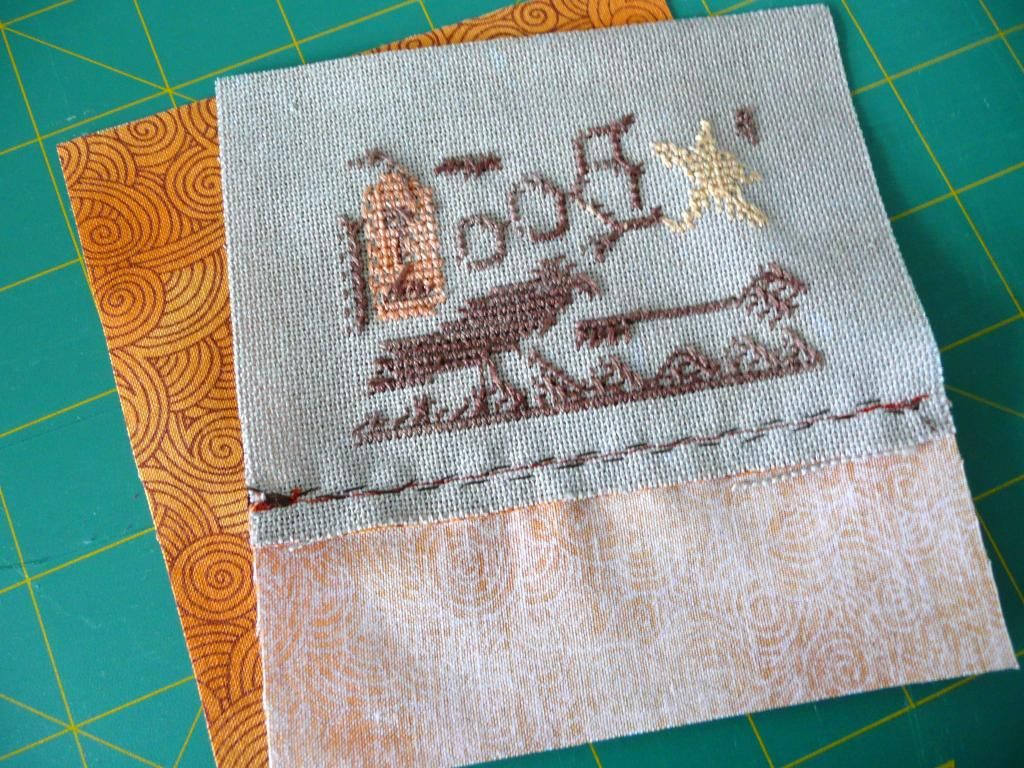
Pin the first strip with right sides facing to your stitching (I prefer to start with the pieces attached to the left and right sides, but you may prefer to start with the top and bottom sections first), and stitch a normal seam allowance (alternatively you may prefer to just a quilters 1/4" seam).
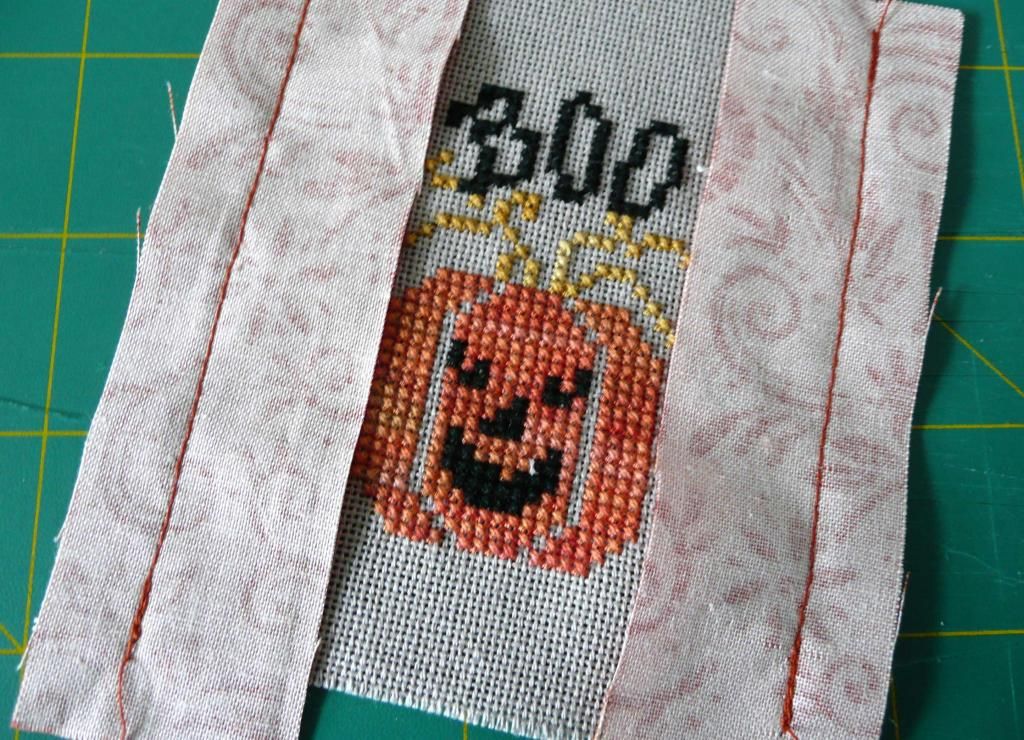
Once you have stitched the first seam, attach the 2nd strip of fabric to the opposite side of your stitching and stitch another seam.
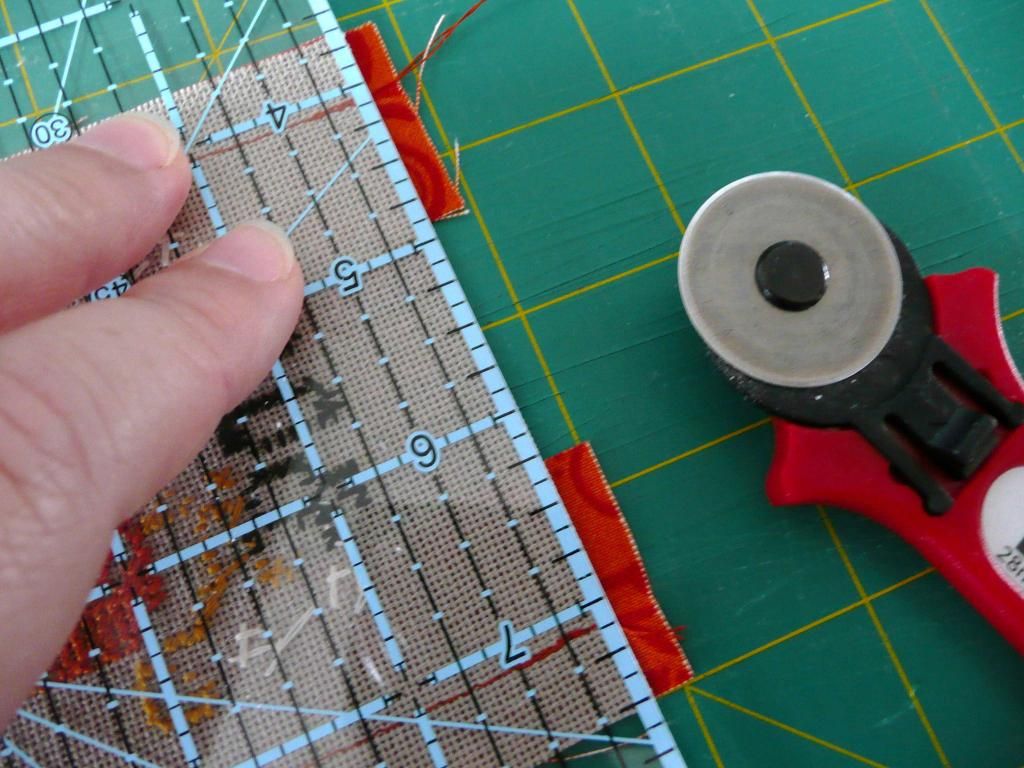
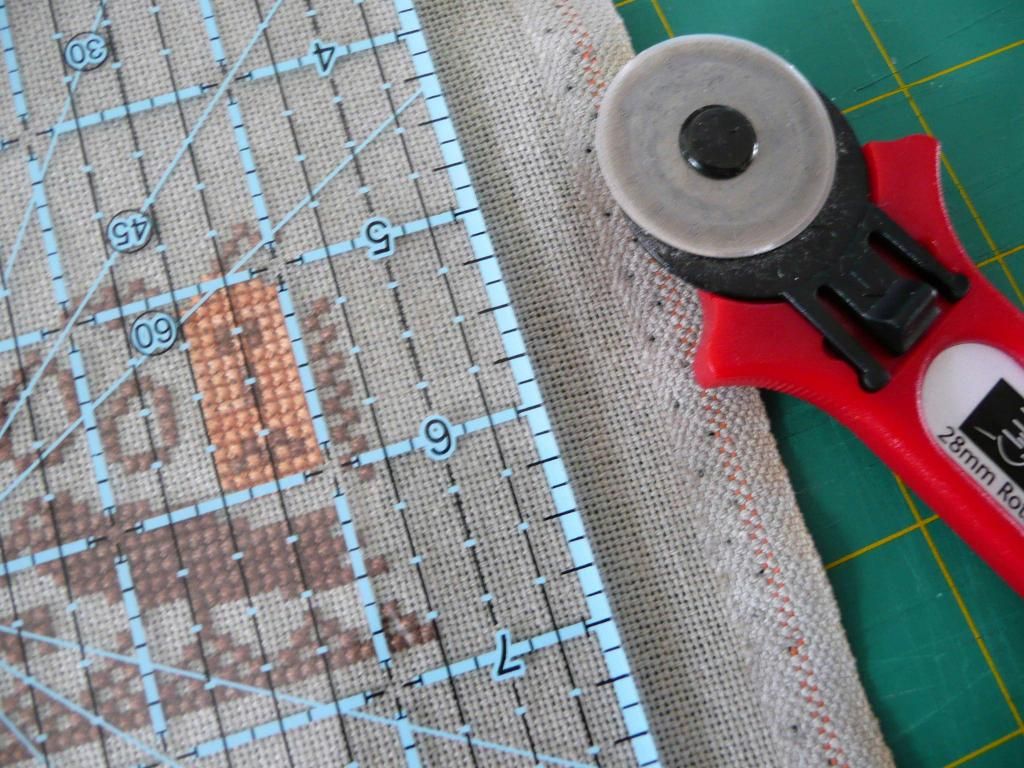
2. At this point I cut off my excess fabrics on each side, and trim my seams to 1/4" - I usually prefer to do this because I don't trust myself to get things right the first time!
3. You finish with nice tidy edges, ready to attach the last two sides of fabric.
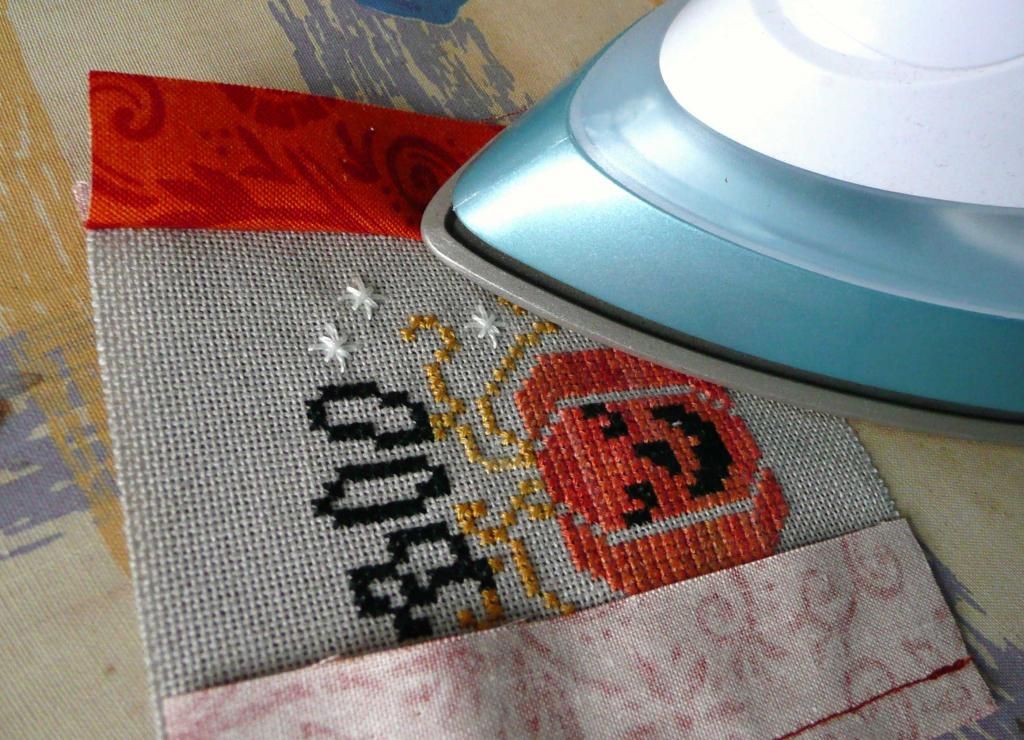
4. Before we do that, though, we need to open the fabric sides up and give them a quick press with the iron so that they sit nicely. If you want to you can also do a row of top-stitching to assist with holding the fabric nicely, but I don't normally bother.
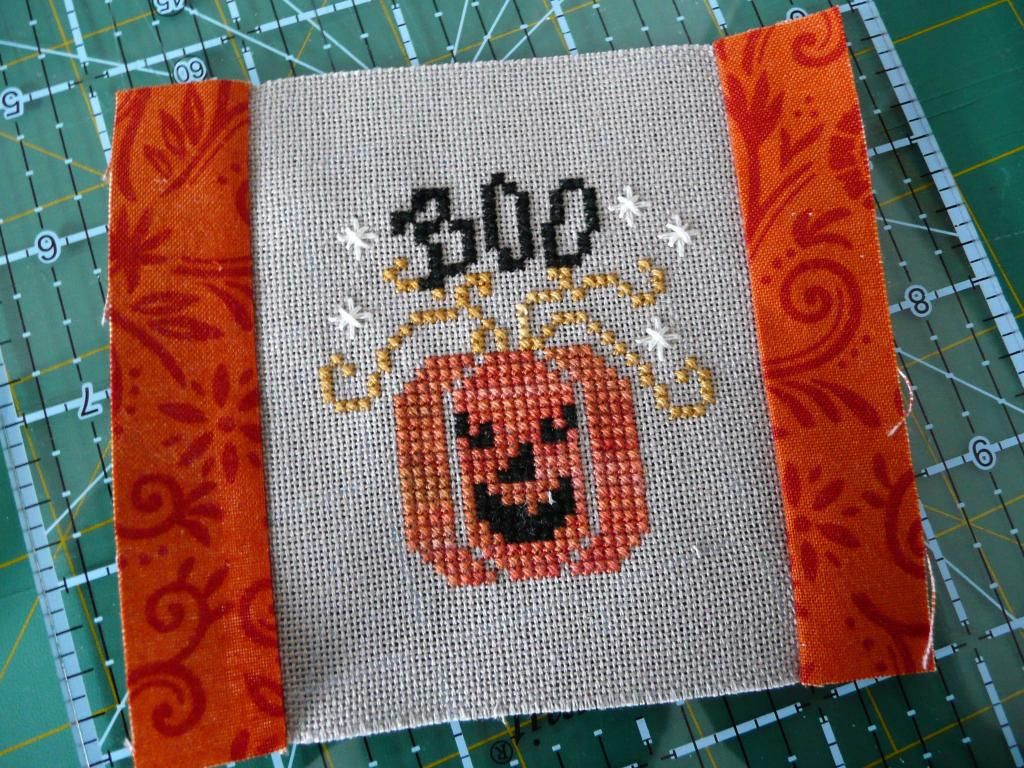
5. Now we attach the top and bottom sides in exactly the same way as we did with the first two sides. Once all sides have finished, I normally check the side strips to ensure they're nice and tidy and even, and if not I give them a quick trim all round with the rotary cutter.
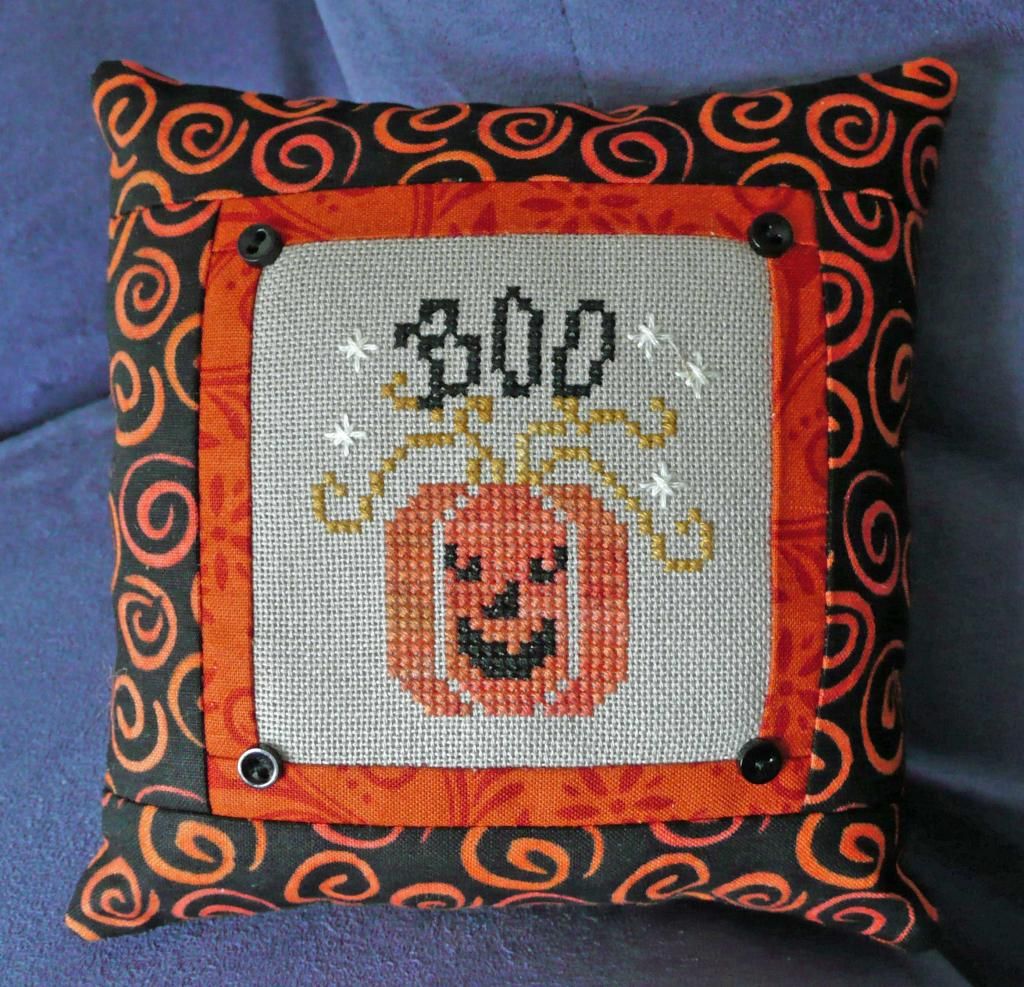
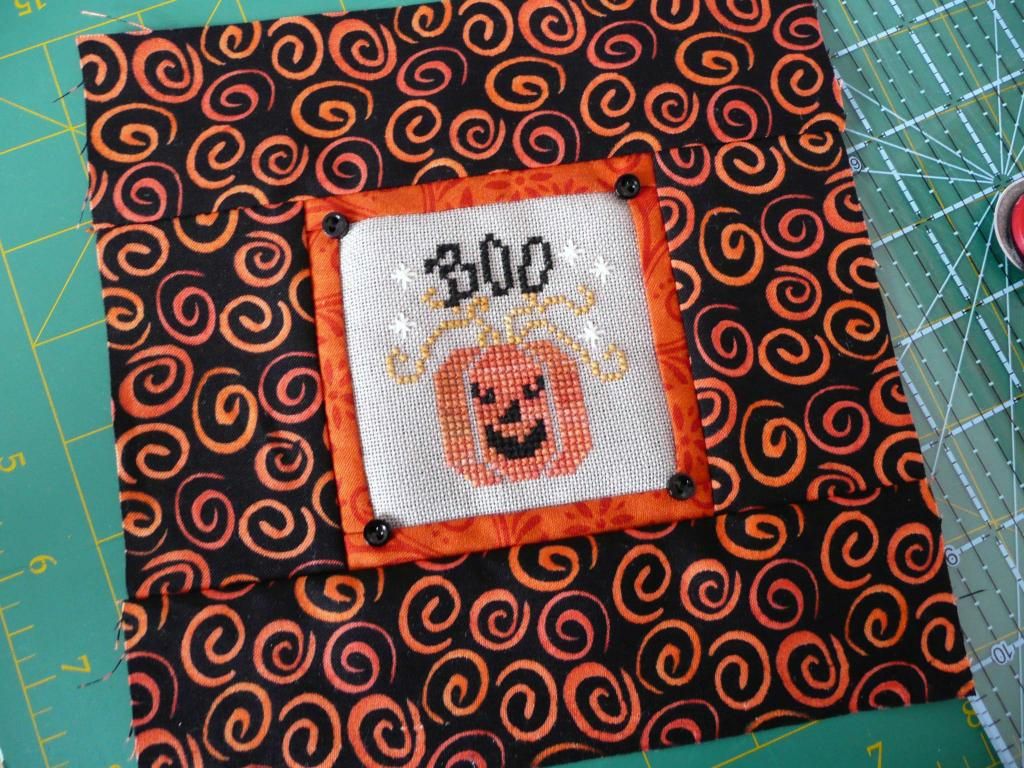
6. In my case I decided to just have a narrow strip of bright rust fabric as a contrasting focal point, then added some wider strips of fabric for the outside edges. These are attached in exactly the same way as the rust strips, they are just cut into wider pieces. You just need to remember to add the next lot of strips in the same order as you did previously, which was in my case left and right first, followed by top and bottom. Once I had ironed my finished strips I decided that little buttons would be nice in the corners, so I added these before adding the backing fabric.
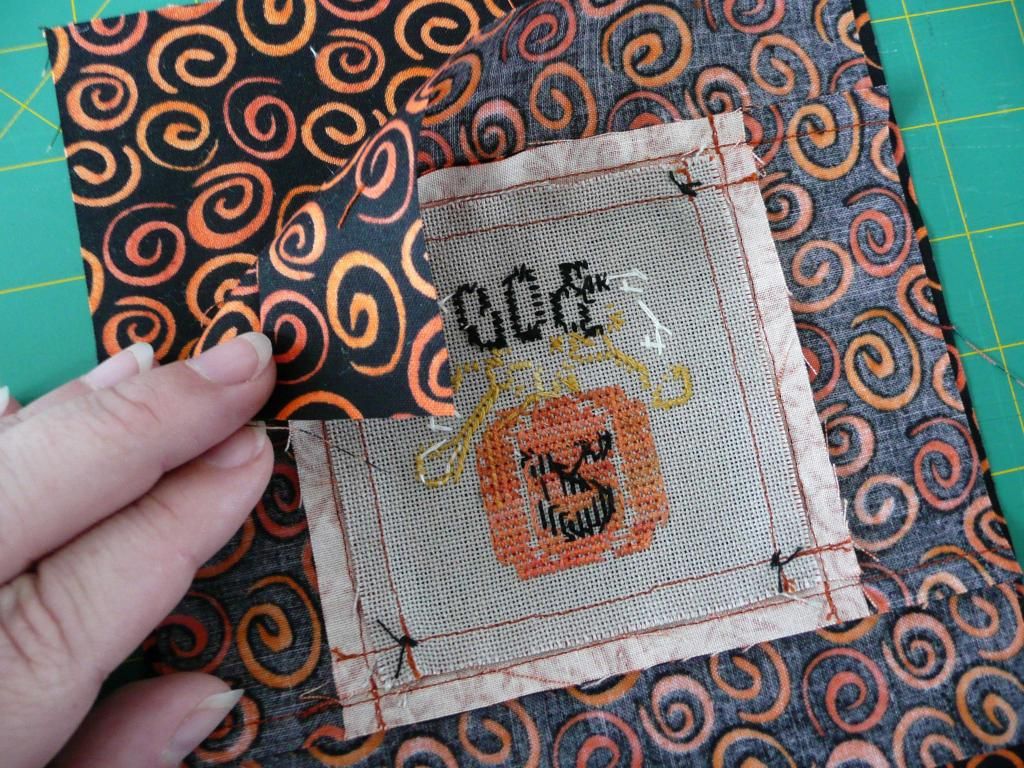
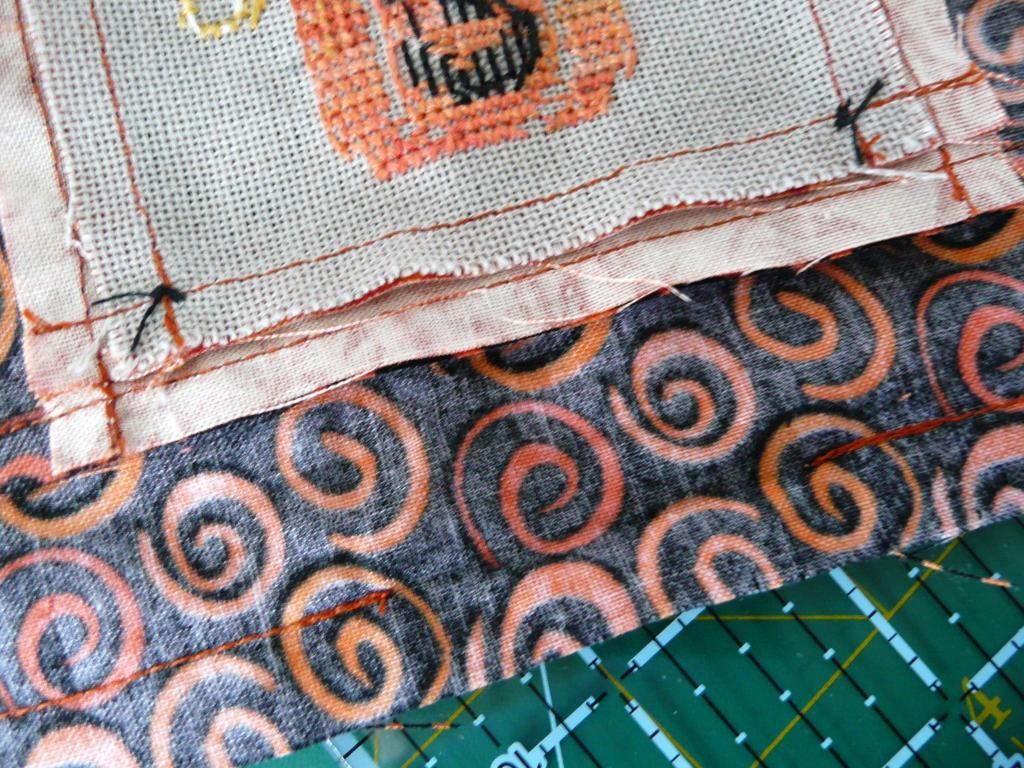
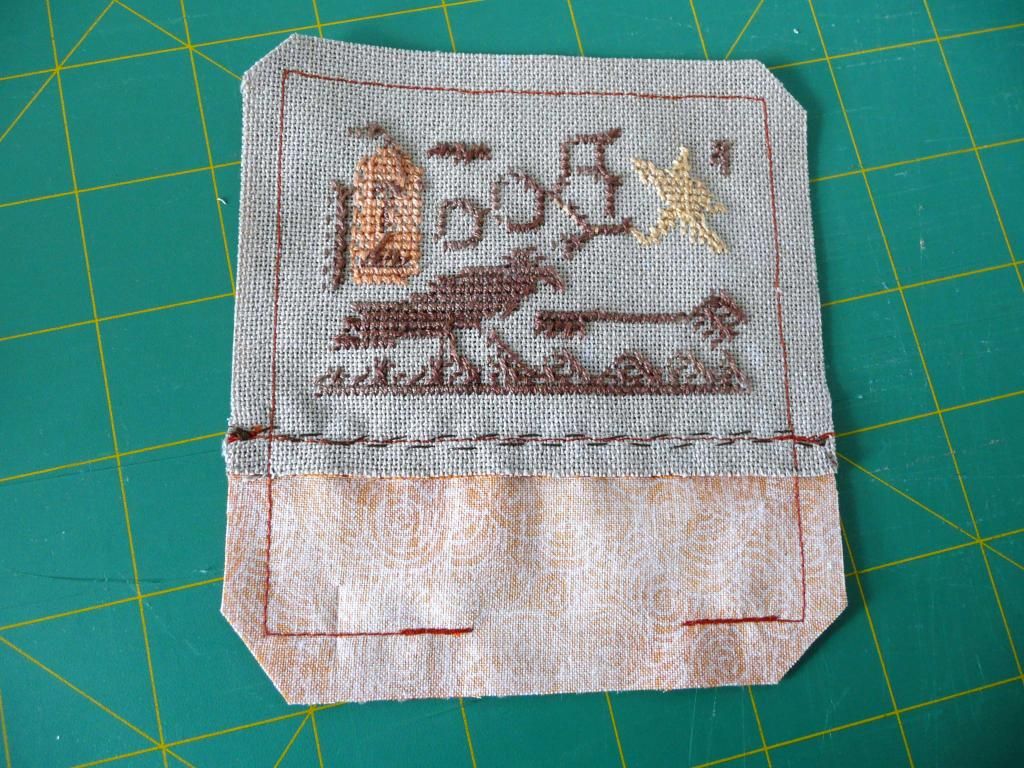
7. Now you need to cut your backing fabric the same size as your finished article, and pin them together with right sides facing together (the right side of the stitching will be on the inside of the sandwich).
8. Stitch a seam allowance around the edges, but leave an opening at the bottom so that you can turn your pillow inside-out. I tend to leave about 1 1/2" opening and that's normally enough room to allow for turning.
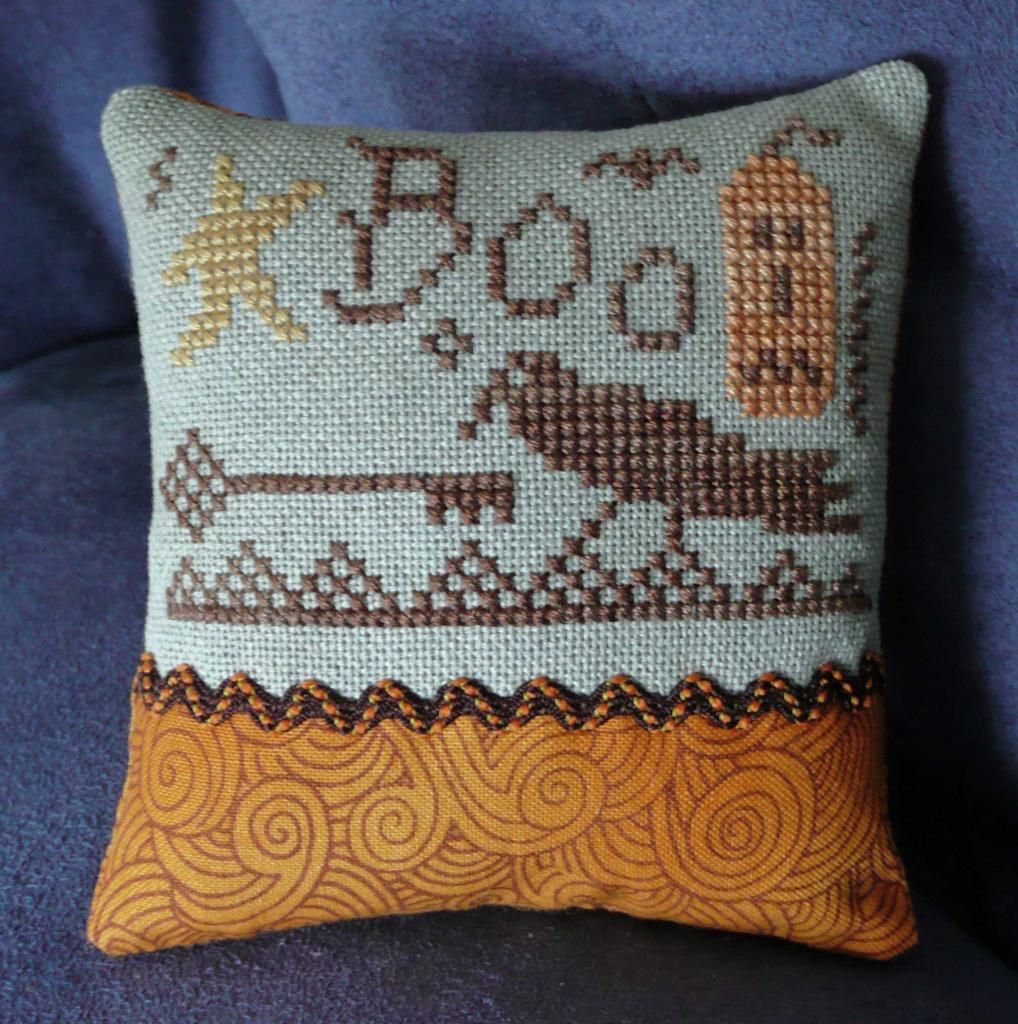
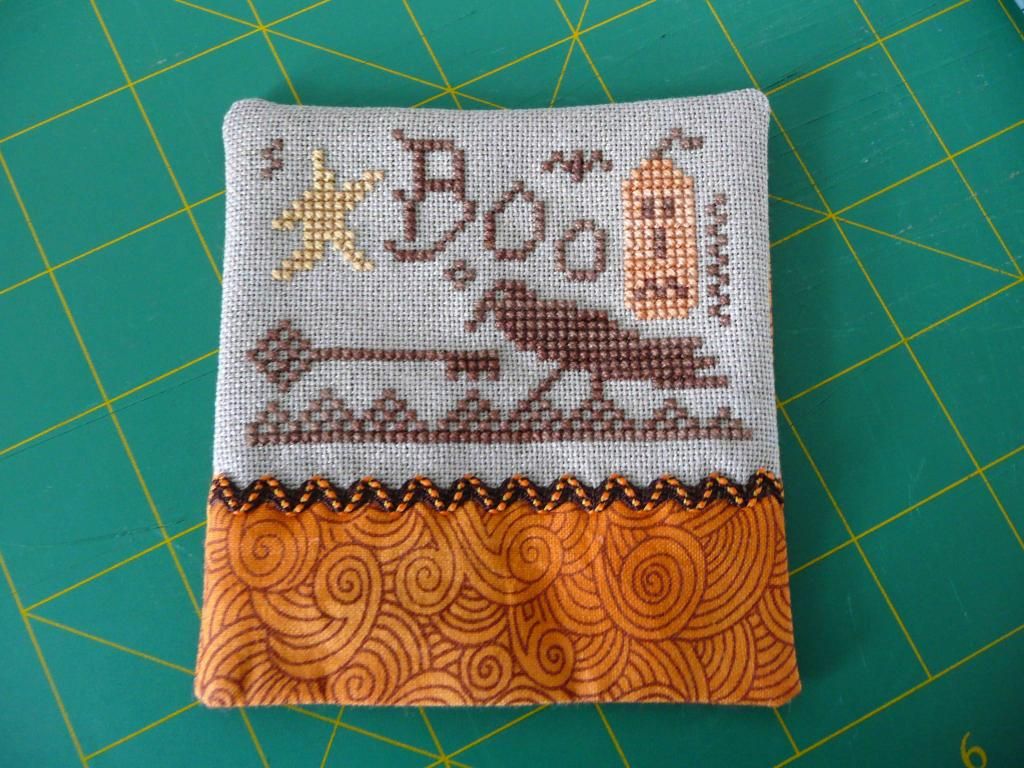
9. I use a chopstick to help push the corners into a nice shape from the outside - you just have to be careful not to force the seam stitching too much! Once you have turned your pillow inside out, it should look something like this. Now all you have to do is stuff it to your preferred thickness with your favourite stuffing.
10. I close my pillow openings with a ladder stitch - and the following is taken from a previous Christmas ornament tutorial, but is the exact same instruction for closing the pillows.
You need to thread your sewing needle with sewing thread (if you didn't leave a long tail from the seam stitching). You should use a sharp needle here, not a tapestry needle, so that you can pierce the backing fabric easily.
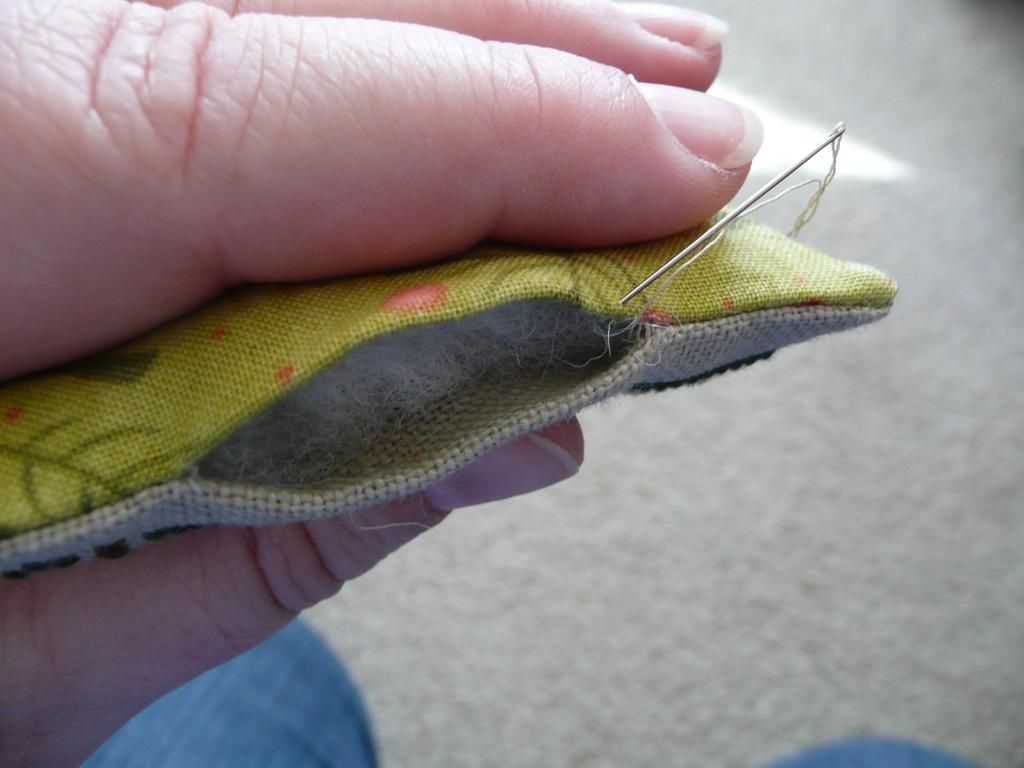
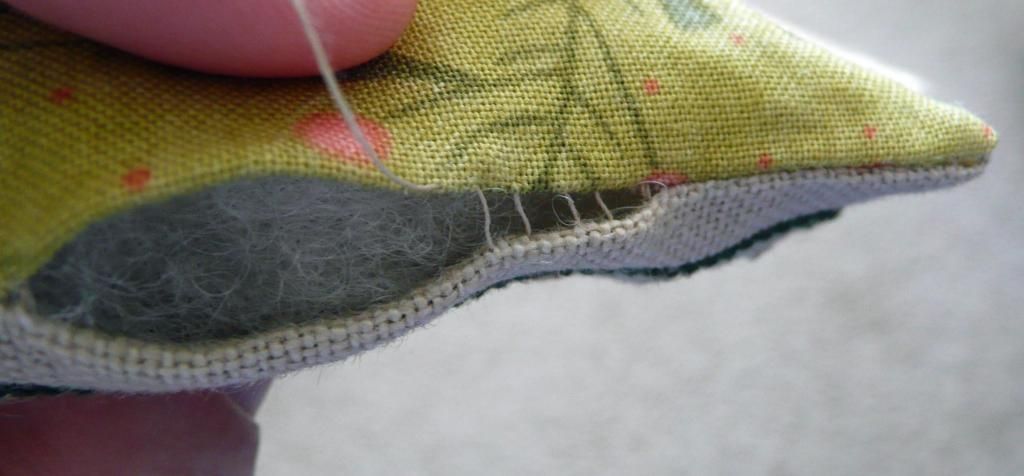
I use a ladder stitch to sew up the opening. As you can see from the left-hand photo below, I start off by slipping my needle into the seam of the backing fabric, then coming back out about 1/4" along the seam (about 3mm) and bring my needle out.
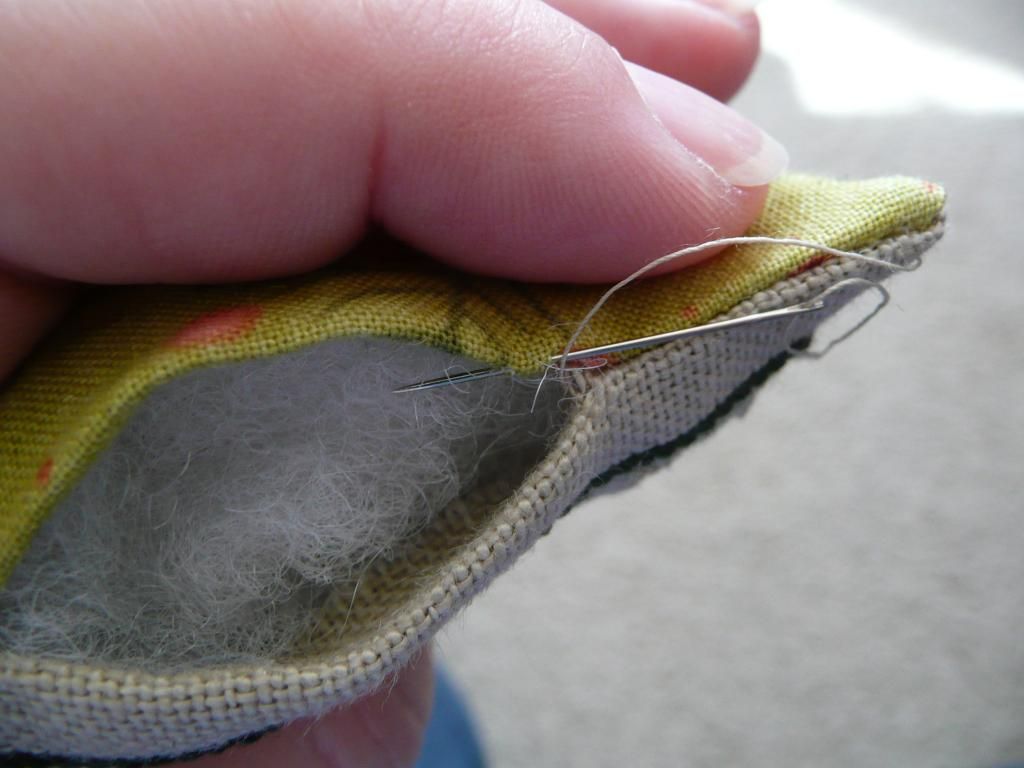
I then take my needle directly opposite where I just came out of the backing fabric and slip my needle into the linen and follow the seam along for about 1/4" (3mm) and bring the needle back out again.
I've left the stitches nice and loose in the photo below to help illustrate how the stitches follow along opposite each other, like rungs of a ladder.
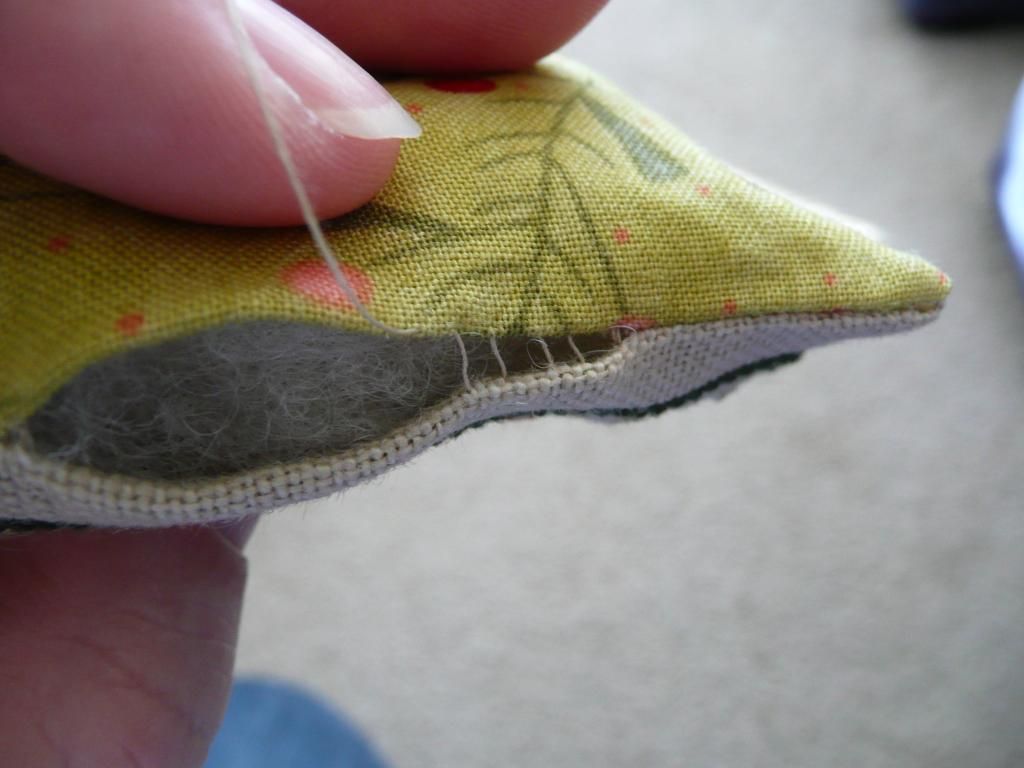
When you pull the thread tighter, the stitches almost disappear into the fabric, giving a really nice clean finish - this is definitely my favourite stitch for closing up openings for that reason!
Once you reach the end of the seam opening, you need to finish off your thread with a couple of teeny stitches - I then bury the needle into the seam and come out somewhere about an inch way and bring the needle back out again - then clip the thread close to the fabric so that my thread tail does't appear easily.
Once you reach the end of the seam opening, you need to finish off your thread with a couple of teeny stitches - I then bury the needle into the seam and come out somewhere about an inch way and bring the needle back out again - then clip the thread close to the fabric so that my thread tail does't appear easily.
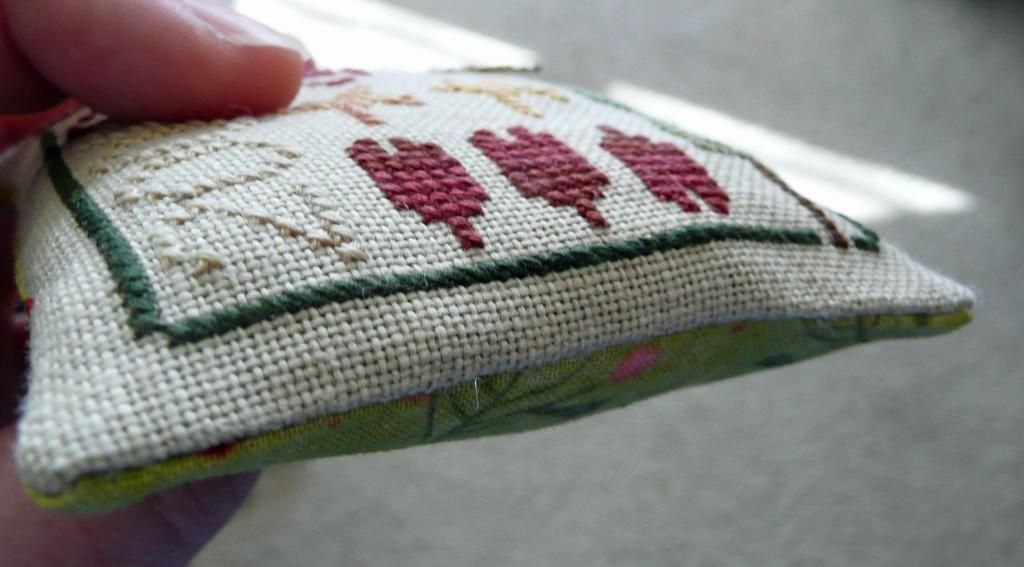
And here's the final seam all finished off - see now nice and tidy that ladder stitch is in the opening? :D
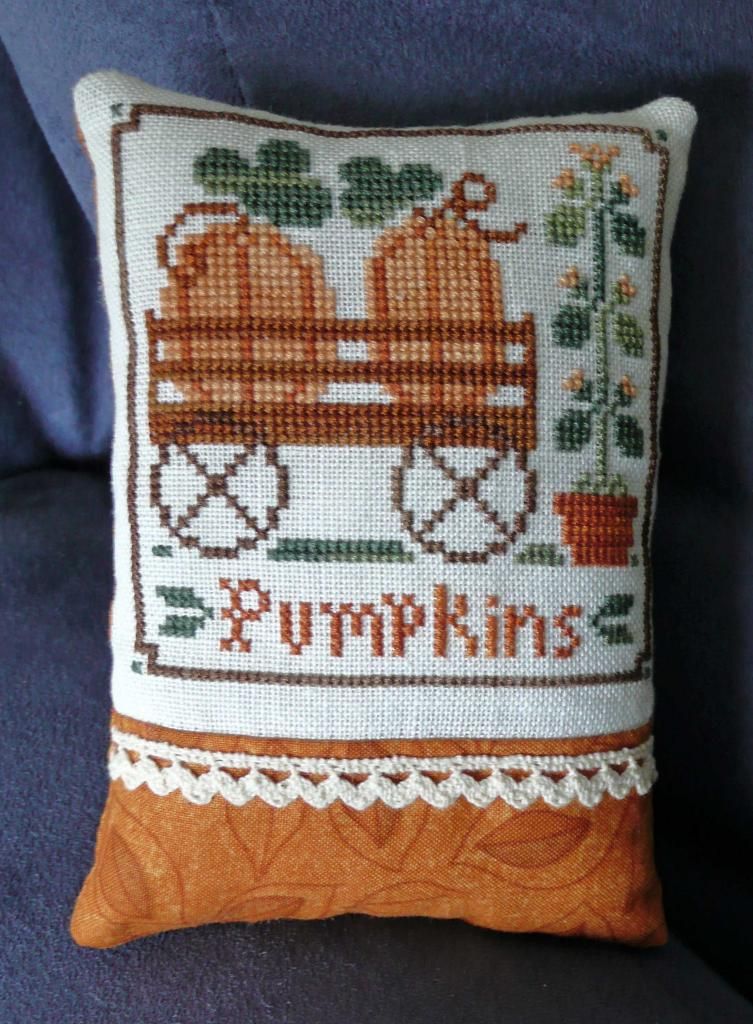
11. And that is the final step in your beautiful new pin pillow coming to life. Now all you need to do is to find somewhere to display it where it can be admired by everyone :D
I hope you've enjoyed this tutorial, and found it useful. I would love to see any photos of ornaments you've completed using this tutorial so please do drop me a line or leave a comment with a link to your pictures :)

