Showing posts with label Bags and Sachets. Show all posts

Friday, May 16, 2008

Treat Bag Class

Here is the wonderful Treat Bag Tutorial put together by Celeste - I think you'll all agree that it's a real stunner, and the instructions put together are superb!

Due to the difficulties of learning to use the Wordpress platform, and to allow us to get this published on time, this tutorial has been prepared in a .pdf format. Hopefully I can work out myself how to get this file attached here so you can download it! ;)

As always, please feel free to leave any questions and/or feedback in the comments section of this post.

Enjoy! :)


Tutor = Celeste

Friday, October 19, 2007

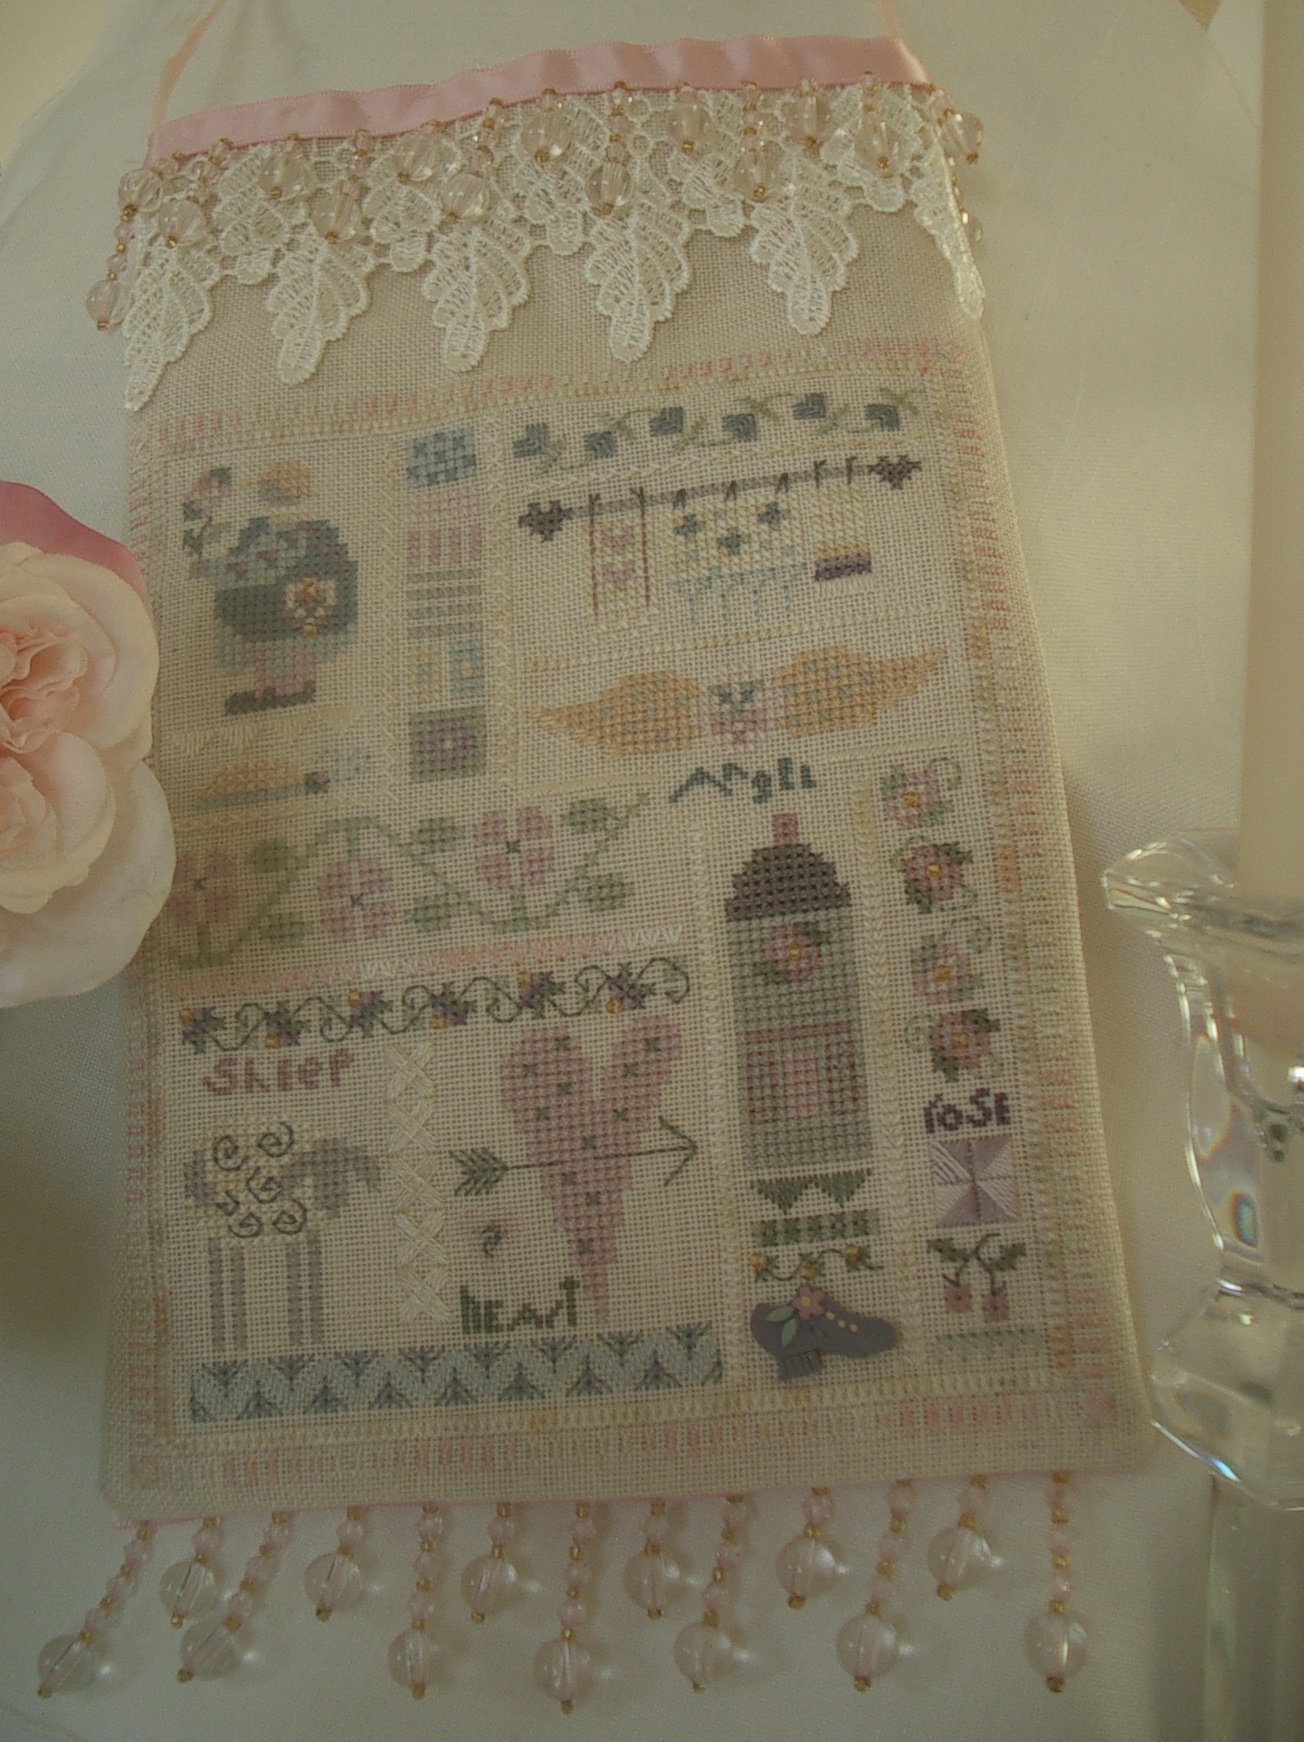
Embellished Bag - Class

mosaic88157871.jpg

Welcome Everyone to the Embellished bag class weekend. All the pictures are clickable and shall lead you to a larger view.

You can see the list of materials needed

dsc00900.jpg

Step 1: Cut backing fabric slightly larger than stitched piece, For this particular design I have allowed 5cm from the edge of the design to the seam and 1cm for my seam. For the top allow the depth of your lace plus a further 5cm for turning over to make the top neat. - As you can see ffrom my picture I didn't remember to allow extra at the top and so had to make a cuff.

Step 2: Either hand sew or machine stitch the 2 sides and the bottom together

dsc00903.jpg

Step 3: Trim the corner so that when you turn it to the right sides and gently push the corners out they won't be bulky

dsc00904.jpg

Step 4: Turn the bag right sides out.

APOLOGIES EVERYONE - I cannot seem to get pictures to upload; Wordpress and I don't seem to get along so I will have to continue without pictures.

Step 5: Measure the top of your bag (mine was 15cm) and cut your lace that size. Pin or tack your chosen lace to the top of the front of your back, then handsew into place only going through the lace and the front of the bag.

Step 6: Pin or tack your ribbon or cord for the handle (this should be cut to your chosen size), either to the inside of the bag where you can't see the tails or to the outside of the bag where you will see the tails, then handstitch into place securely.

Step 7: Measure the size of the bottom of your bag and cut the beaded ribbon to size. Pin or tack into place on the back of your bag at the bottom so you can see the beads hanging down. Hand sew into place.

Step 8: I added some tiny glass beads to the ends of my lace for extra adornment. You could do the same.

This type of bag lends itself to all sorts of designs and sizes and trims. Let you imagination run riot instead of beads and lace you could add tassels and pom poms, ribbon and cording etc etc.
I really hope this was clear. If not, please feel free to ask any question by posting in the comments.

Remember too that this is my way of making these bags I'm sure there are other easier ways than this, but this is how I do them.

If you do make a bag please share it with us all so we can see.

Tutor = Su

Saturday, October 6, 2007

Embellished Bag - Class - Materials List

Hi everyone!

We shall be having an embellished bag class weekend on 20 -21 October. Hope that you'll join us.

imgp2334.JPG

Here’s a list of what you’ll need to make an embellished bag

dsc00871.JPG

Materials:

  • stitched piece, leaving a generous margin around the design. My design was 9 cm x 16cm (3 1/2" x 6") and I added a 1-cm seam allowances for this project

  • fabric of the same size - I tend to cut mine slightly larger

  • ribbon for the hanger

  • Beaded trim

  • lace

  • sewing thread that matches.

Tools:

  • ruler or measurer’s tape

  • scissors

  • (optional) pinking shears

  • pins

  • seam ripper or small pointed scissors

  • chopstick or whatnot to turn your work inside out and make crisp corners

  • hand-sewing needle

  • Sewing machine (optional)

This is a very easy project, and while a sewing machine will make your work go quicker, you can do this by hand. Anyone can do this project - it's really easy peasy!

Please feel free to ask if you have any question. We all know there is no such thing as a dumb question ;)

Tutor = Su

Embellished Bag - Class - Materials List

Hi everyone!

We shall be having an embellished bag class weekend on 20 -21 October. Hope that you'll join us.

imgp2334.JPG

Here’s a list of what you’ll need to make an embellished bag

dsc00871.JPG

Materials:

  • stitched piece, leaving a generous margin around the design. My design was 9 cm x 16cm (3 1/2" x 6") and I added a 1-cm seam allowances for this project

  • fabric of the same size - I tend to cut mine slightly larger

  • ribbon for the hanger

  • Beaded trim

  • lace

  • sewing thread that matches.

Tools:

  • ruler or measurer’s tape

  • scissors

  • (optional) pinking shears

  • pins

  • seam ripper or small pointed scissors

  • chopstick or whatnot to turn your work inside out and make crisp corners

  • hand-sewing needle

  • Sewing machine (optional)

This is a very easy project, and while a sewing machine will make your work go quicker, you can do this by hand. Anyone can do this project - it's really easy peasy!

Please feel free to ask if you have any question. We all know there is no such thing as a dumb question ;)

Tutor = Su

Sunday, September 16, 2007

Gallery - Halloween Bourse

Thanks to Isabelle's fantastic Bourse Tutorial, I was able to make this Halloween bourse.

final with matrushka dollbats and ghosts bourse inside

The inside is a free pattern from My Aunt's Attic of some bats. I substituted the ghosts for the orginal design charted.

Posted by "Wyora"

Wednesday, August 29, 2007

Finish-along for Anne S - Aug 07

I made a real effort today to finish something off for this month's theme of stitching accessories for the Finish-Along. I've been taking photos ready for a needleroll tutorial for later next year, and while I was at it managed to finish another needleroll as well.


planted hearts needleroll finished

Planted Hearts by Lavender Wings

Stitched on 32ct waterlily linen
using recommended threads & beads

As well as the needleroll, I also dragged something else out of the finishing pile that's been there for well over a year now - I finally put together my Thistle Bag.


Thistle Bag by M Designs

Thistle Bag by M Designs

stitched using recommended fabric & threads

Thursday, June 28, 2007

Gallery - A red bourse

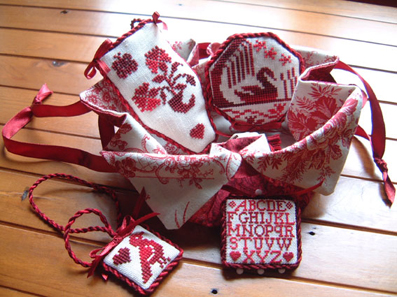
I thought I'd share the bourse I made following Isabelle's lovely instructions. Although it was easy I don't know if I'd have tried it without them - so thank you Isabelle!

I filled it with Quaker needlework smalls as a gift for a friend. I was sad to see it leave home!

quaker-redwork-set-fof.jpg

Posted by Nicki

Wednesday, June 27, 2007

Gallery - Finally - my Bourse

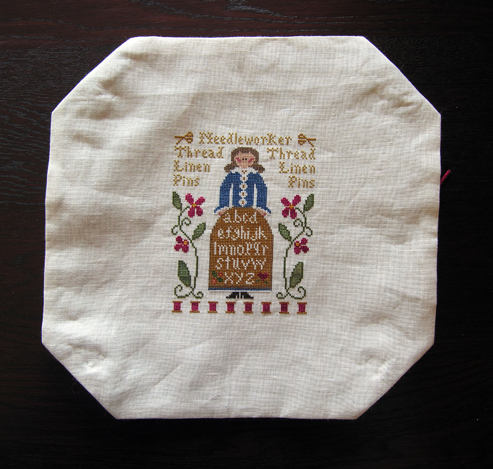
I finally had the time AND the right fabric to finish my Bourse!

bourse-flat-inside-dscn2306w.jpg

The stitched piece is The Sampler Lady by Little House Needlework. It was a joy to stitch.

bourse-flat-outside-dscn2305w.jpg

And once I had the right fabric, finishing the B

Sunday, June 3, 2007

Gallery - mischief managed

Today I managed to finish two projects that have been sitting in my drawer for over a year. Yikes! Where does the time go, anyway? (All images are clickable for greater detail.)

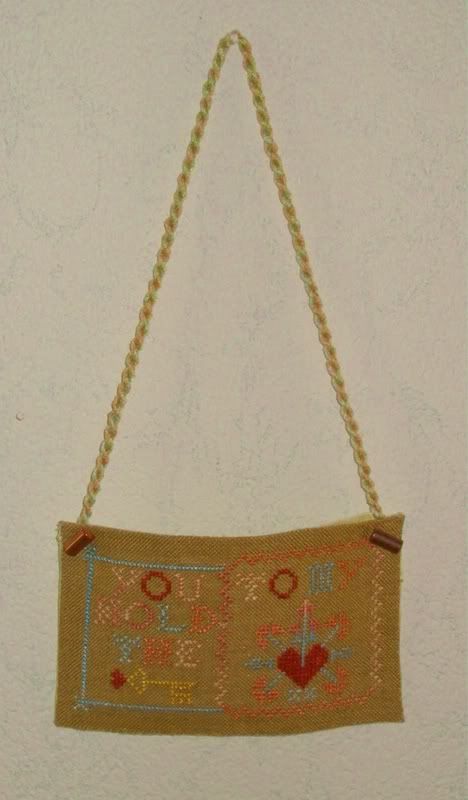
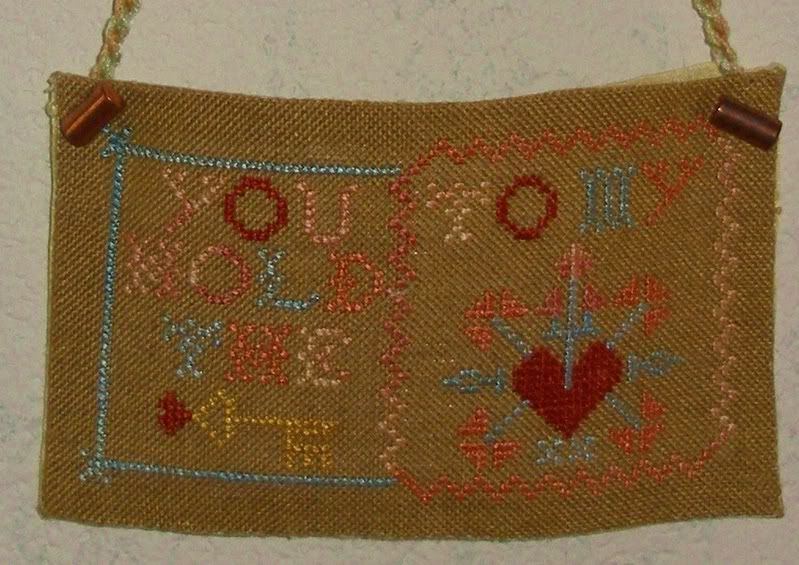
First up is a design by The Sampler Girl. This is part of her former Saturday series and I stitched it for Niek for Valentine's Day (2006!). I've finished it as a bag. Not that I can actually picture Niek using it - LOL! - but because the design lent itself so well to it. (Note that the rather bizarre color scheme is my choice, not what the design calls for.)


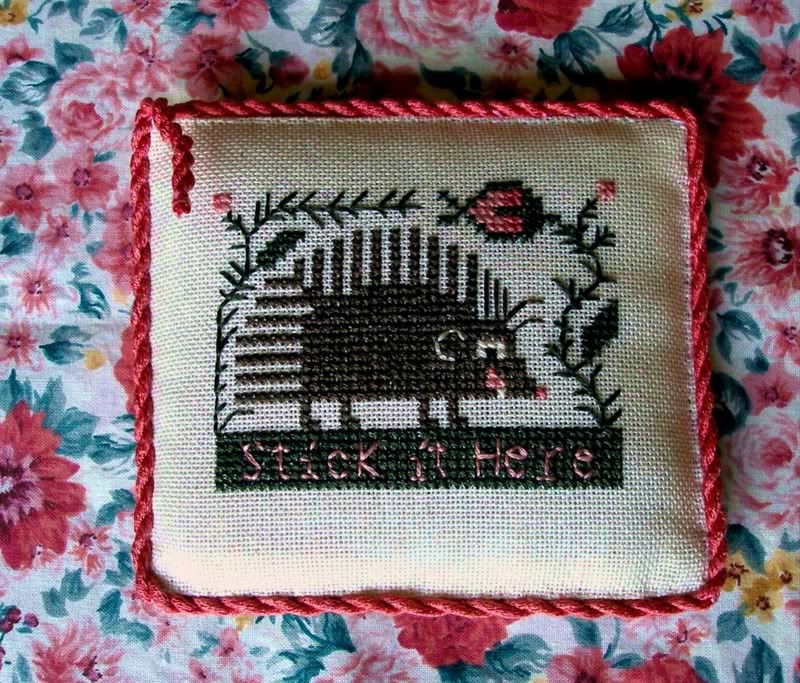
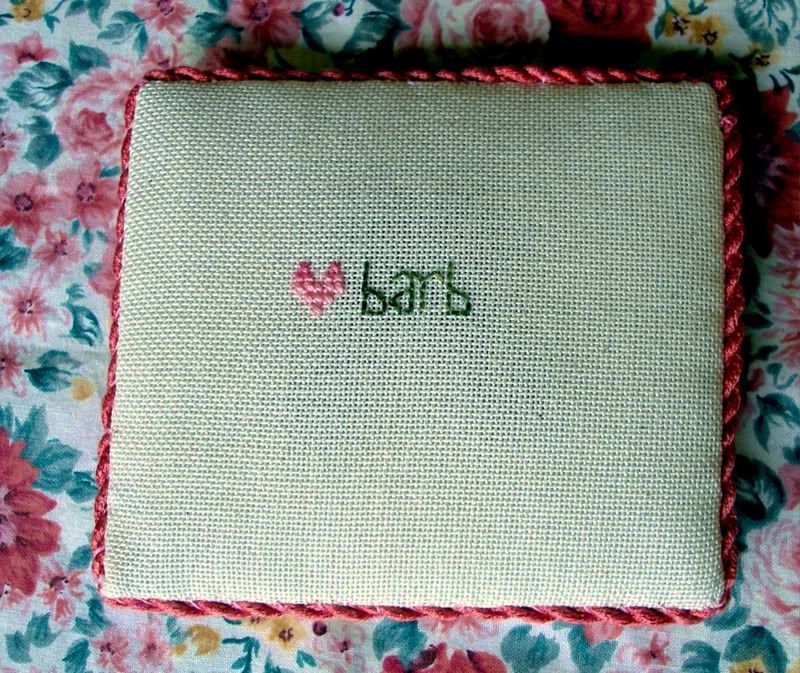
Then there is this sweet little freebie from The Prairie Schooler that I made for one of my aunts over two years ago. How embarassing is that? She's a serious seamstress, so in addition to this being a pincushion it is also magnetic on the underside to quickly clear up any pin spills. I know whenever I pull my sewing machine out, I have to spill my pins at least once.


Thanks Karen and Anne for setting these FAL weekends up - I still have another half dozen small designs that need to be finish-finished, and maybe now there's hope!

Posted by BarbaraCL

Monday, May 21, 2007

Gallery - Anne D's completed bourse

Here is my closed bourse (clickable thumbnail) :D

stitchingprojects004.jpg

stitchingprojects001.jpg

Inside of bourse

Posted by Anne D

Sunday, May 20, 2007

Gallery - My First Bourse

Thank you Isabelle! Although it turned out to be 'easy' to make - I wouldn't have been able to make it at all if hadn't been for your great instructions which made the process so clear. So if any of you out there are thinking 'I couldn't do that' go ahead and have a go, they are so cute! Photos should be clickable (I think!)

Open Bourse

bourse-in-the-garden.jpg

I can see lots of bourse making in my future :) Hope you are having a great weekend?

Posted by "Redwitch379"

Saturday, May 19, 2007

Gallery - Finished Bourse

Thanks to Isabelle, that has shared the bourse tutorial, I made that one this morning. I'm really happy with the result, it will go to my best friend who will have her birthday soon.

bourse closed

bourse opened

Happy stitching and sewing!

Posted by "giusypatch"

Friday, May 18, 2007

Bourse Class

Hi everyone! It's time for our bourse class weekend :)

All the pictures are clickable and shall lead you to a larger view.
You can see the list of materials needed here. The most important thing is having:

  • a square design, with plenty of margin around

  • an outer fabric of the same size (you can take any kind you want - cotton, silk, satin, brocade, whatever)

  • some ribbon or cording to gather and tie the bourse (I chose narrow lace).


Bourse material list


1. I'm going to start with a little tip I came up with to make sure you sew a perfectly, perfectly straight line all around the design. The tip was inspired to me by a technique in garment sewing (namely, pulling a thread near the edge of a fabric to determine the grain). We are going to pull a thread from the linen on each side of the stitched piece, right where the seam shall be.

For the first side, you'll just have to determine the seam allowance. It's your call - I like 1cm (3/8") for those small projects :) Once you have decided this, pick up the thread in the linen right on the line where you want the seam to be. I pick it up with a seam ripper, but small pointed scissor will work, too. Do be careful to pick up just this thread. Cut it and pull it out of the linen. You will end up with a small groove, which shall be your seamline :)

01countingsewingline.jpg


For the other sides, you'll first have to go back to the first side and to count the number of linen threads between the stitched design and the thread you just pulled out. Then, count the same number of threads on each side, and pull a linen thread on each side.
You will end up with this:

02line.jpg
(Oops! The linen started fraying - but not enough to get me worried. Just handle it carefully - we'll be trimming it in no time anyway ;) )

Now we can really start sewing :)


2. Assemble the outer fabric and the stitched piece.
Pin them right sides together, with the stitched piece on top (since the groove we created in the linen will serve as a guideline)


03pinned-right-sides-together.jpg


Start sewing, starting not quite in the middle of a side. Whether you will be sewing by hand or by machine, all you have to do is sew right in the groove created by the pulled threads. Easy, non? :)


04sewing-in-the-line.jpg


Go around the whole square, and stop 2-3 inches before the beginning of the seam. This will be the opening through which you'll turn the bourse inside out. (Do not start sewing in a corner. It will be much more of a pain to slipstitch a corner than a straight line, when you close the opening!)

3. Trim the seams close to the seamline (I do it with pinking shears so that the fabric and linen won't fray) and clip the corners. This will ensure crisp edges and corners when you turn the work inside out.


05sewn-pinked.jpg


4. Turn your work inside out. Press it carefully (press, do not iron. Pressing ensures you do not distort the seamline and fabric).

Slipstitch
the opening closed. (Slipstitching is explained and illustrated in the middle of this page.)


07-opening-slipstitched.jpg


5. Creating the casings:
Fold the corners to the outside fabric to form isosceles triangles

08-corners.jpg 09-corners.jpg


10pinned-corners.jpg


Sew the corners down, stitching a line parallel to the folded edge. This creates the casing. Make sure your casing is wide enough to accommodate two widths of your ribbon/cording/narrow lace.

11corners-sewn1.jpg


The stitching line is barely visible, which is a good thing :)


11corners-sewn2.jpg


6. Insert ribbon into the casings. (I use a large knitter's sewing needle, but anything goes).
Once the first length of ribbon/cording is threaded through the casings, make a knot to close it. To determine the length, just make sure it lies flat around the (still open) bourse.

12first-ribbon-threaded.jpg


Starting from the other side, thread the second length of ribbon/cording through the casings.

13both-ribbons-threaded-and-knotted.jpg


All you need to do now is to pull the ribbons in order to gather up the edges and close the bourse.

17.jpg 14-bbourse-closed.jpg


Optional: You may sew a button to each corner of the bourse, if desired.

16button1.jpg


In my case I only sewed one button on to show you, but removed it afterwards. This particular bourse is small, and I felt the buttons would overload it.

Et voilà !
Now you have a cute little bourse, to give or to keep :)

I hope this was clear. If not, please feel free to ask any question by posting in the comments. Again, there is never anything such as a dumb question. Ask me how I know - I'm a teacher! ;)


Also, if you make a bourse, please post a picture to the blog for everyone to enjoy :)


Have fun everyone! Happy bourse-ing ;)


Tutor = Isabelle
Friday, May 11, 2007

Bourse class - materials list

Hi everyone!

We shall be having a bourse class weekend on May 19-20.

07-02-07karen-bourse.jpg


Here's a list of what you'll need to make a bourse:

Materials:

  • stitched piece: you need a square design to make a bourse, and you'll (obviously) need to cut the linen into a square, leaving a generous margin around the design. My design was 9.2 cm square (3" 3/4) and I added a 5-cm (2") margin, PLUS a seam allowance. For a larger design, you will probably want a larger margin. To determine the width of your margin, just keep this in mind: the stitched piece shall form the bottom of the bourse, and the margins form the sides of the bourse. Do not forget to add seam allowances! (I use 1-cm allowances for small projects)

  • fabric square of the same size - I tend to cut mine slightly larger: better be safe than sorry, right? ;)

  • ribbon, narrow lace or cording (length will depend on your bourses's size)

  • (optional) four buttons

  • sewing thread that matches the linen


Tools:

  • ruler or measurer's tape

  • scissors

  • (optional) pinking shears

  • pins

  • seam ripper or small pointed scissors

  • chopstick or whatnot to turn your work inside out and make crisp corners

  • hand-sewing needle


Bourse material list


(only the essentials are featured in the picture)


This is a very easy project, and while a sewing machine will make your work go quicker, you can absolutely do this by hand. Your work will even be more accurate if you sew it by hand - and it won't take that long, I promise. :)

Anyone can do this project - it is ridiculously easy!

Please feel free to ask if you have any question. We all know there is no such thing as a dumb question ;)

Isabelle

Sunday, May 6, 2007

Lucialoo's FAL weekend

I finally finished my stitcher's case ! I don't know why, but today was absolutely disastrous ! I sew and unpicked this quite simple case at least 7 to 10 times ! I was screaming against my future DH, my cat und this bloody sewing machine ! But most of all I was really fed up with the french book where I took the design, because their explanations were so poor !

But let's stop complaining and start admiring lol !!! It will be a gift, but I won't tell you the name of the recipient ;-)


Posted by Lucialoo
 

Made by Lena